
Coming Soon...

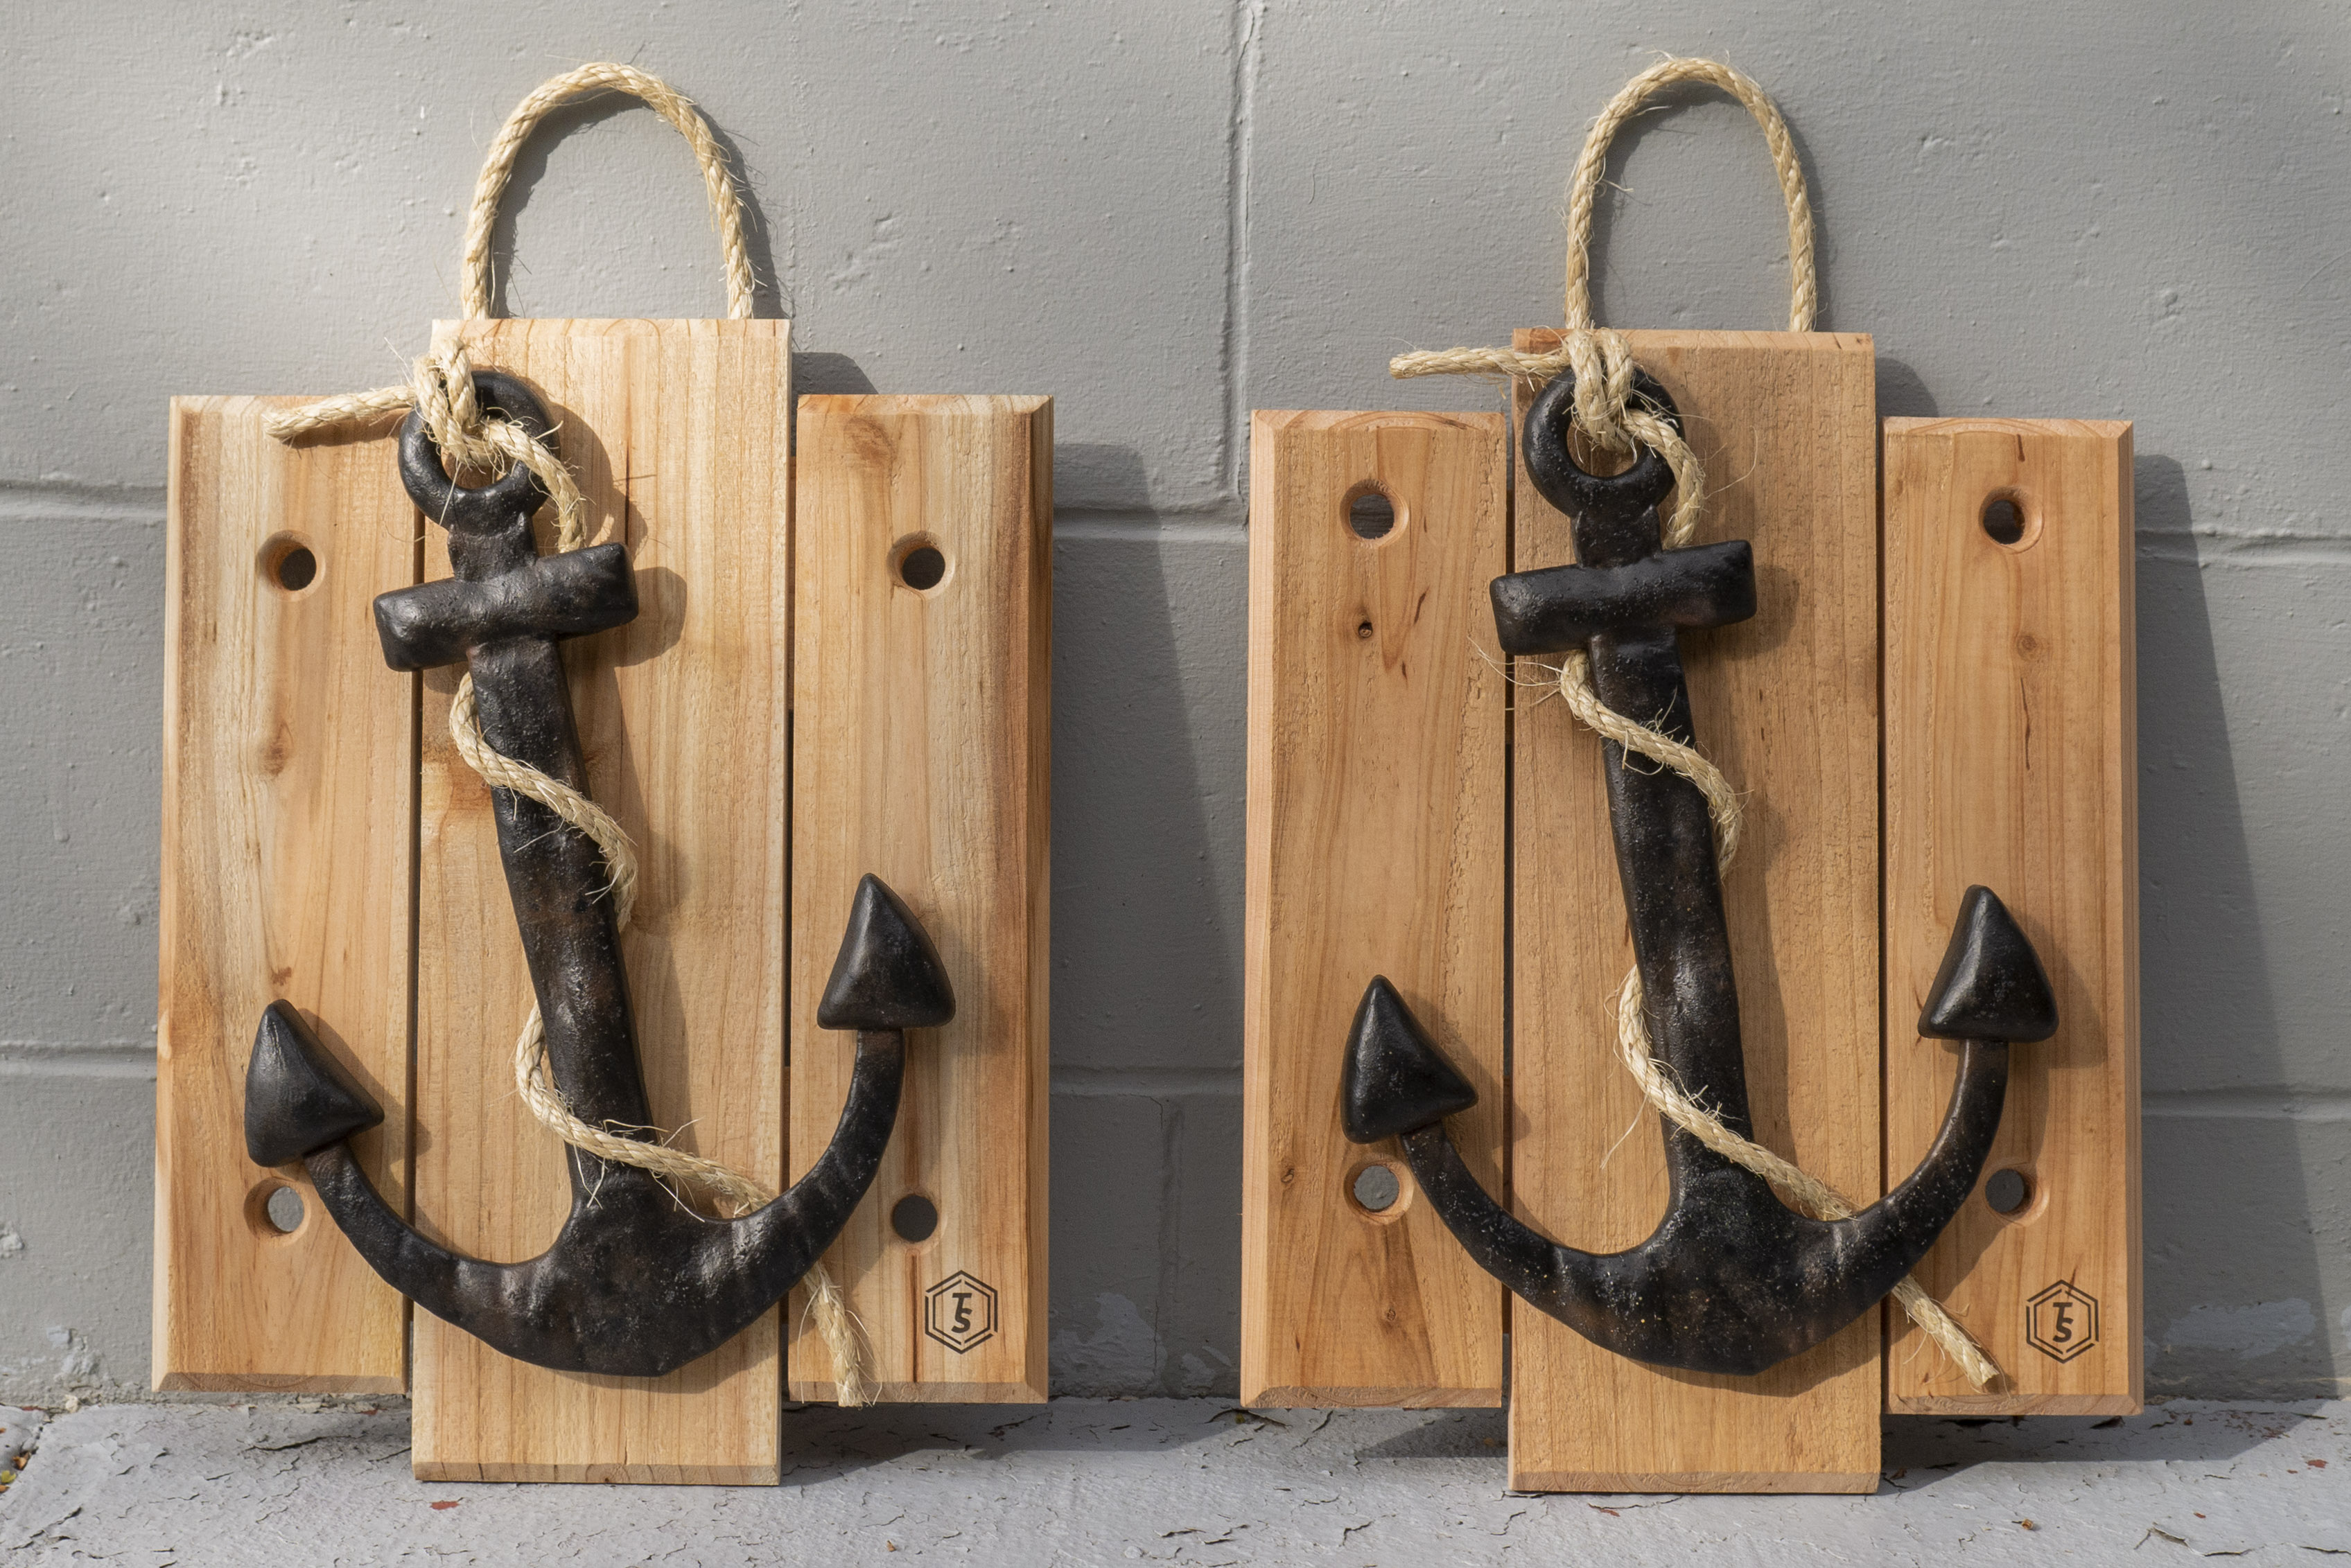
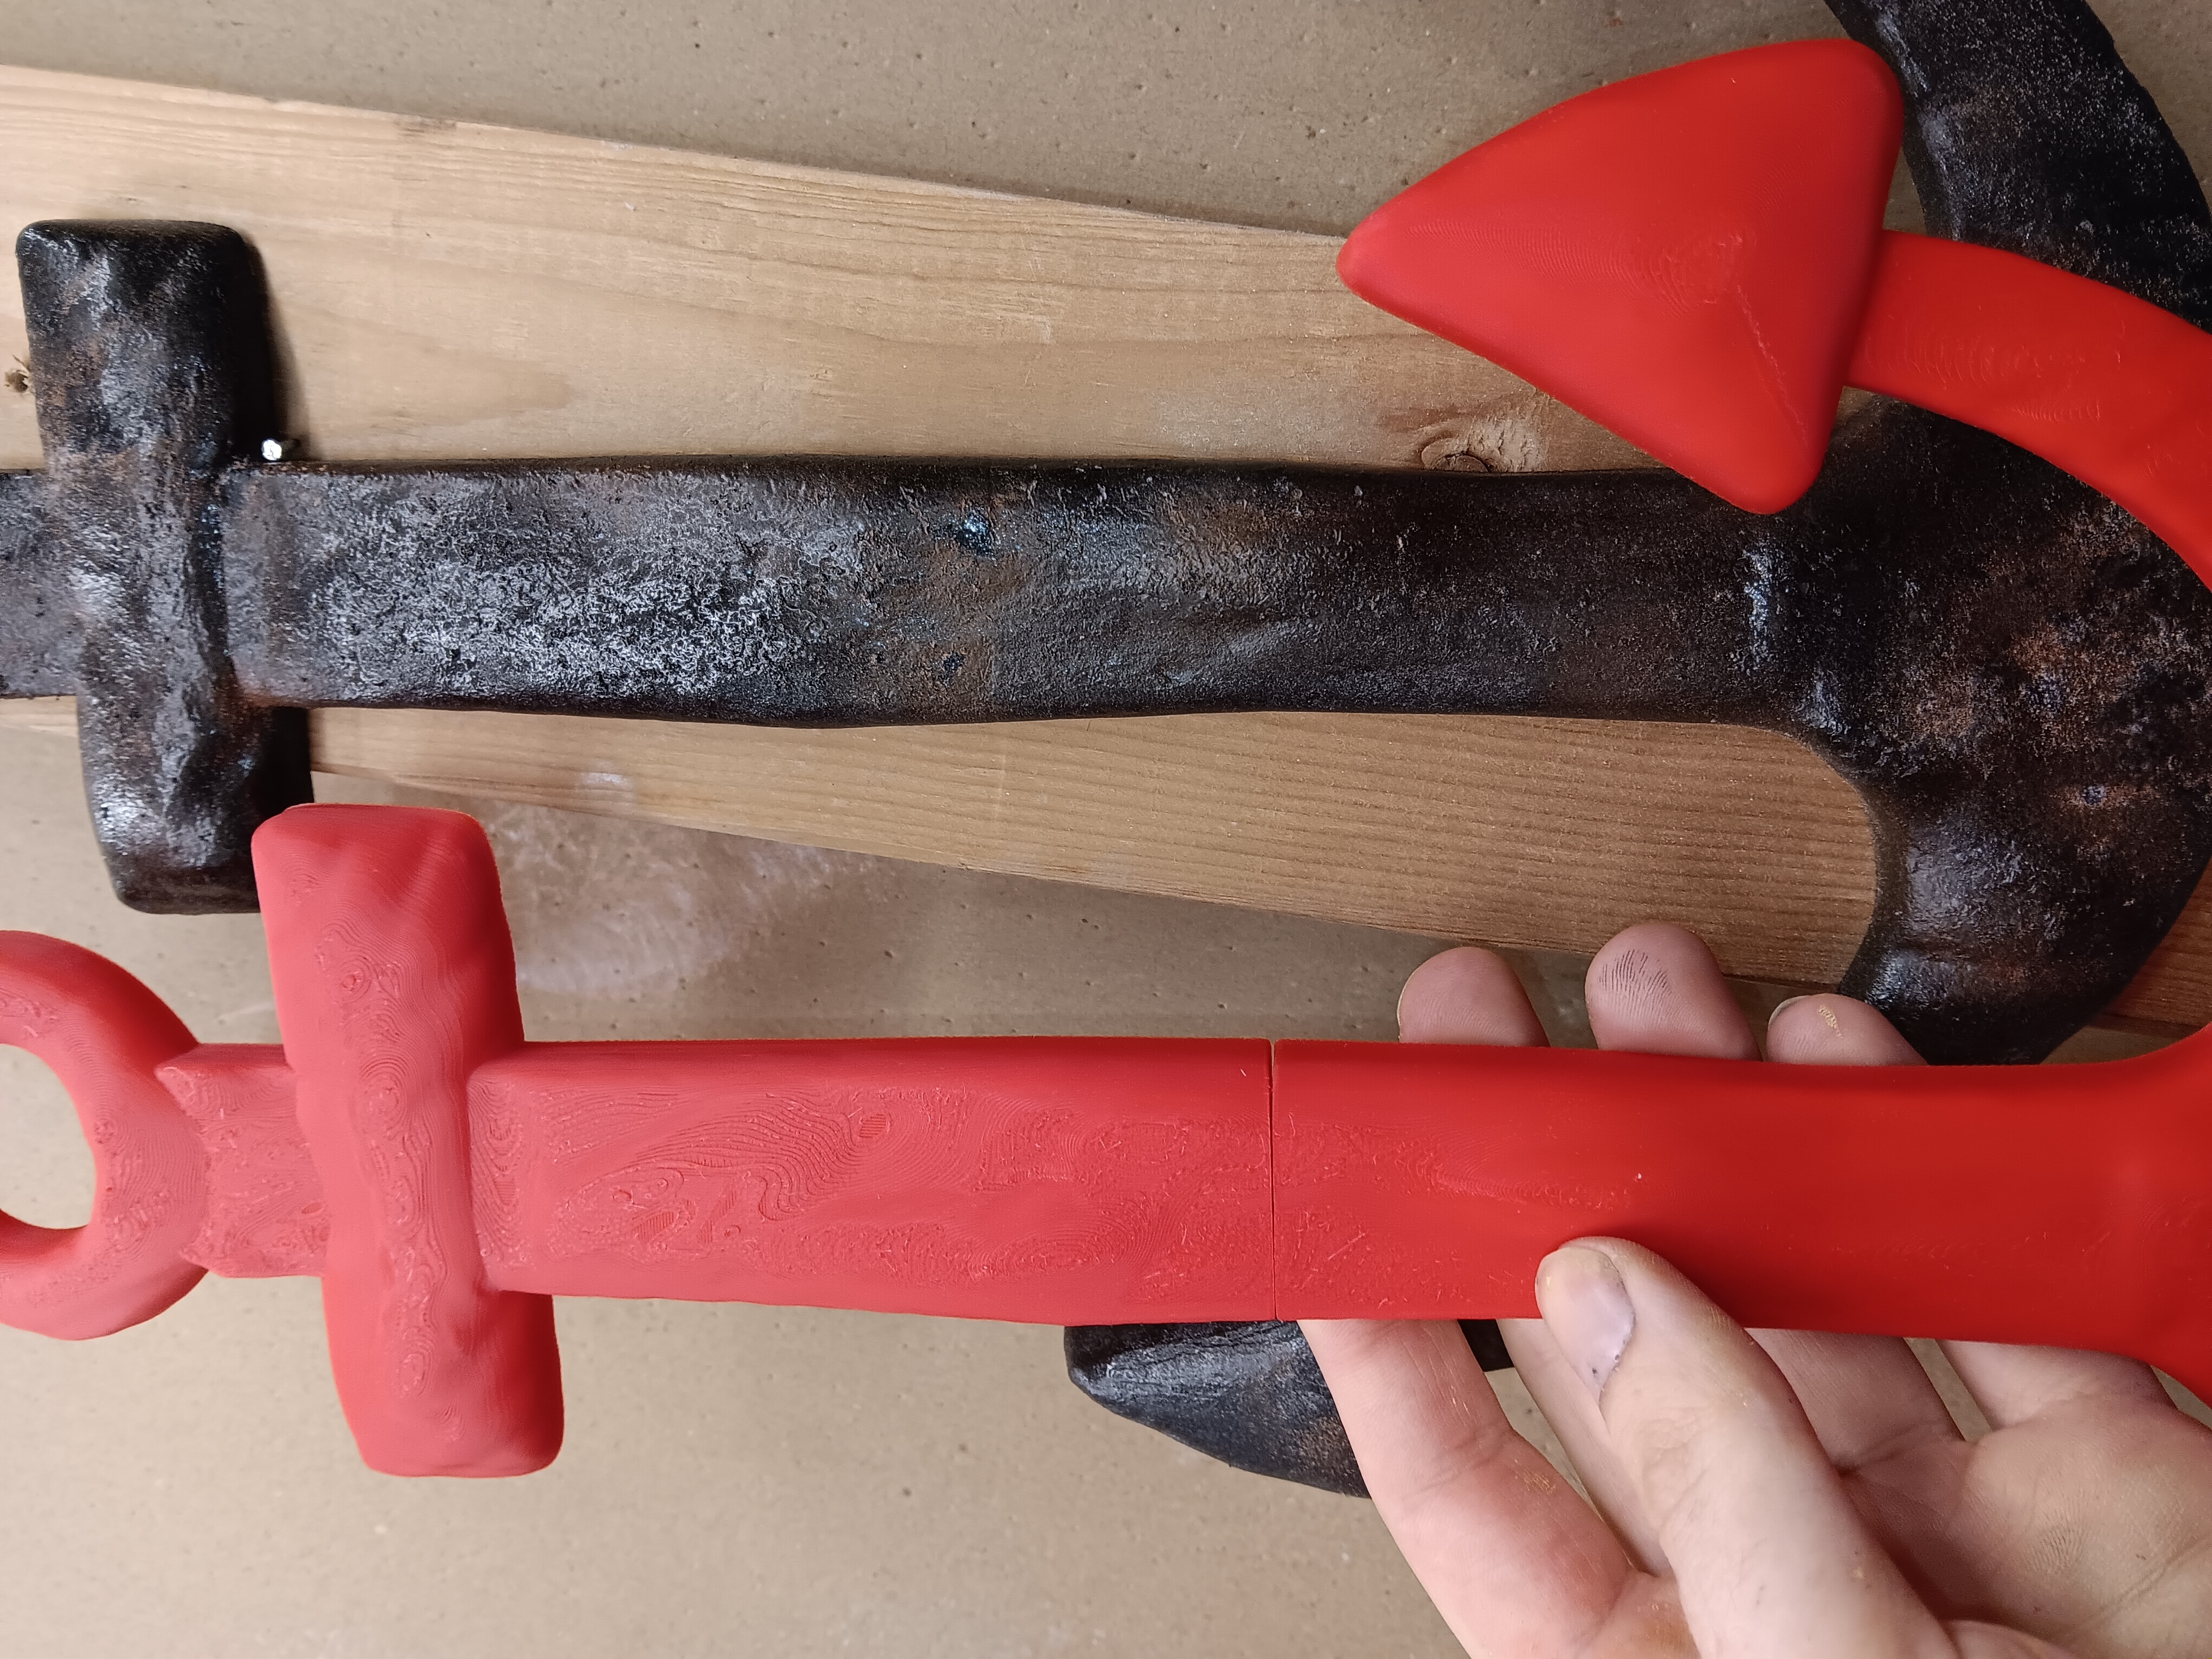
This project started from seeing a wooden anchor for sale on marketplace. I was intrigued by the shape and figured I could make my own
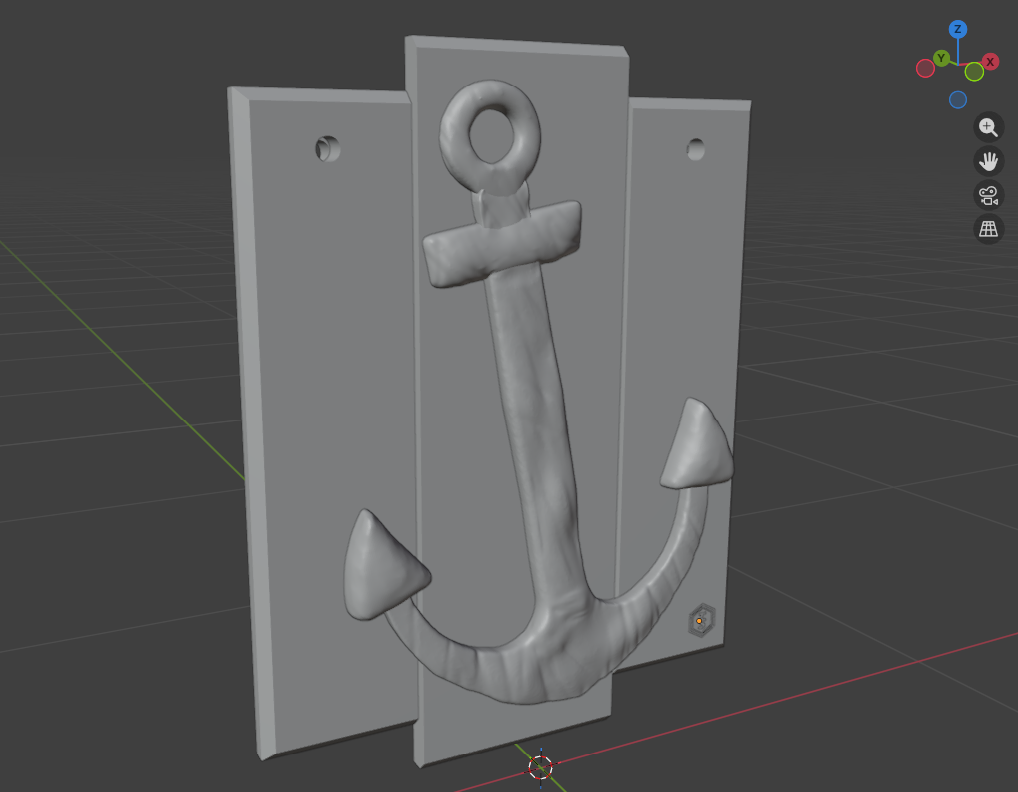
I traced the outline of the anchor shape with Adobe Illustrator and brought the vector shapes into blender for extrusion.
The square nature of the anchor was cool but not enough for a premium feel.
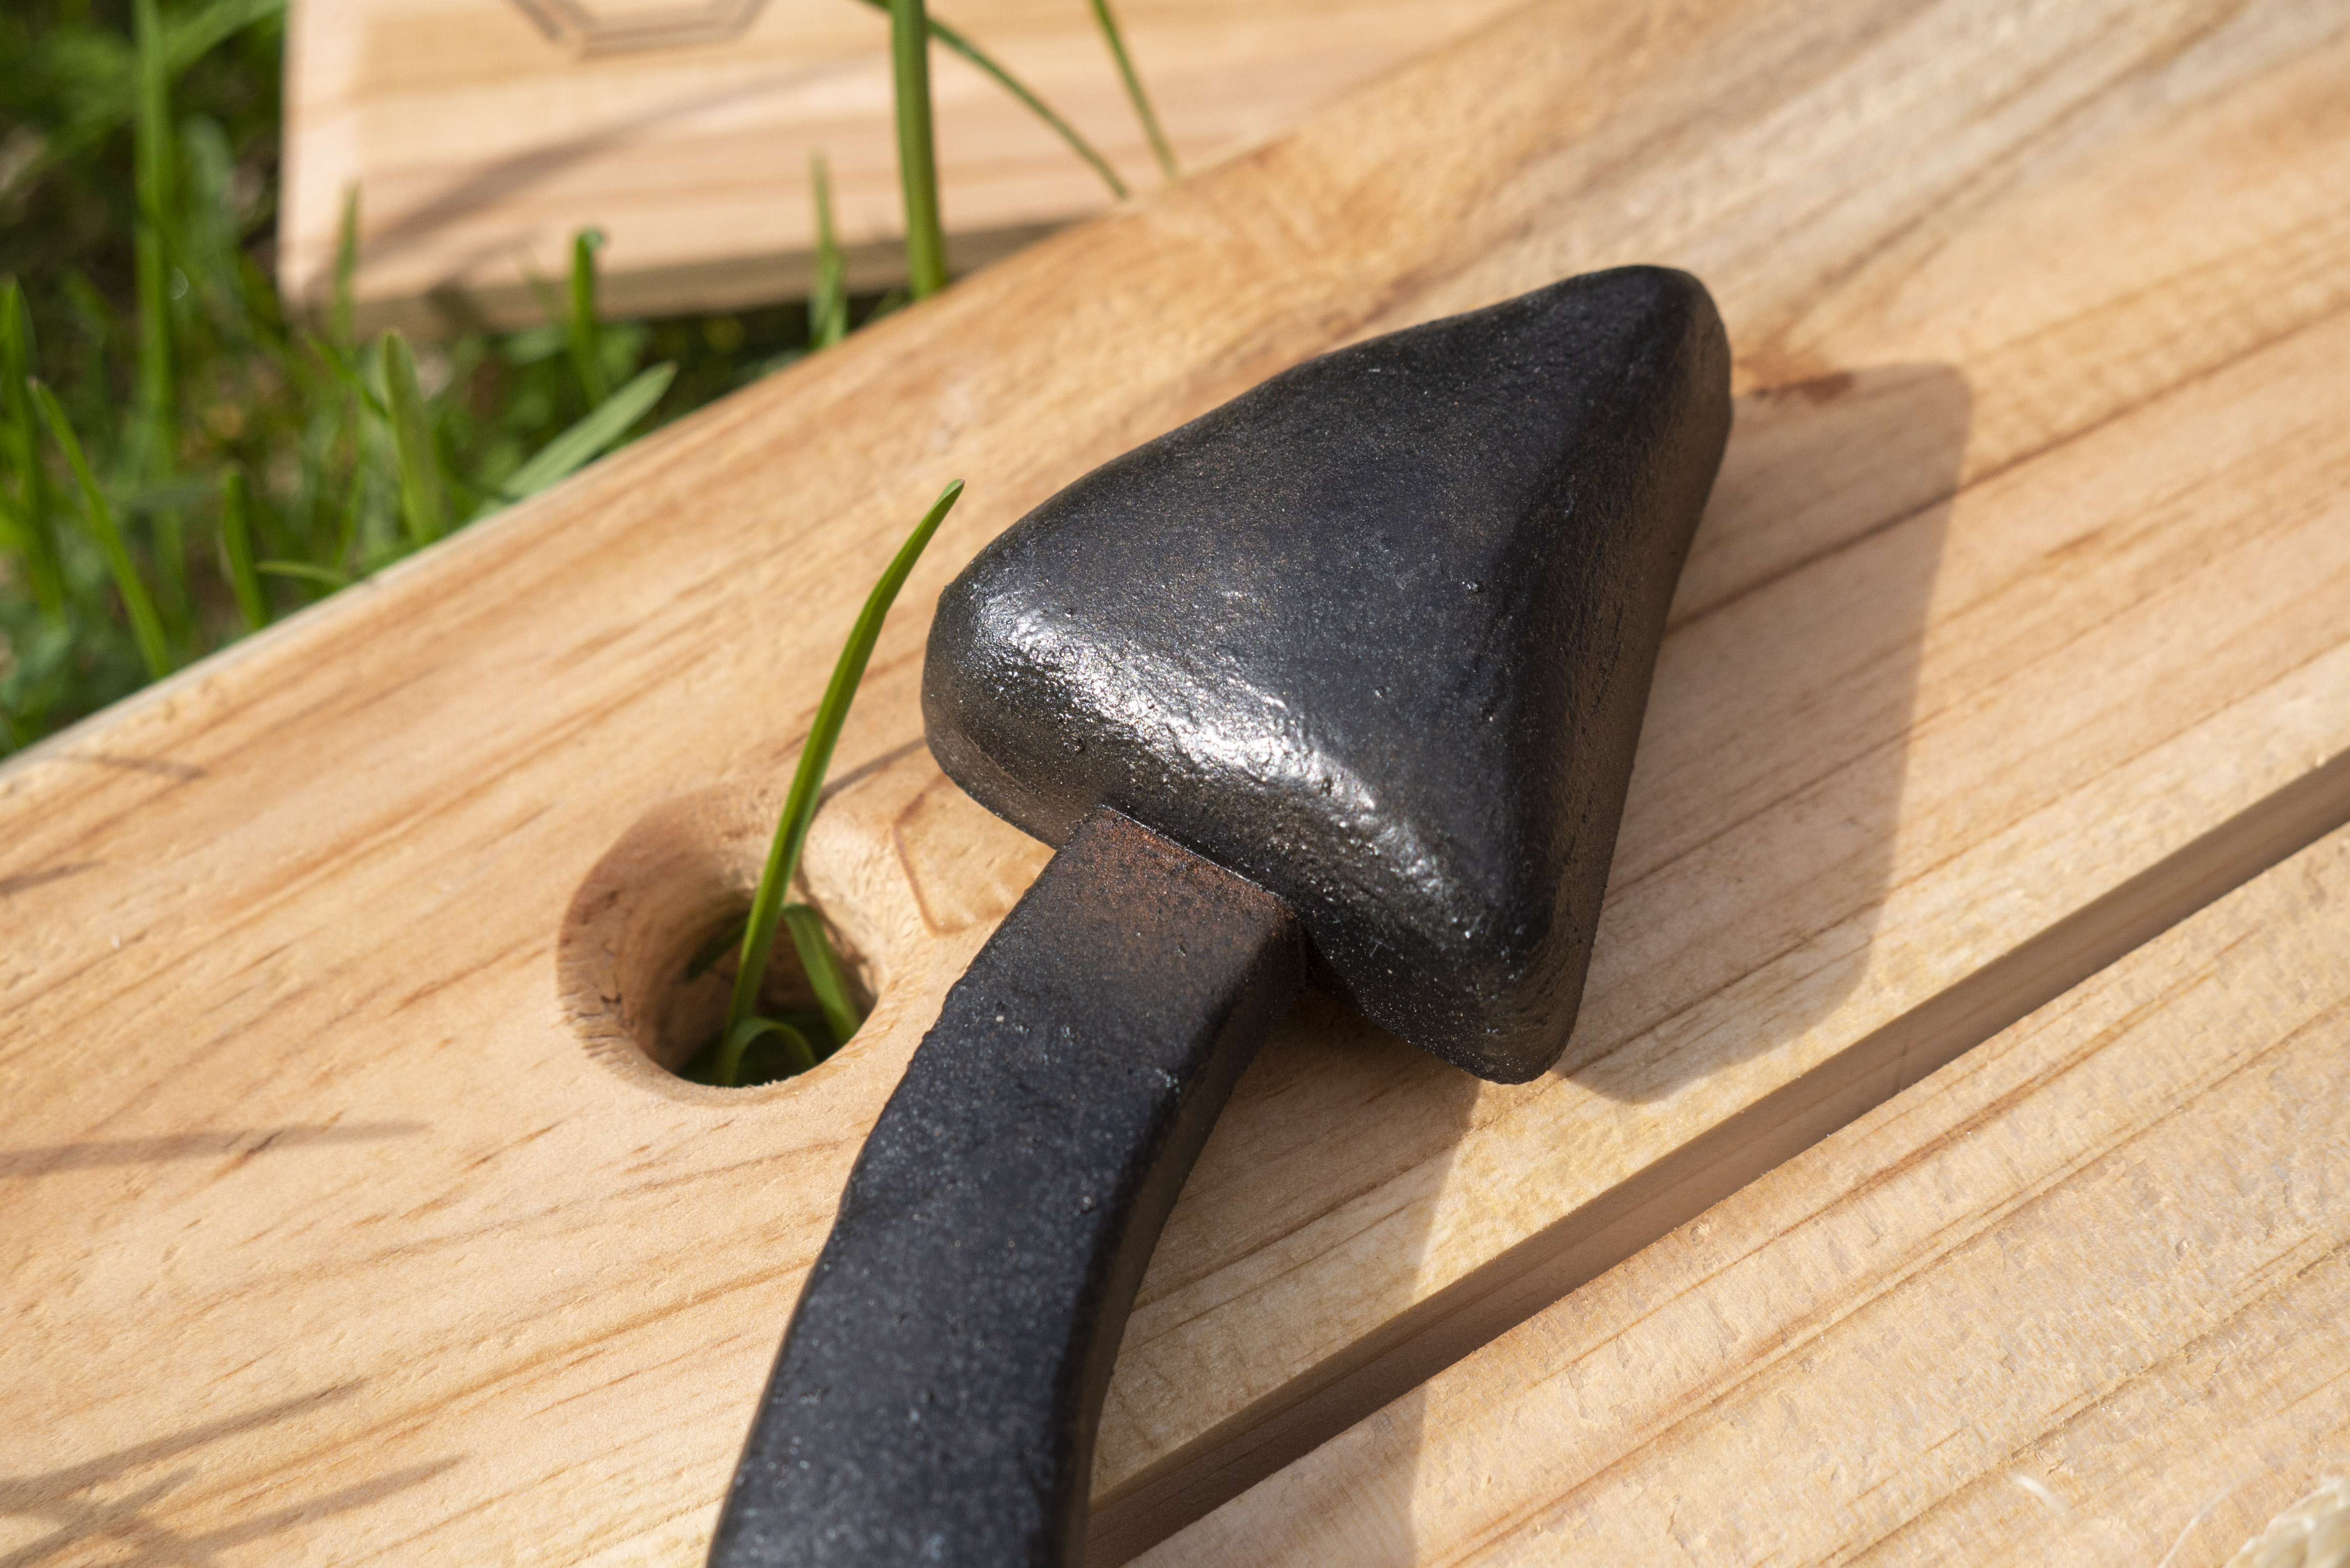
I used the sculpting features to pillow and round out the shapes giving the anchor an old school sand casted iron shape. This gave me a perfect base to try out doing a realistic weathering paint job with rust effects.
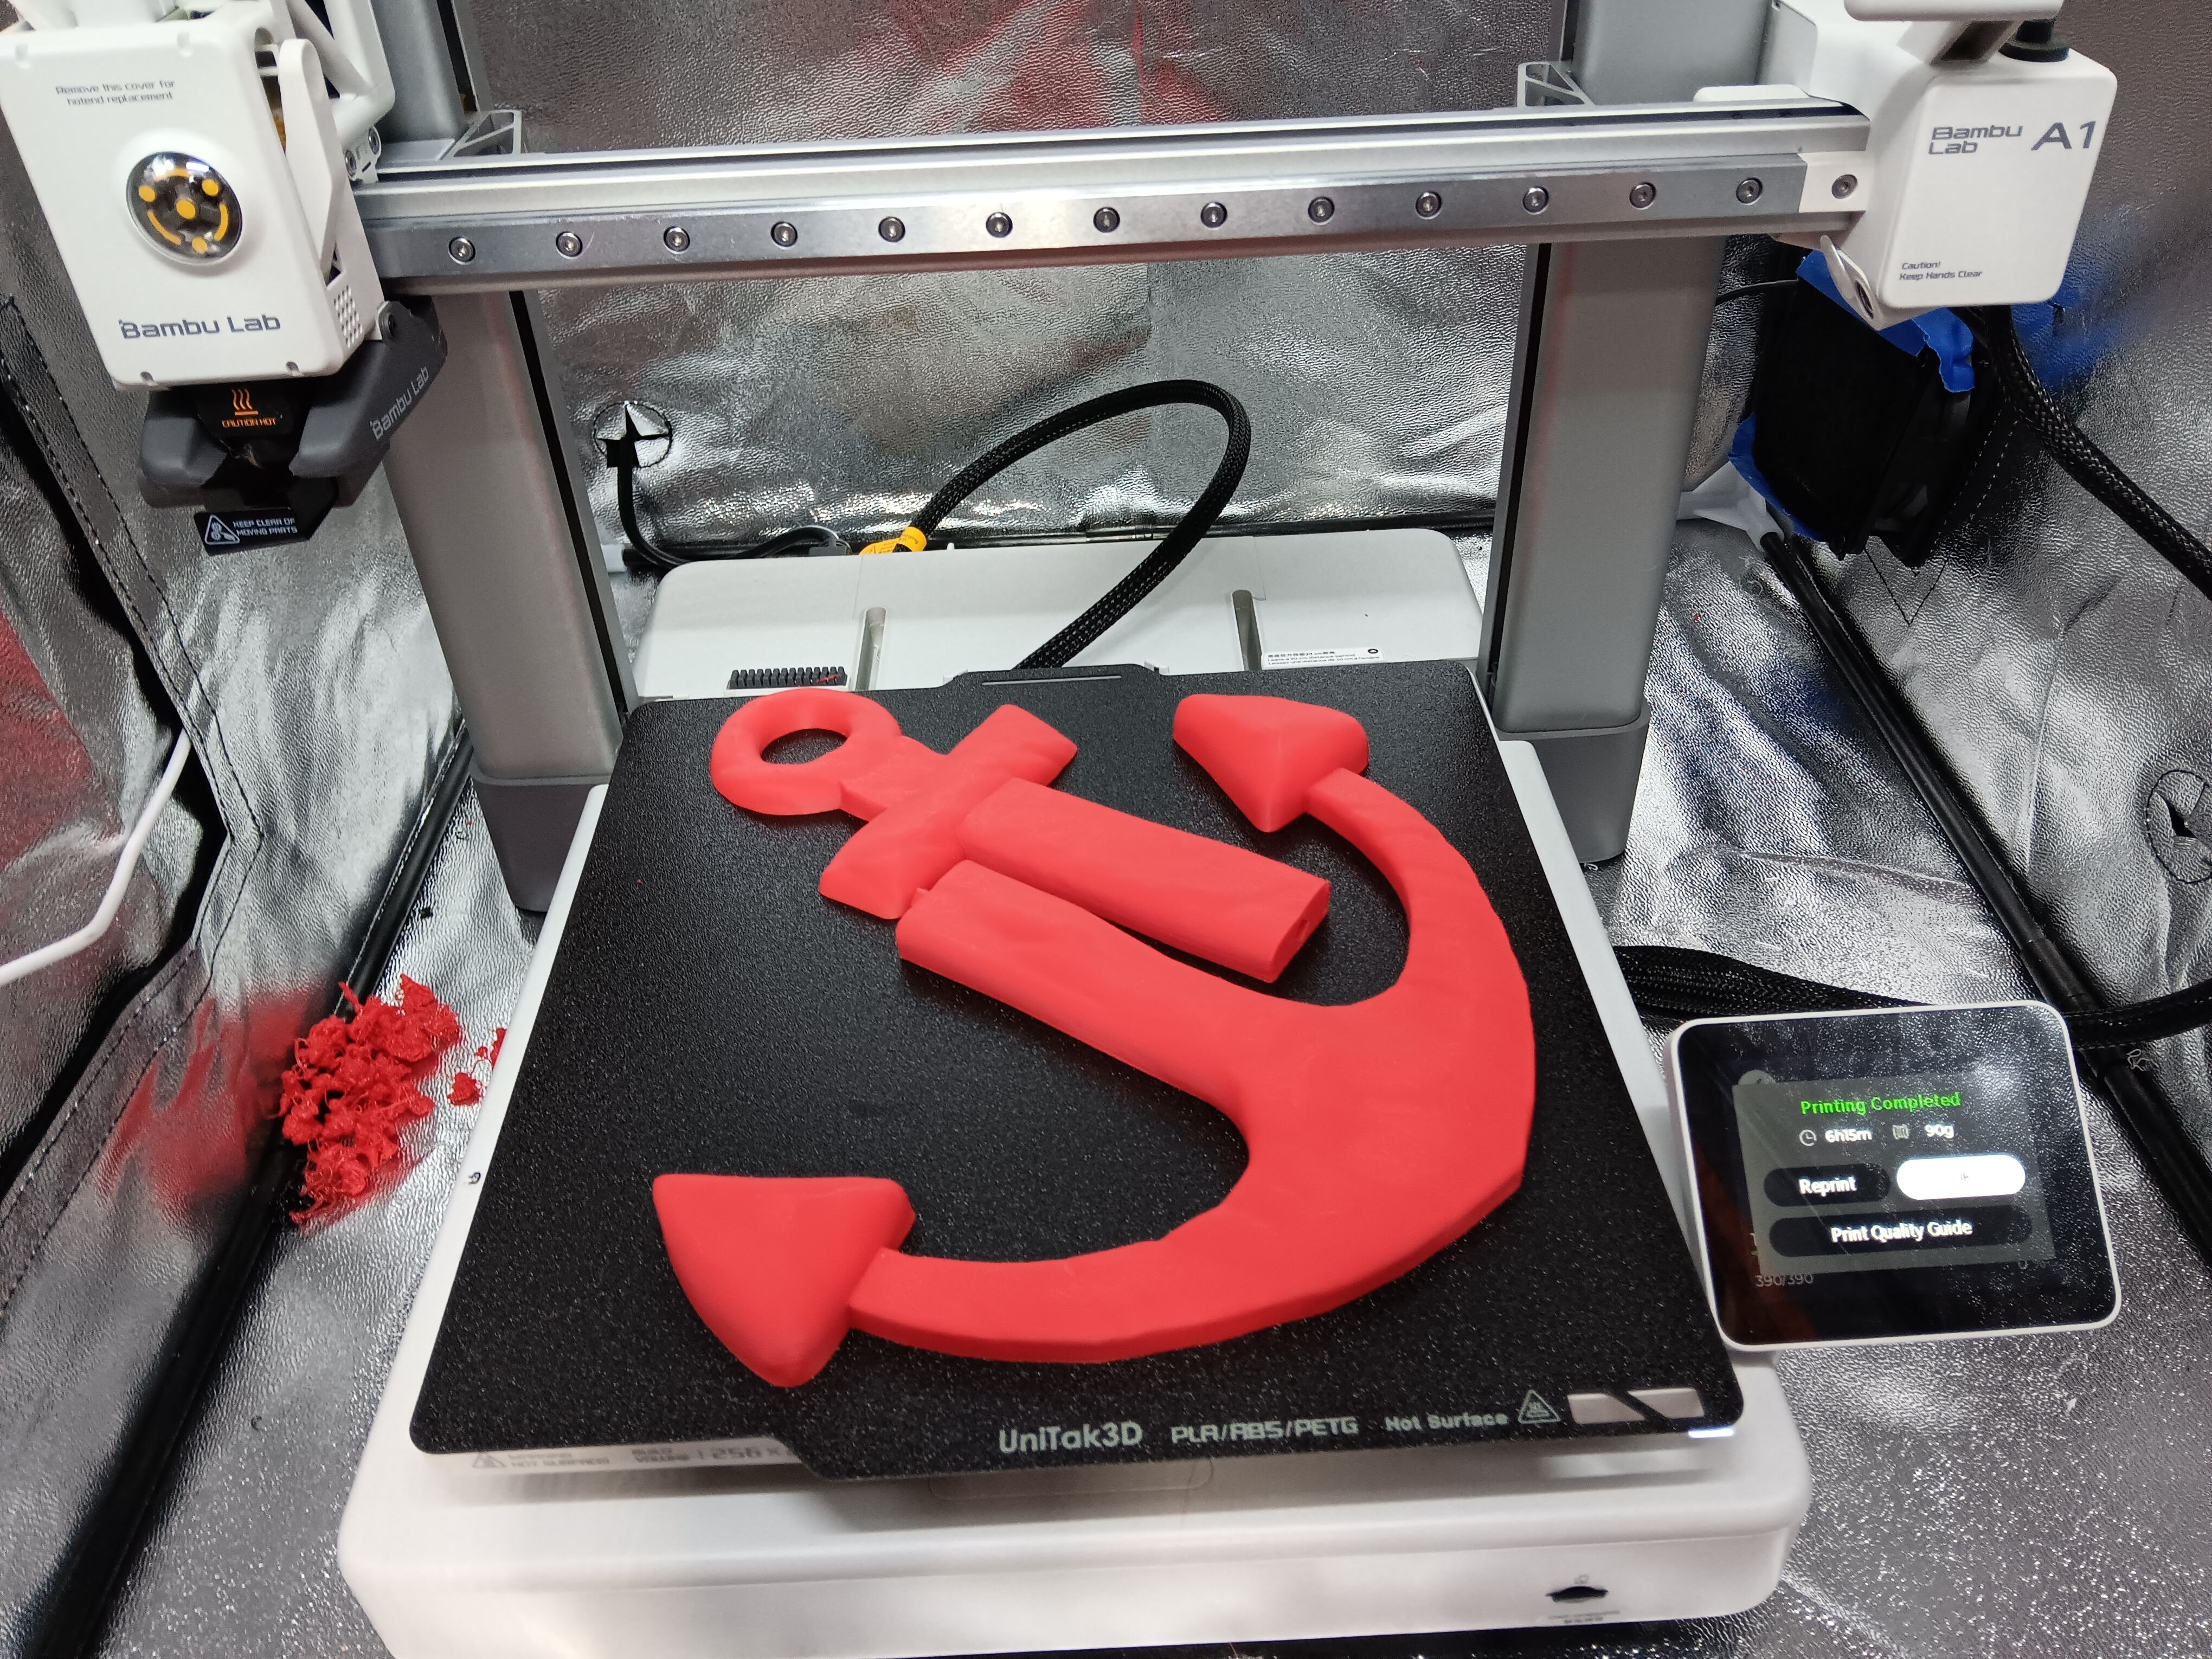
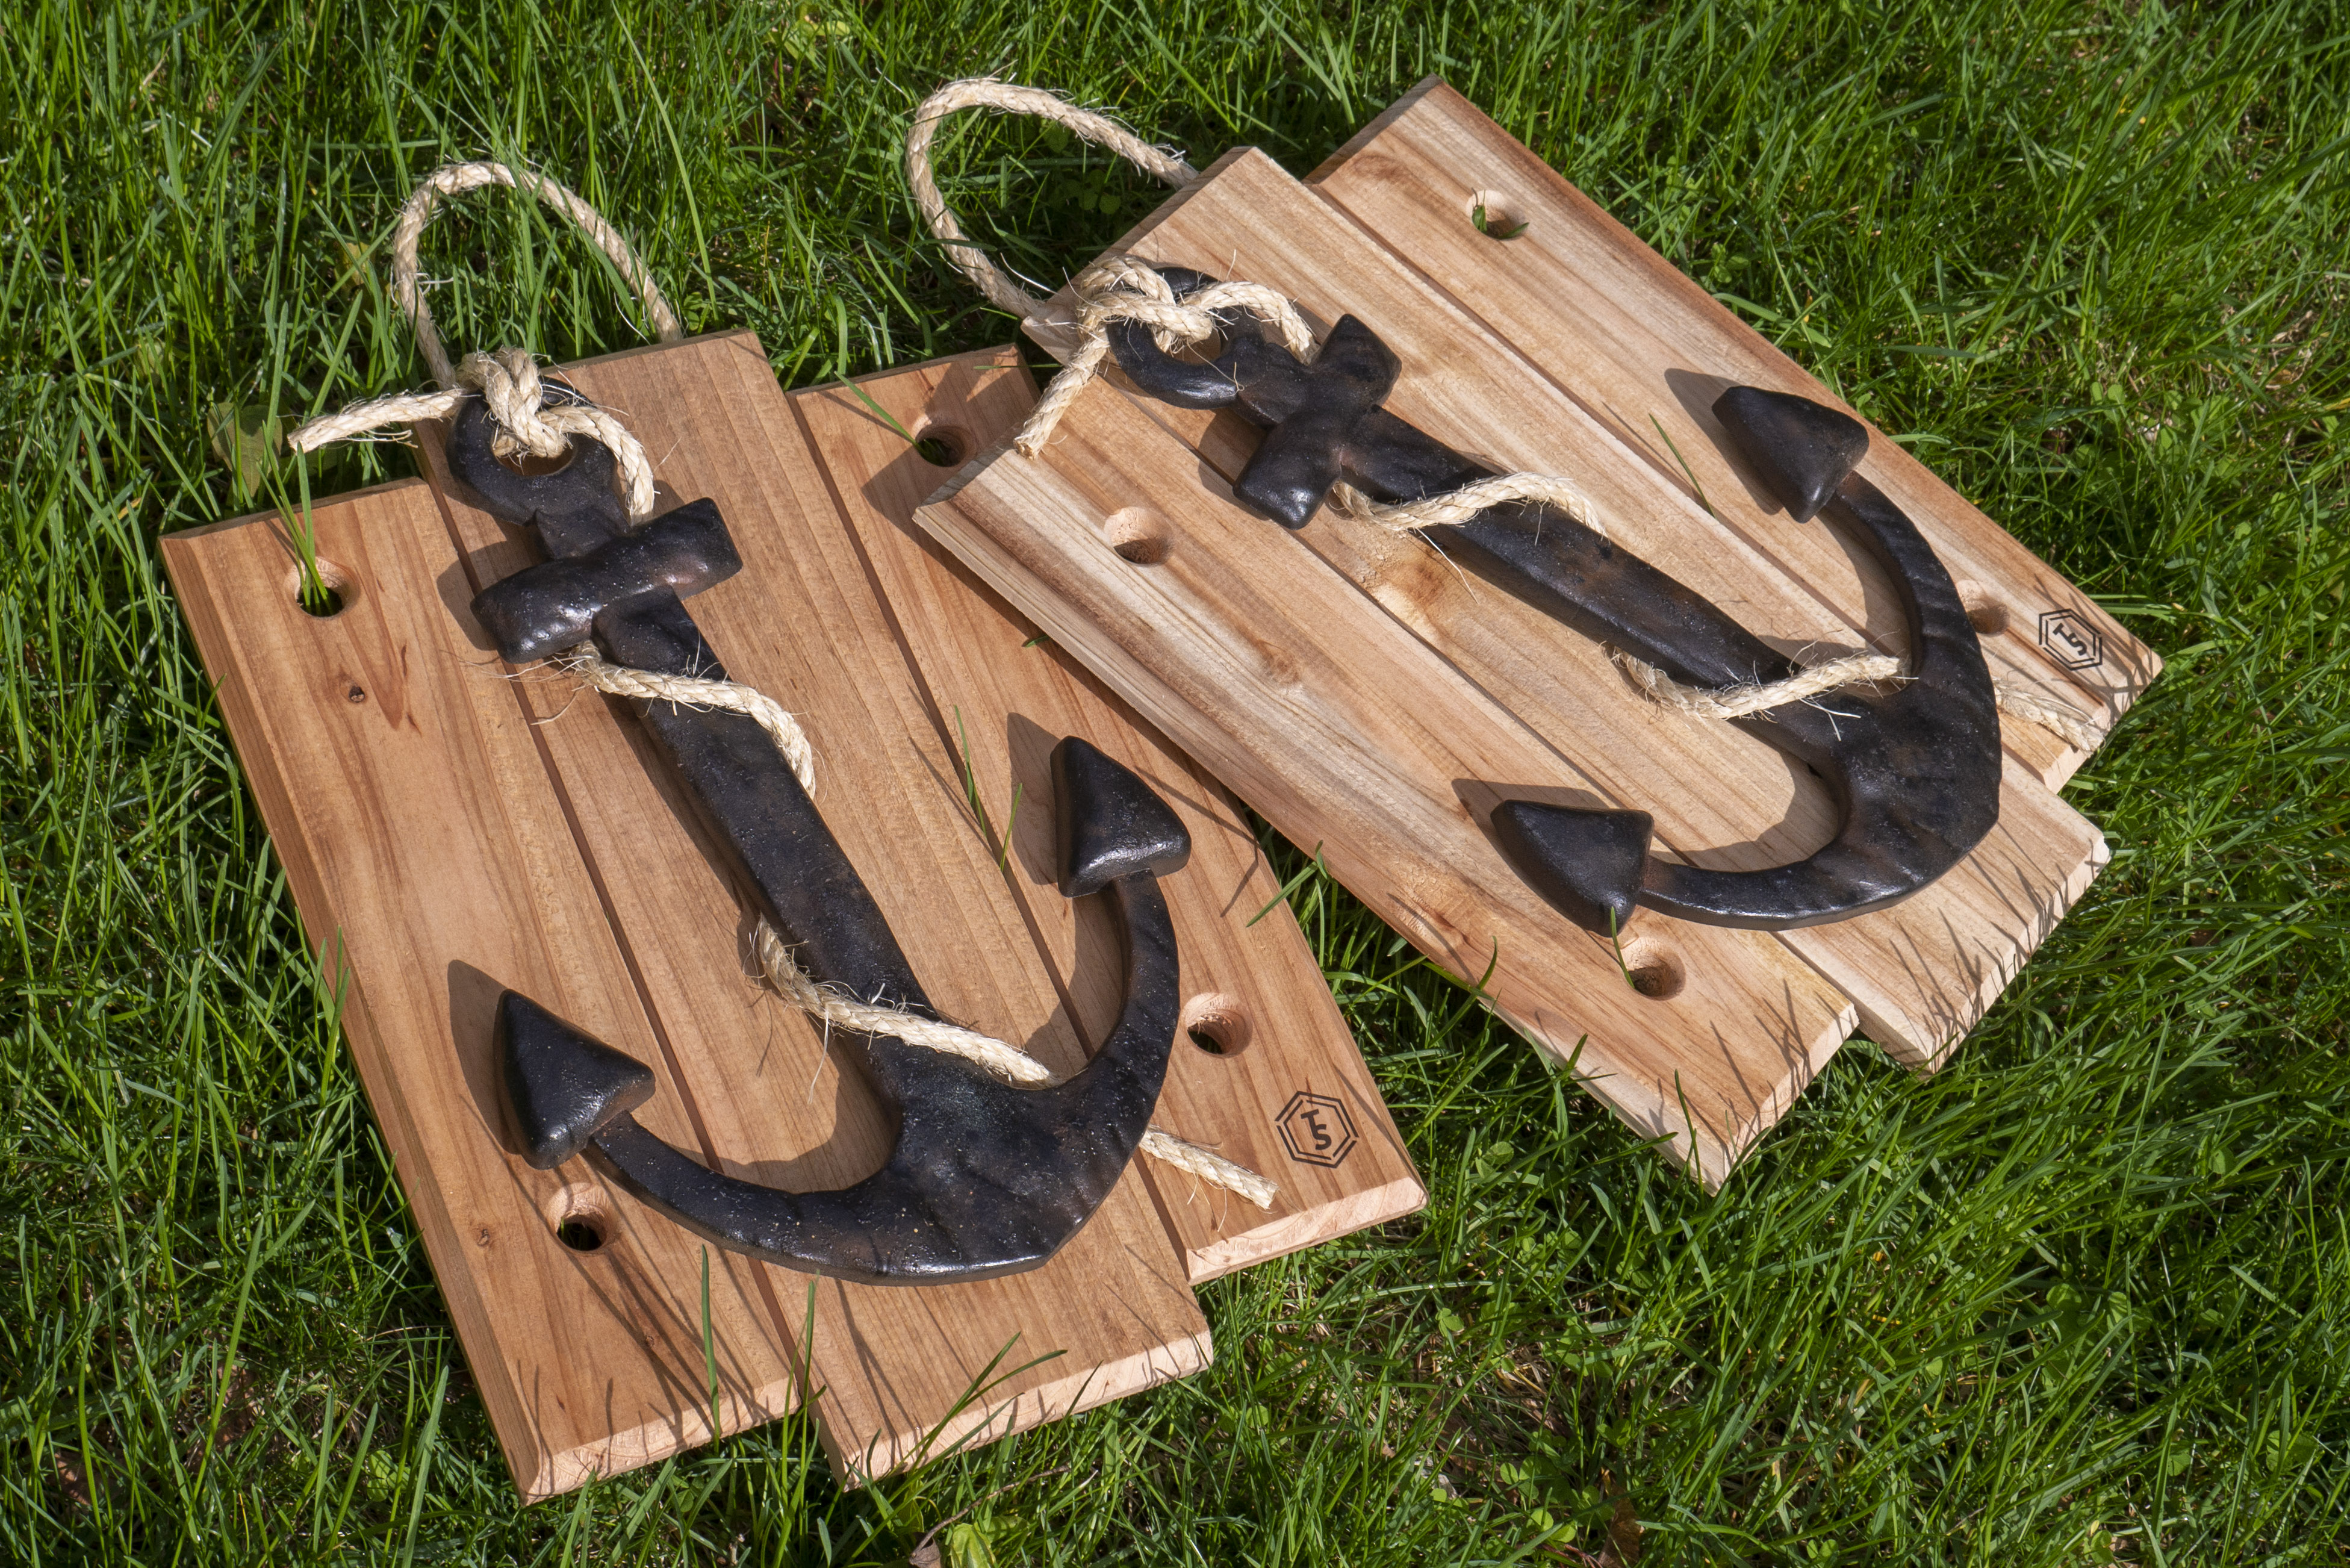
The anchor was printed on my 3D printer in 2 pieces, glued together and I used spot glazing putty to smooth out any lines and give myself a good base for paint.
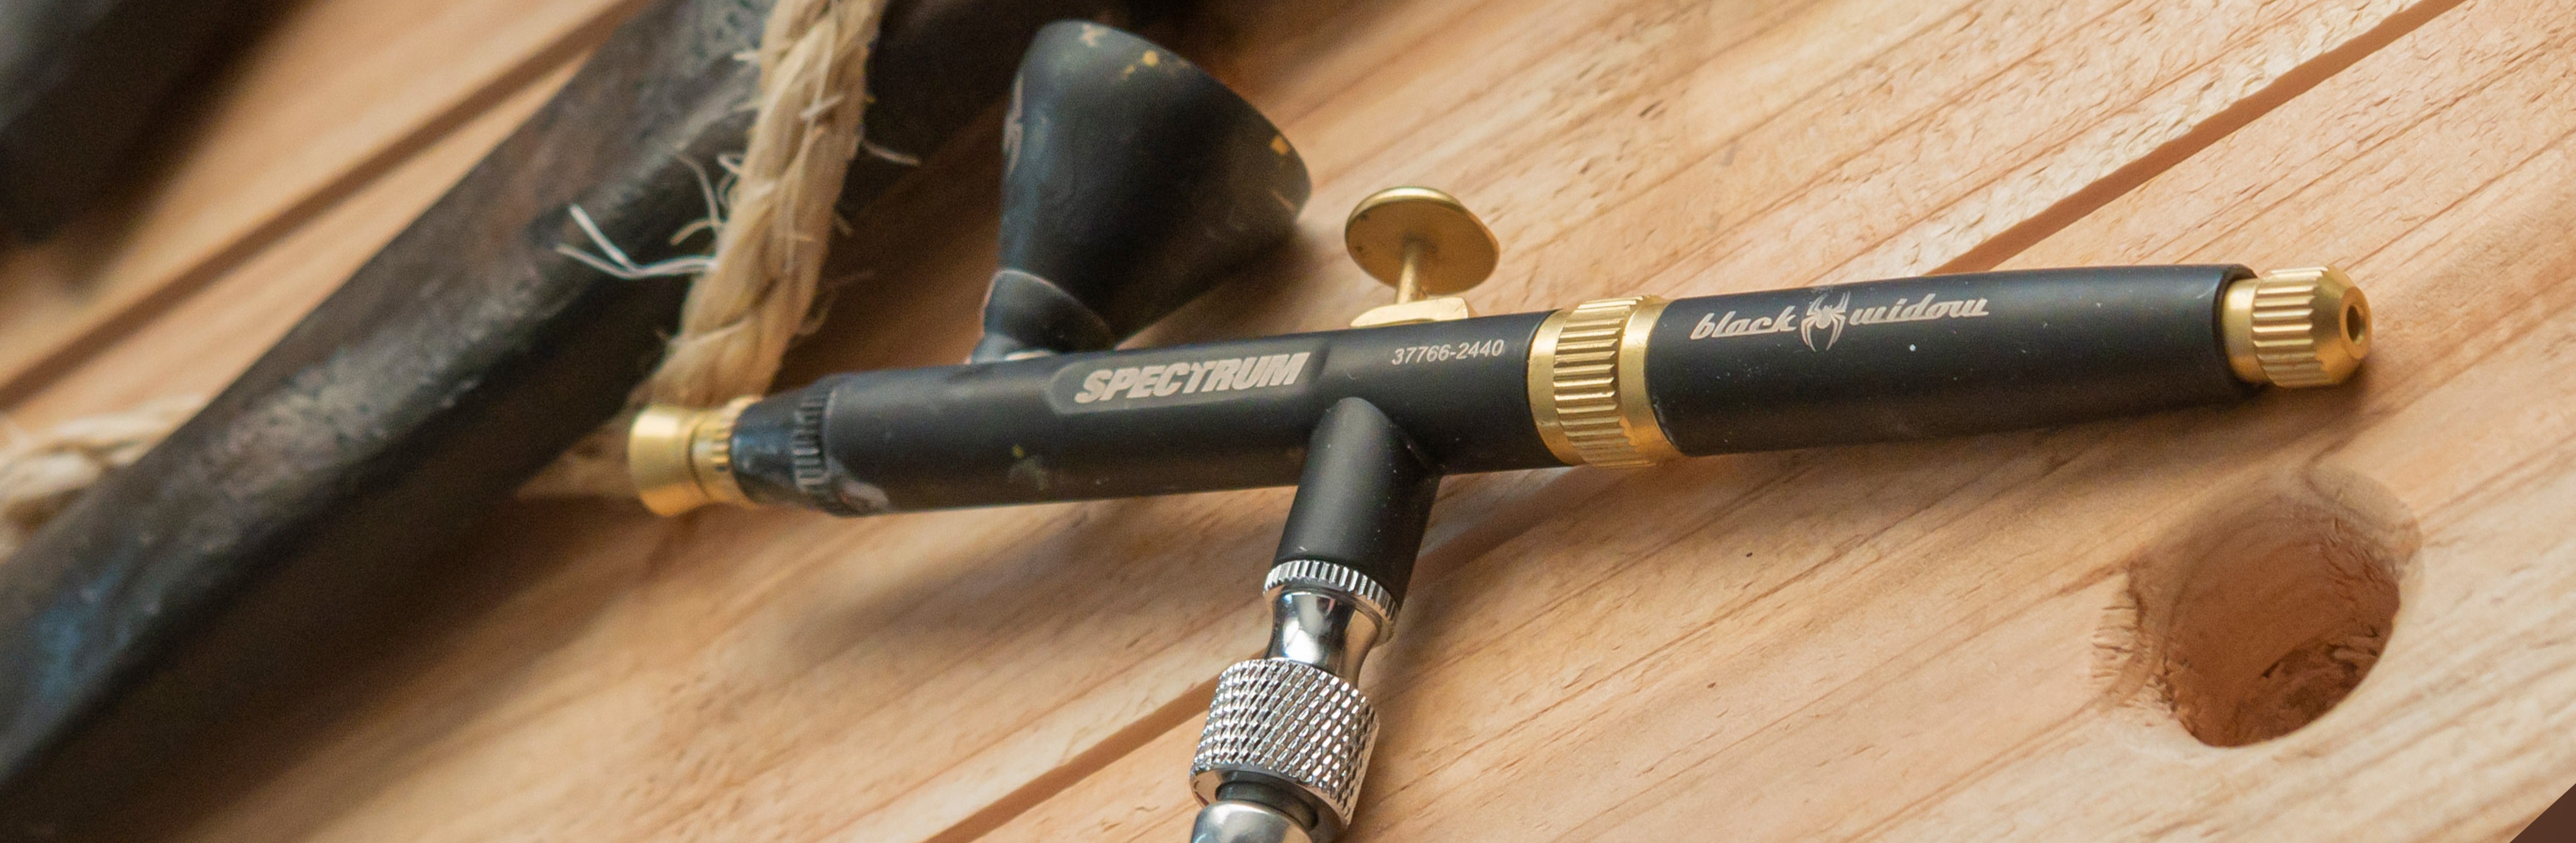
I used a multi stage painting and weathering to get the cast iron look. once that was dry I moved on to airbrushing in some rust colors to key wear areas.
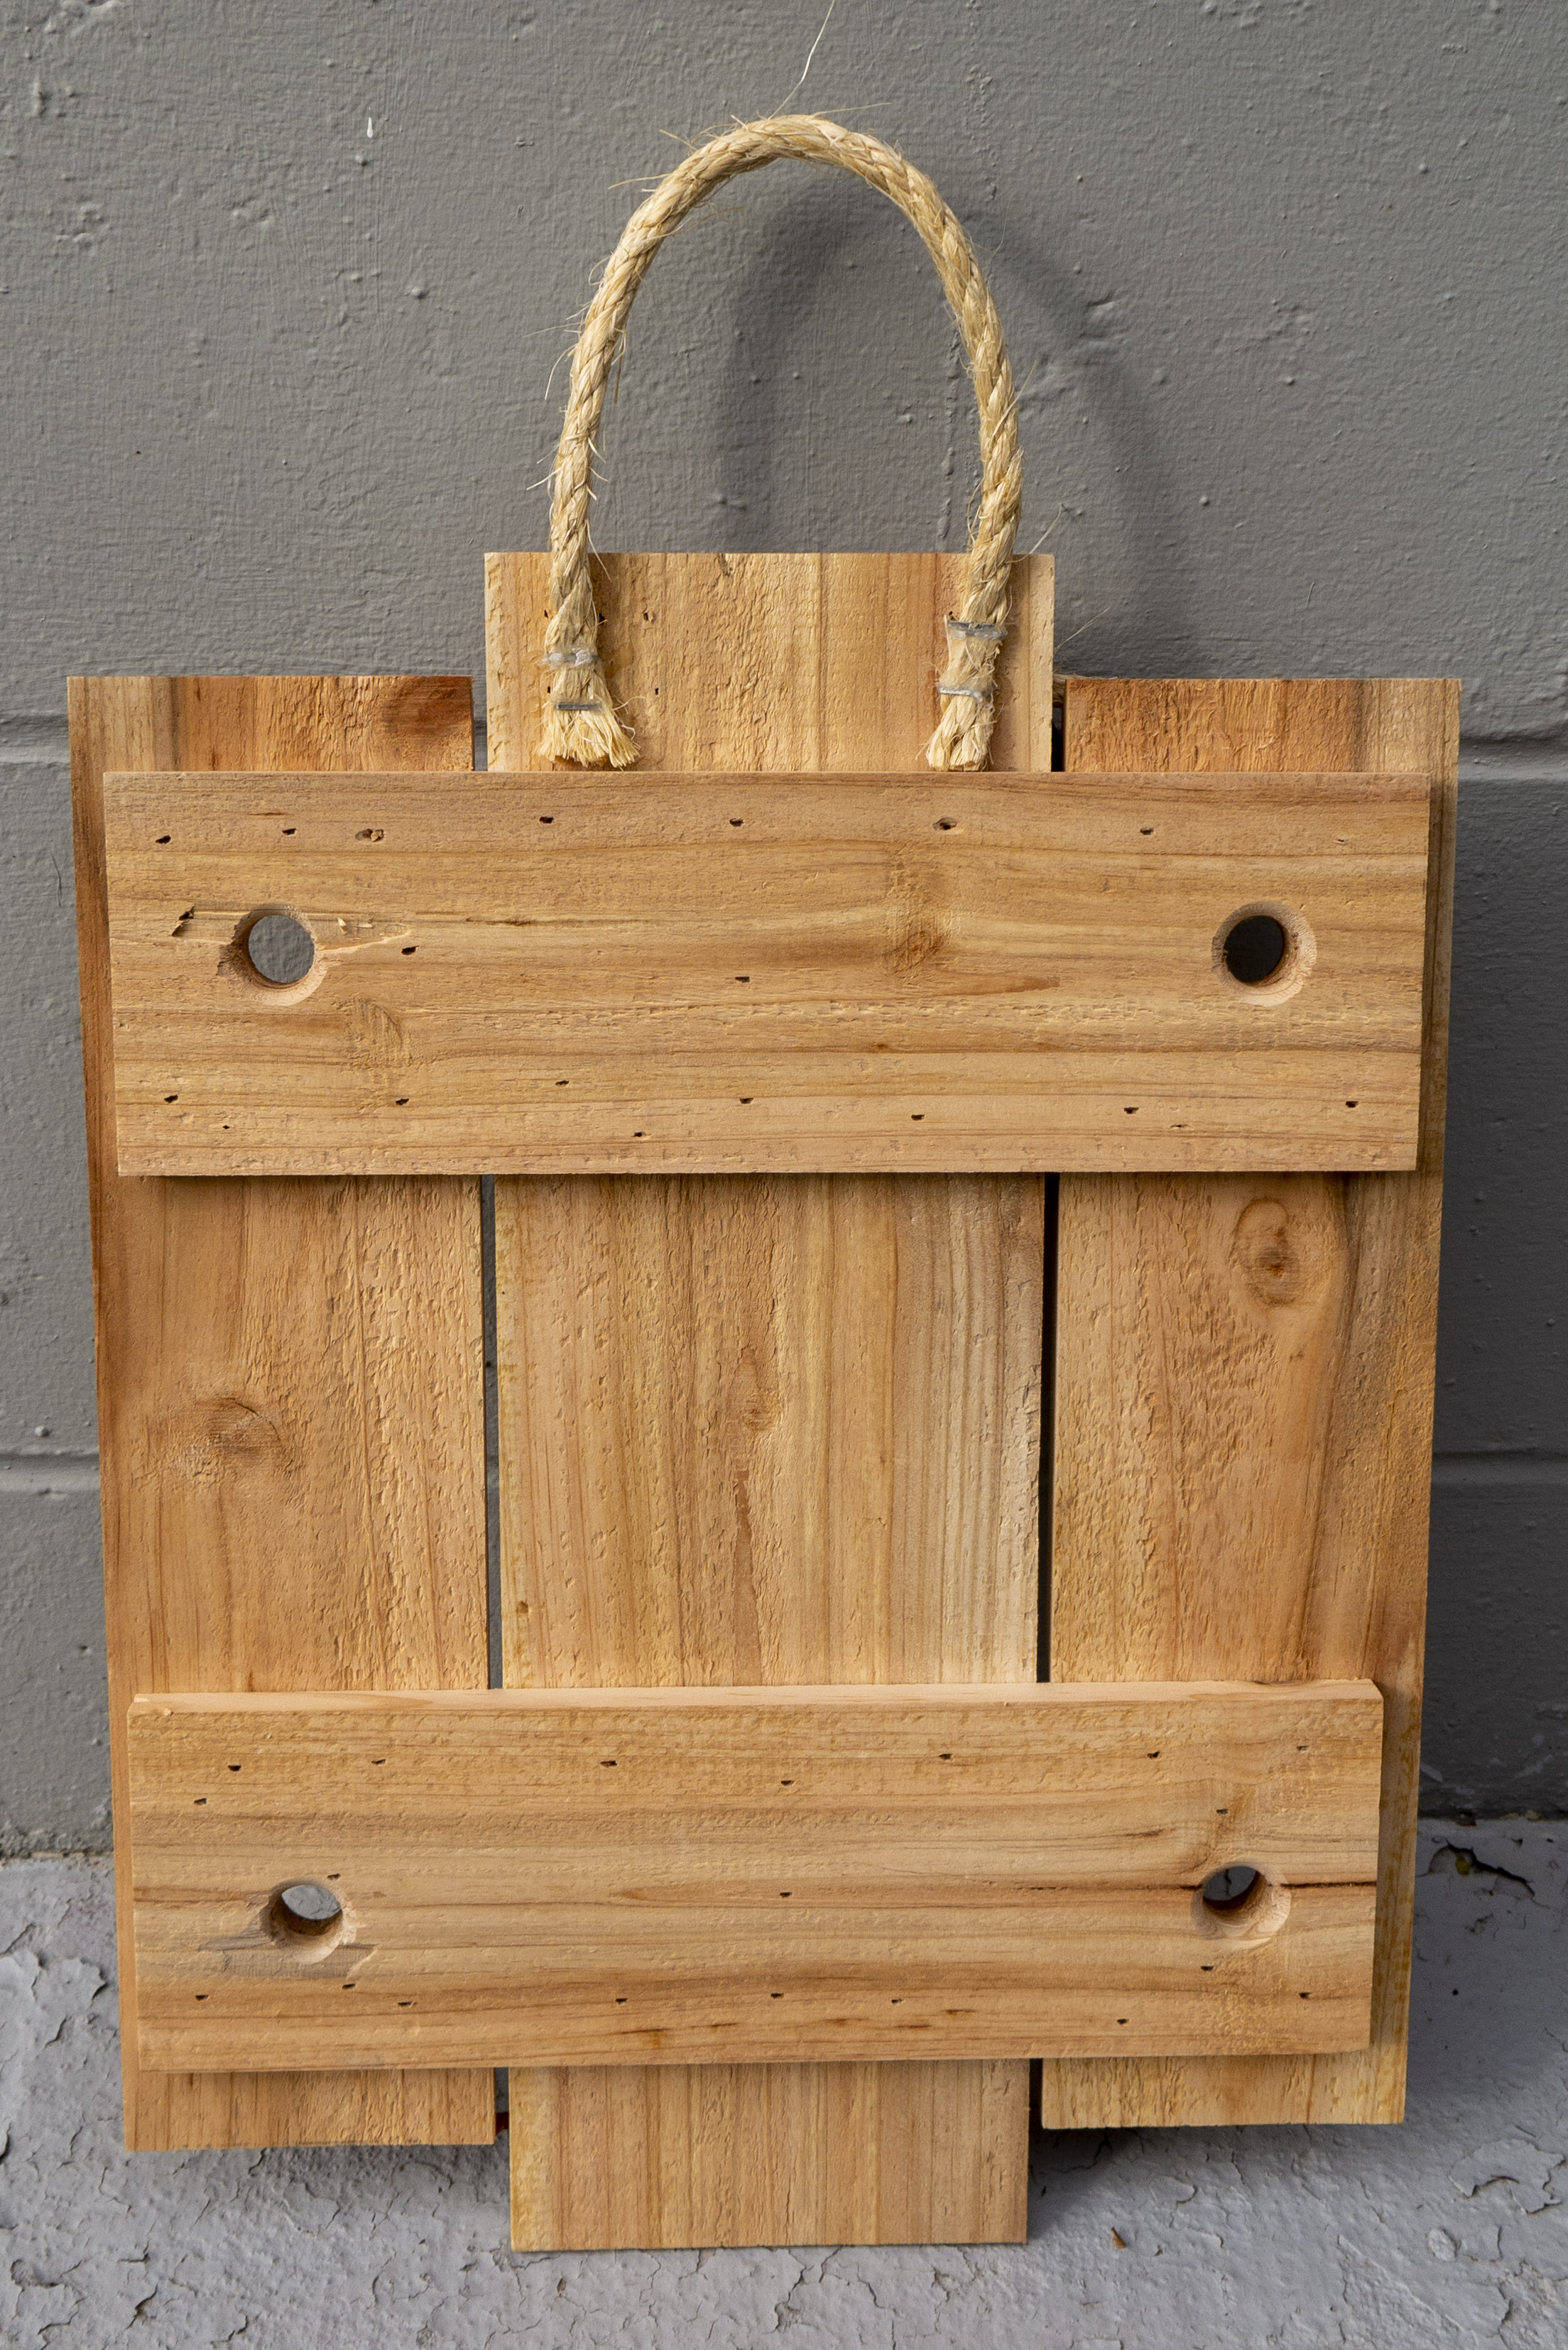
Now to bring it all together I used a cedar picket cut and ripped to size to match the render. The backer was glued and nailed together, a 45deg chamfer was routed into the edges along with decorative holes drilled and routed to round over the hole's edge.
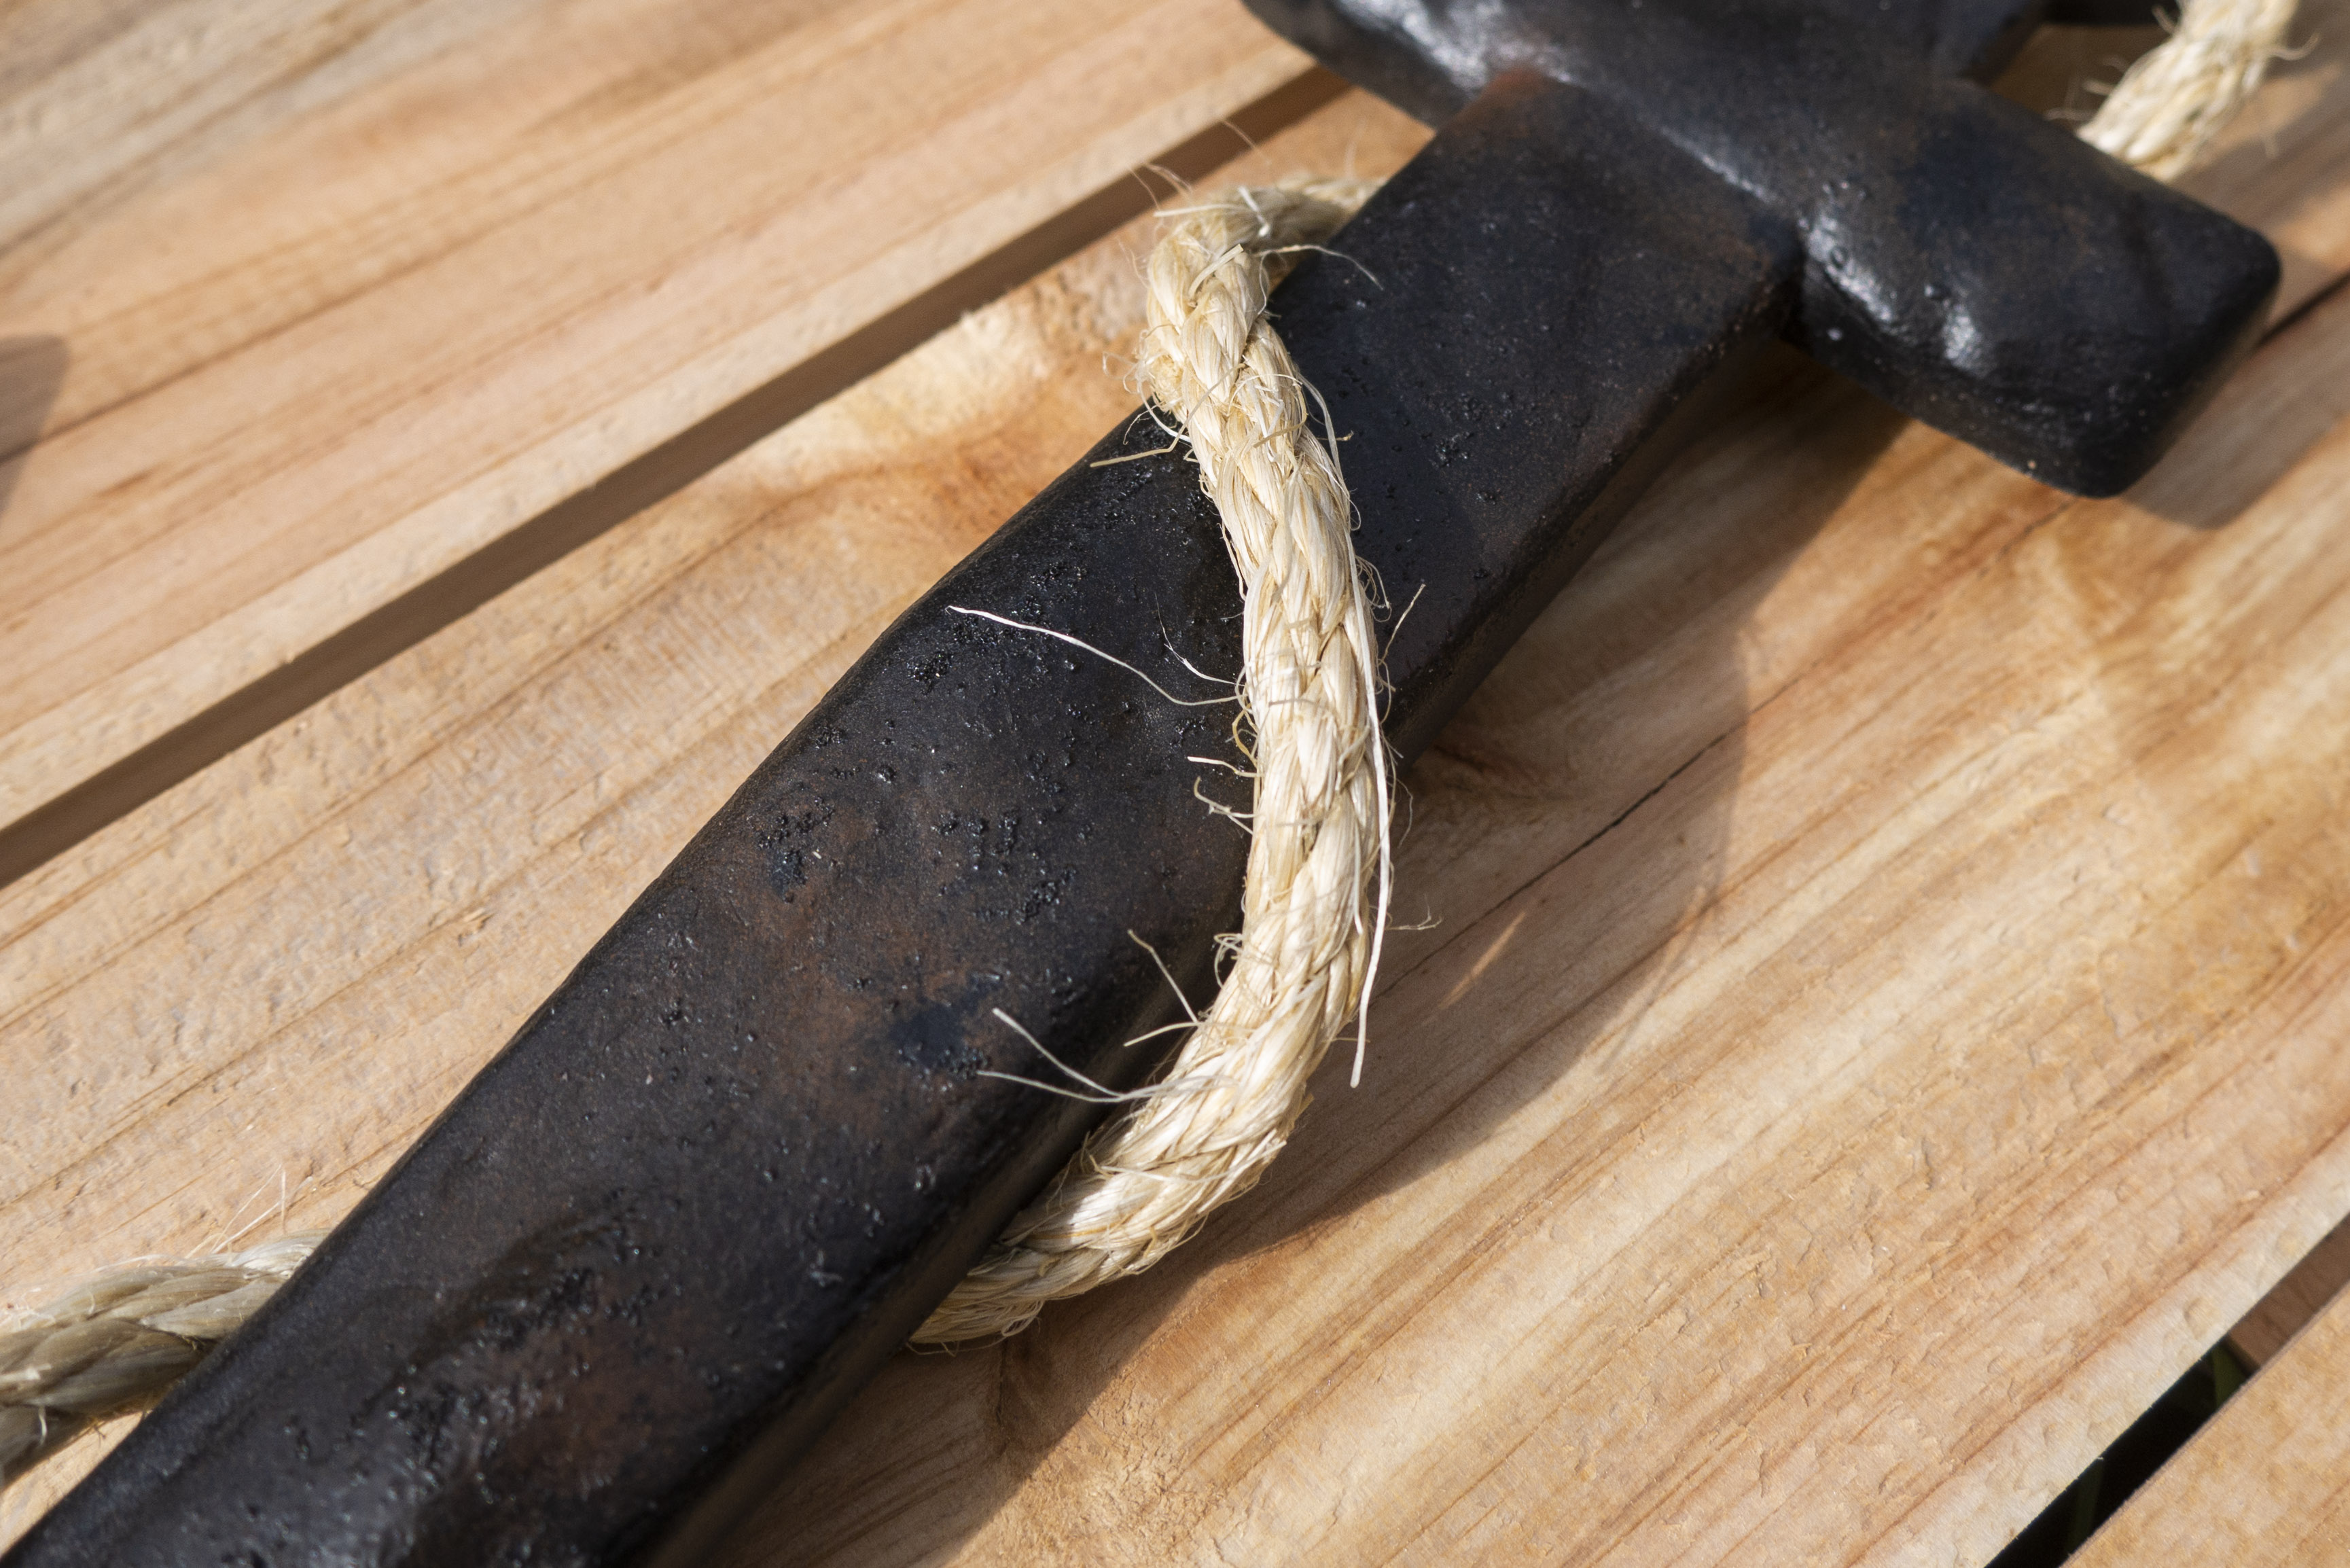
Sisal rope was then attached to add more texture to the anchor and also use a convenient rope hang mount.
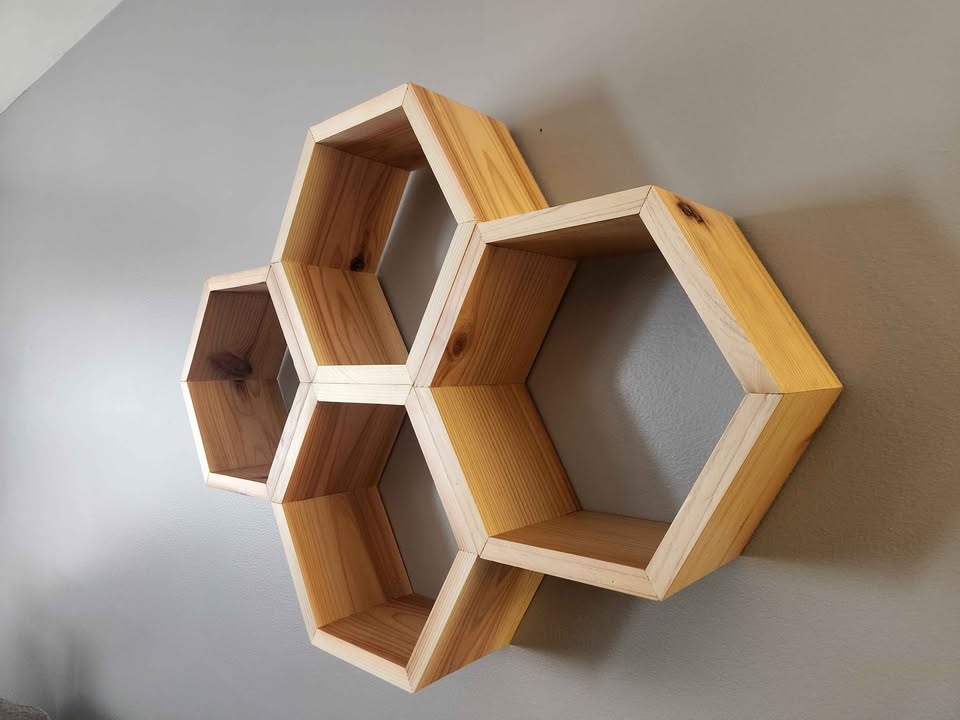
This was my first woodworking project after getting my table saw. To make a hexagon out of wood the miter joints need to be perfect.
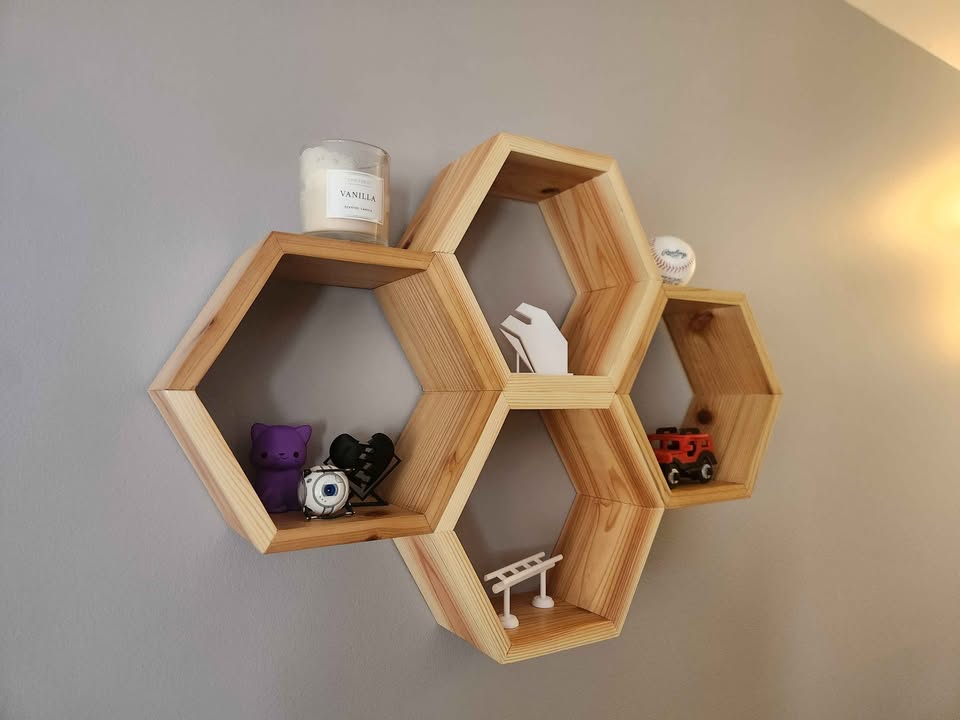
This project was test to my personal consistency and the saw setup across all 4 hexagons.
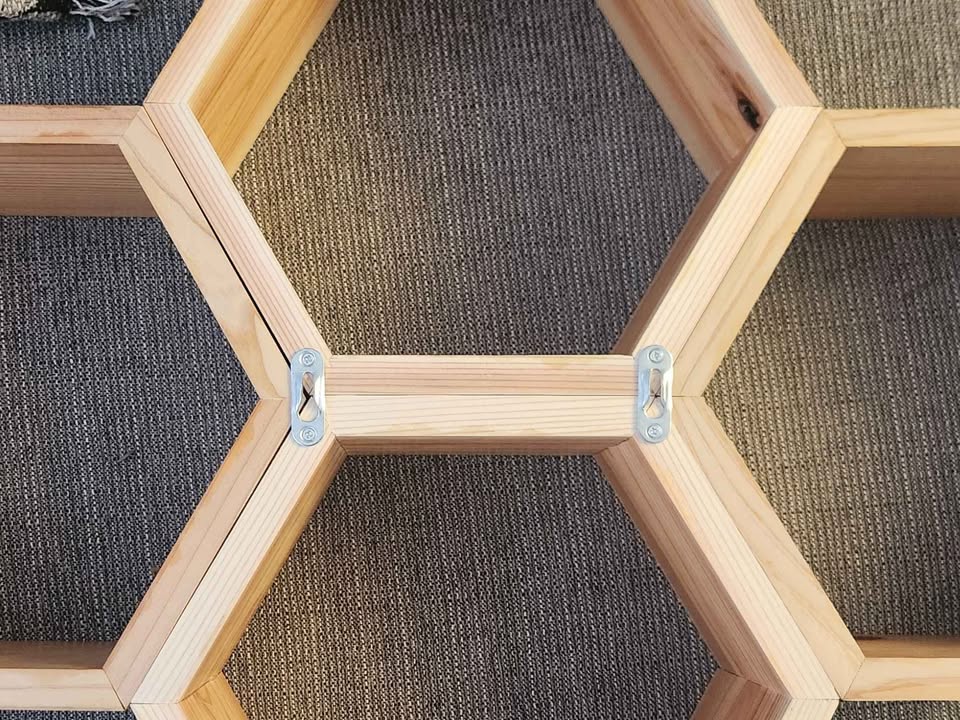
once all the pieces were cut they were glued, clamped, and repeated. The back of the shelf features key hole hangers for a floating flush look.
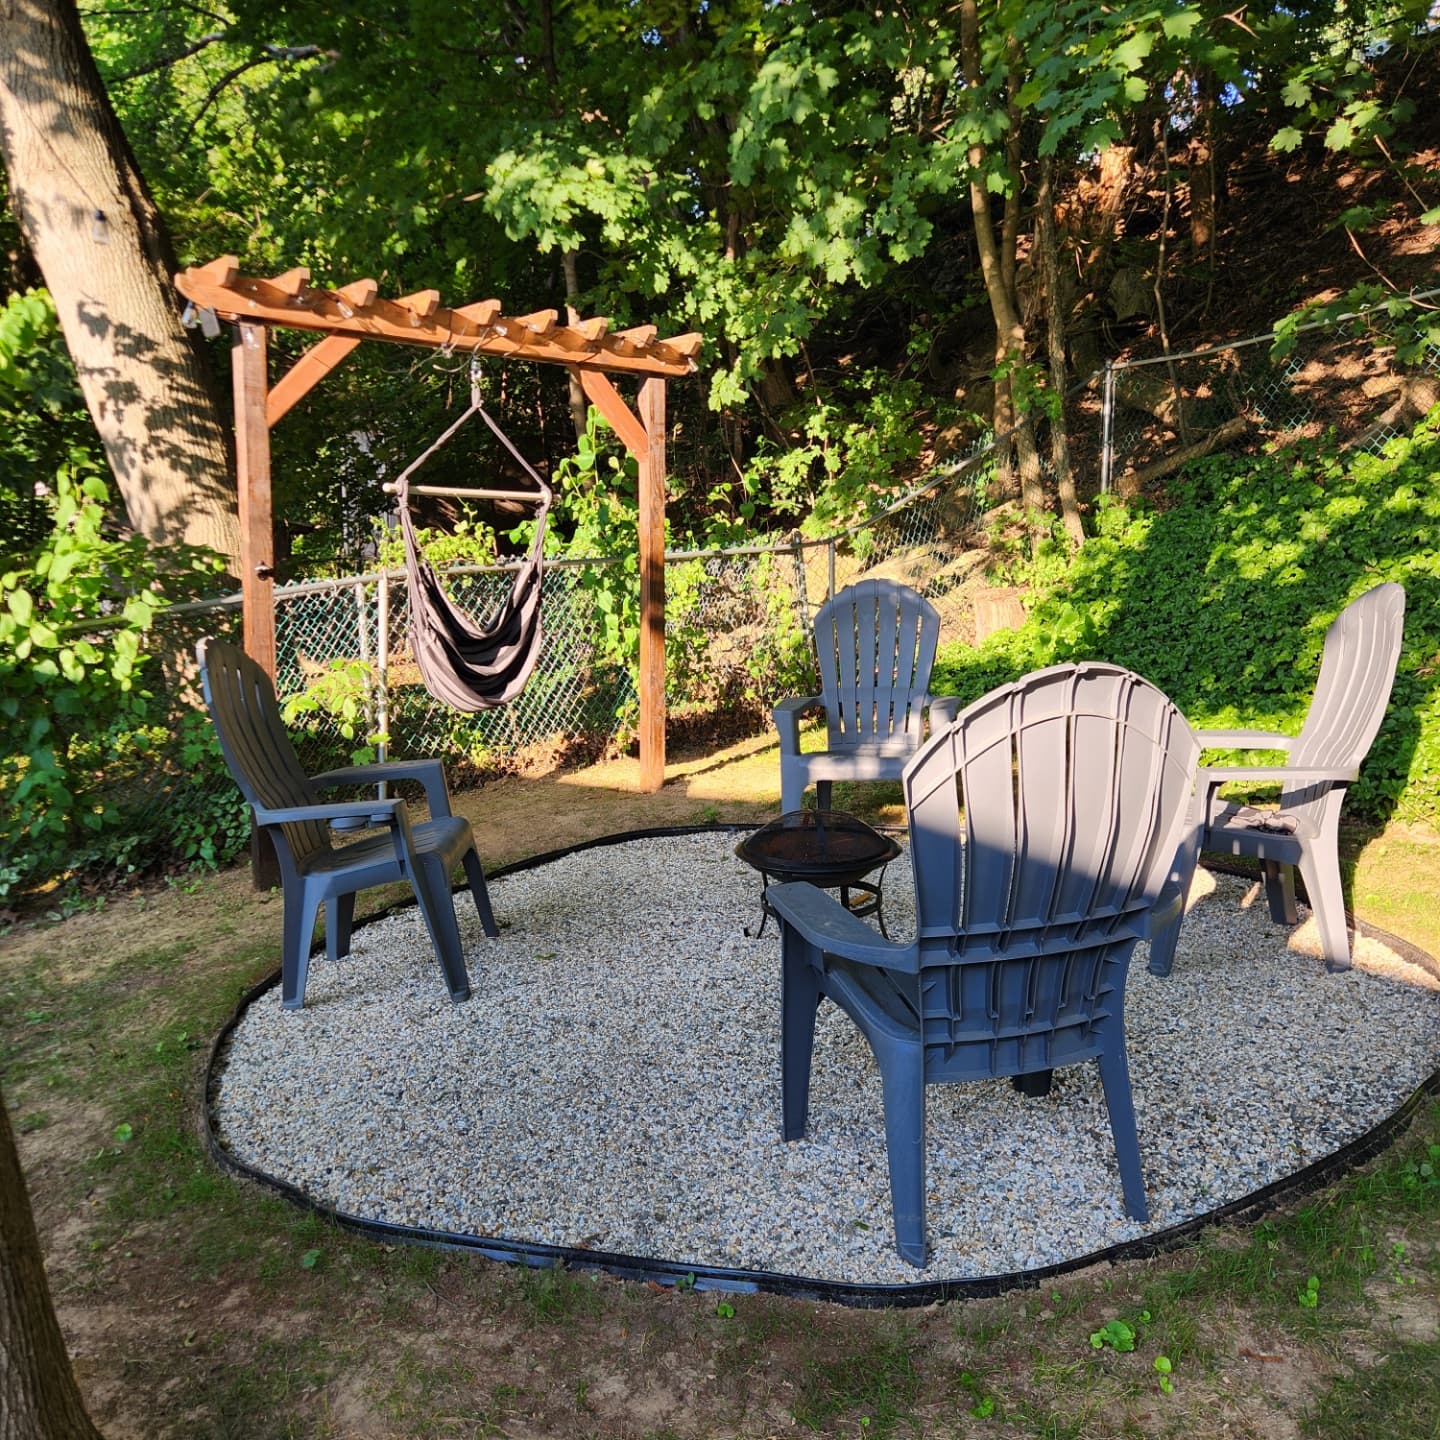
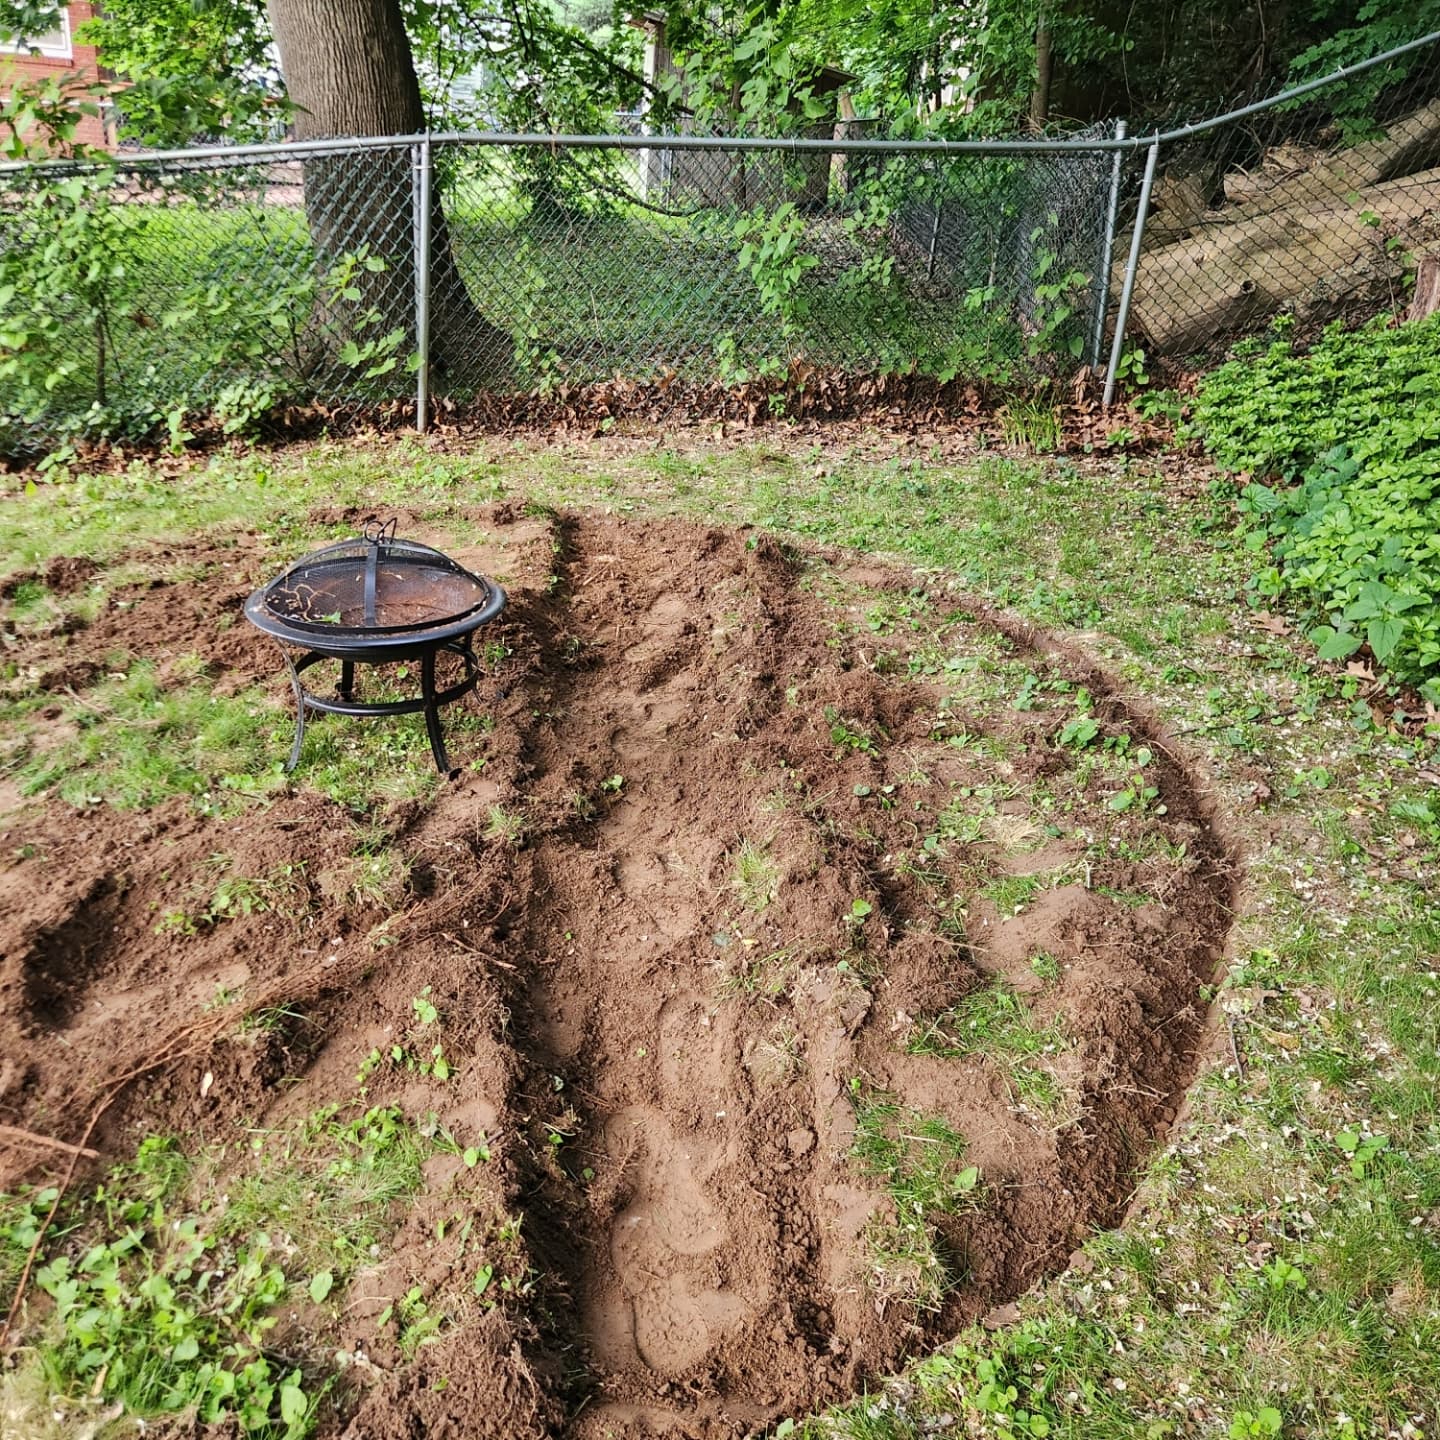
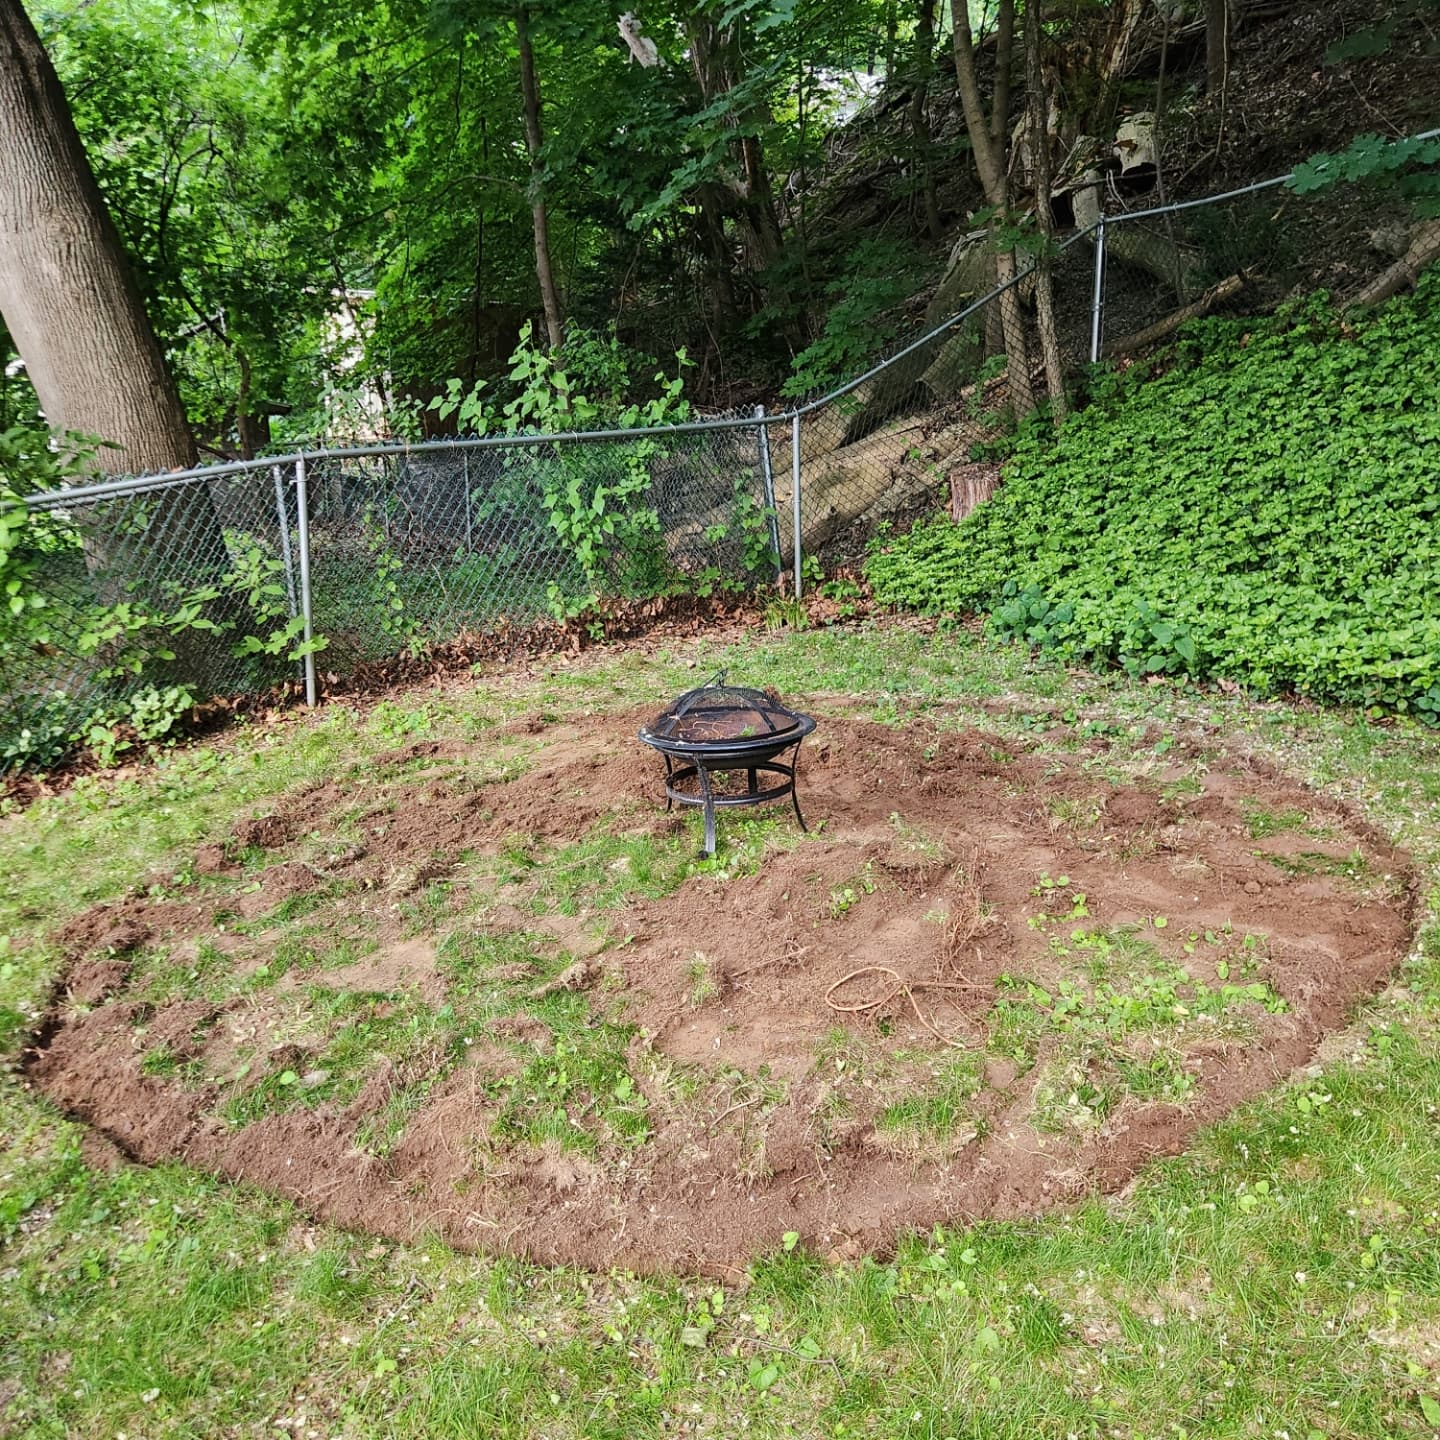
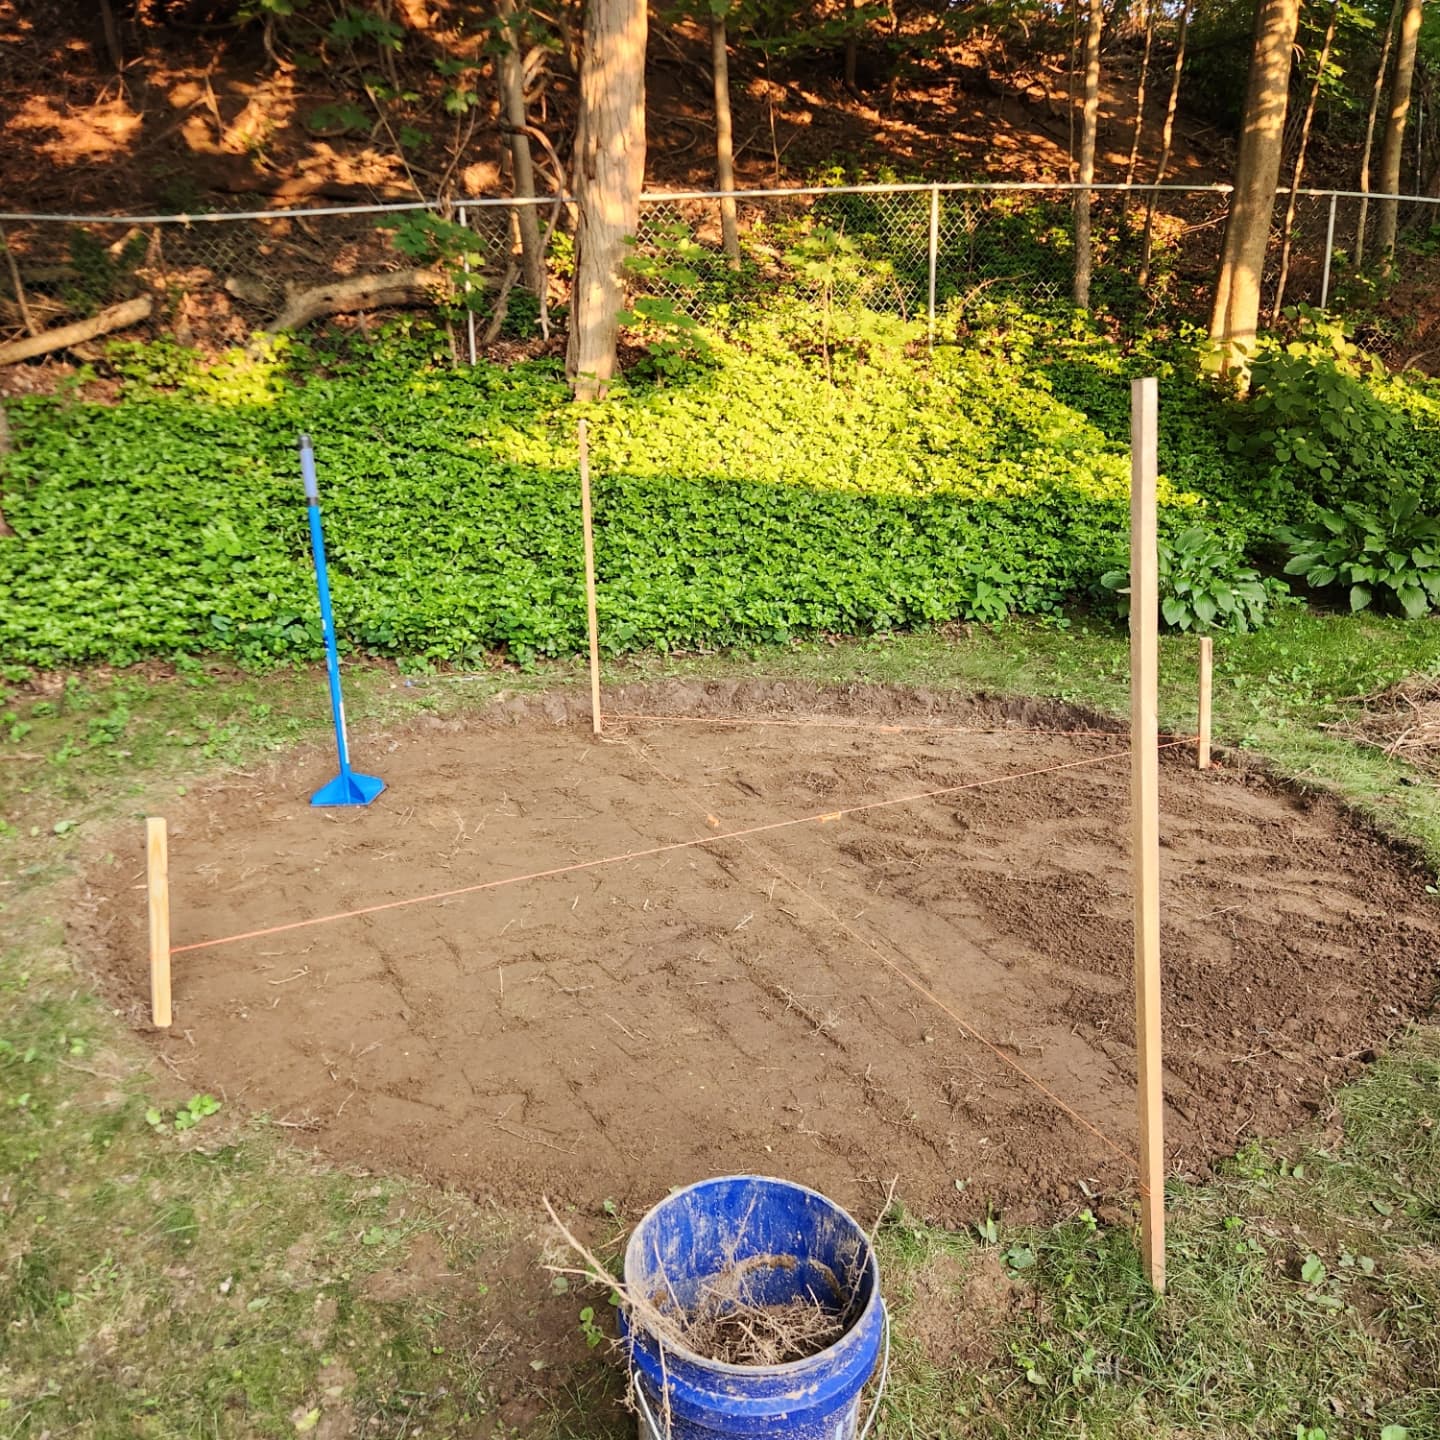
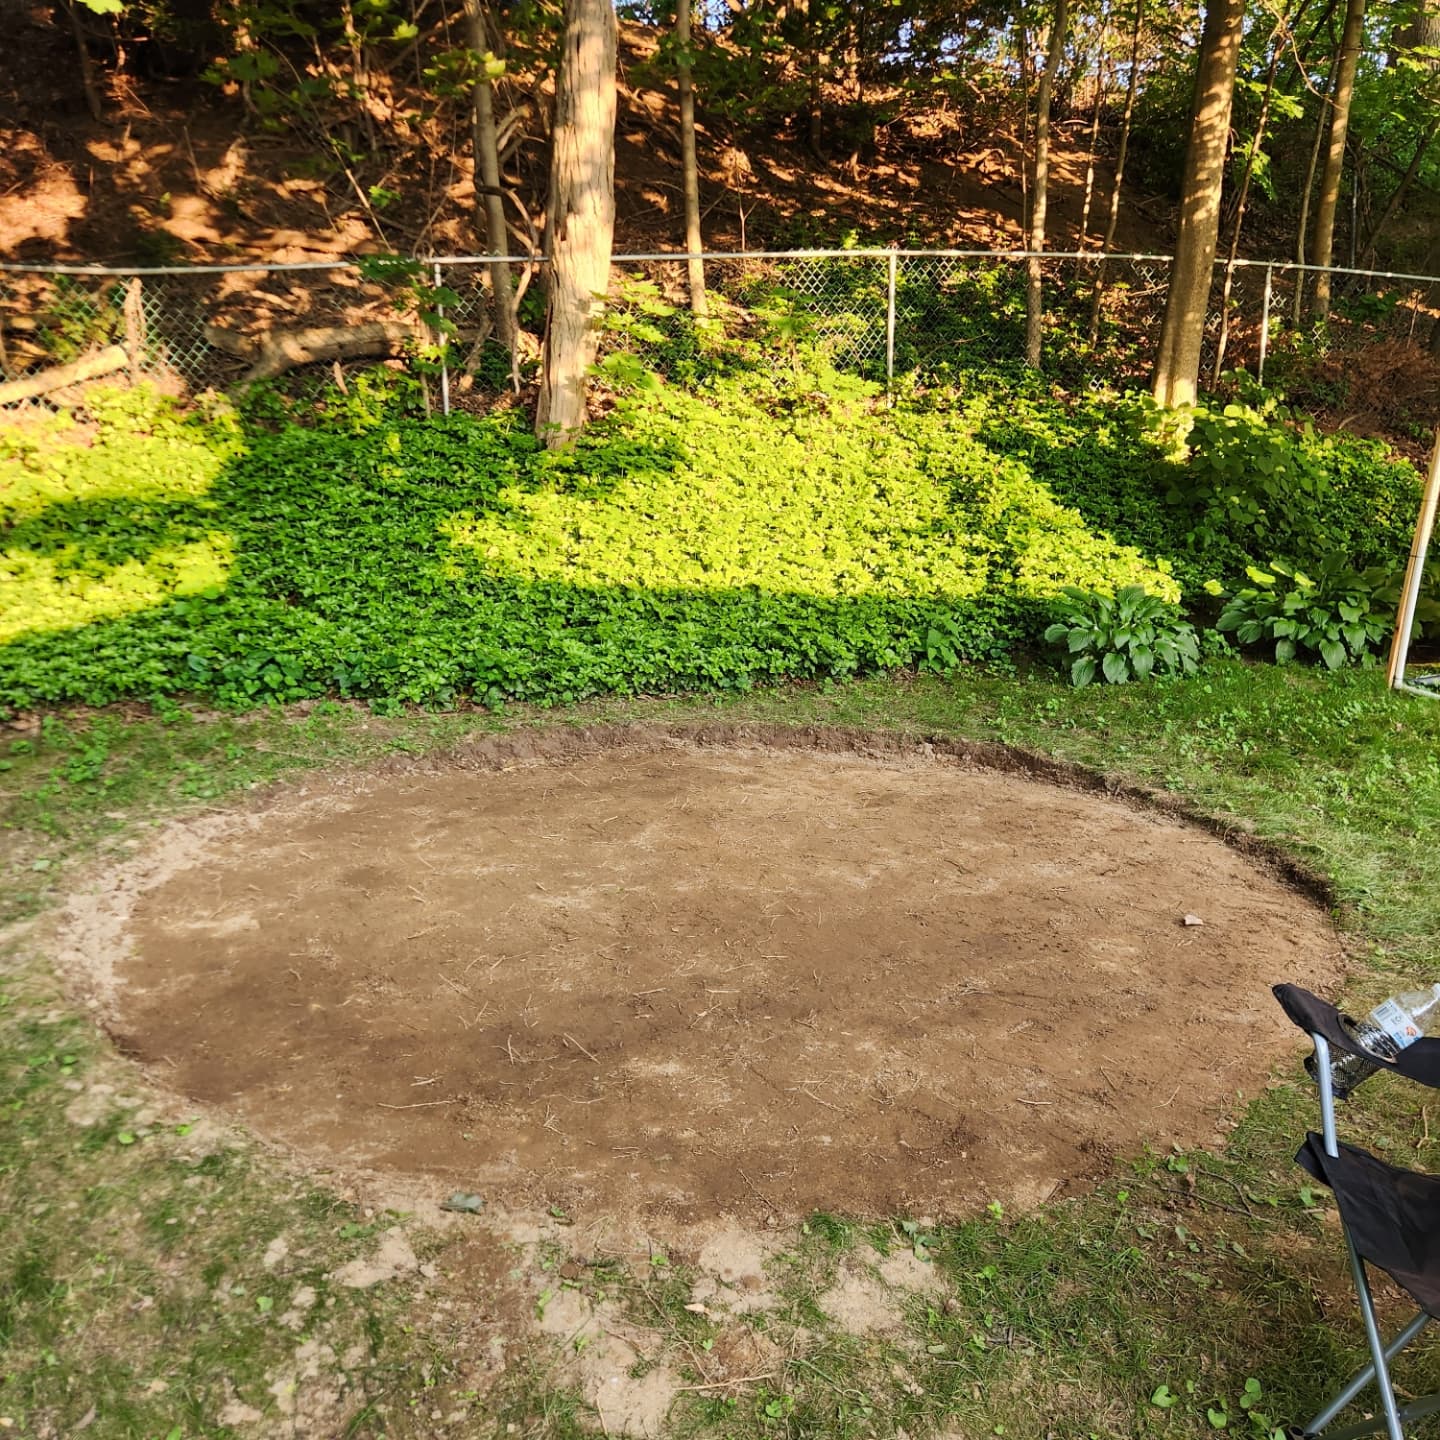
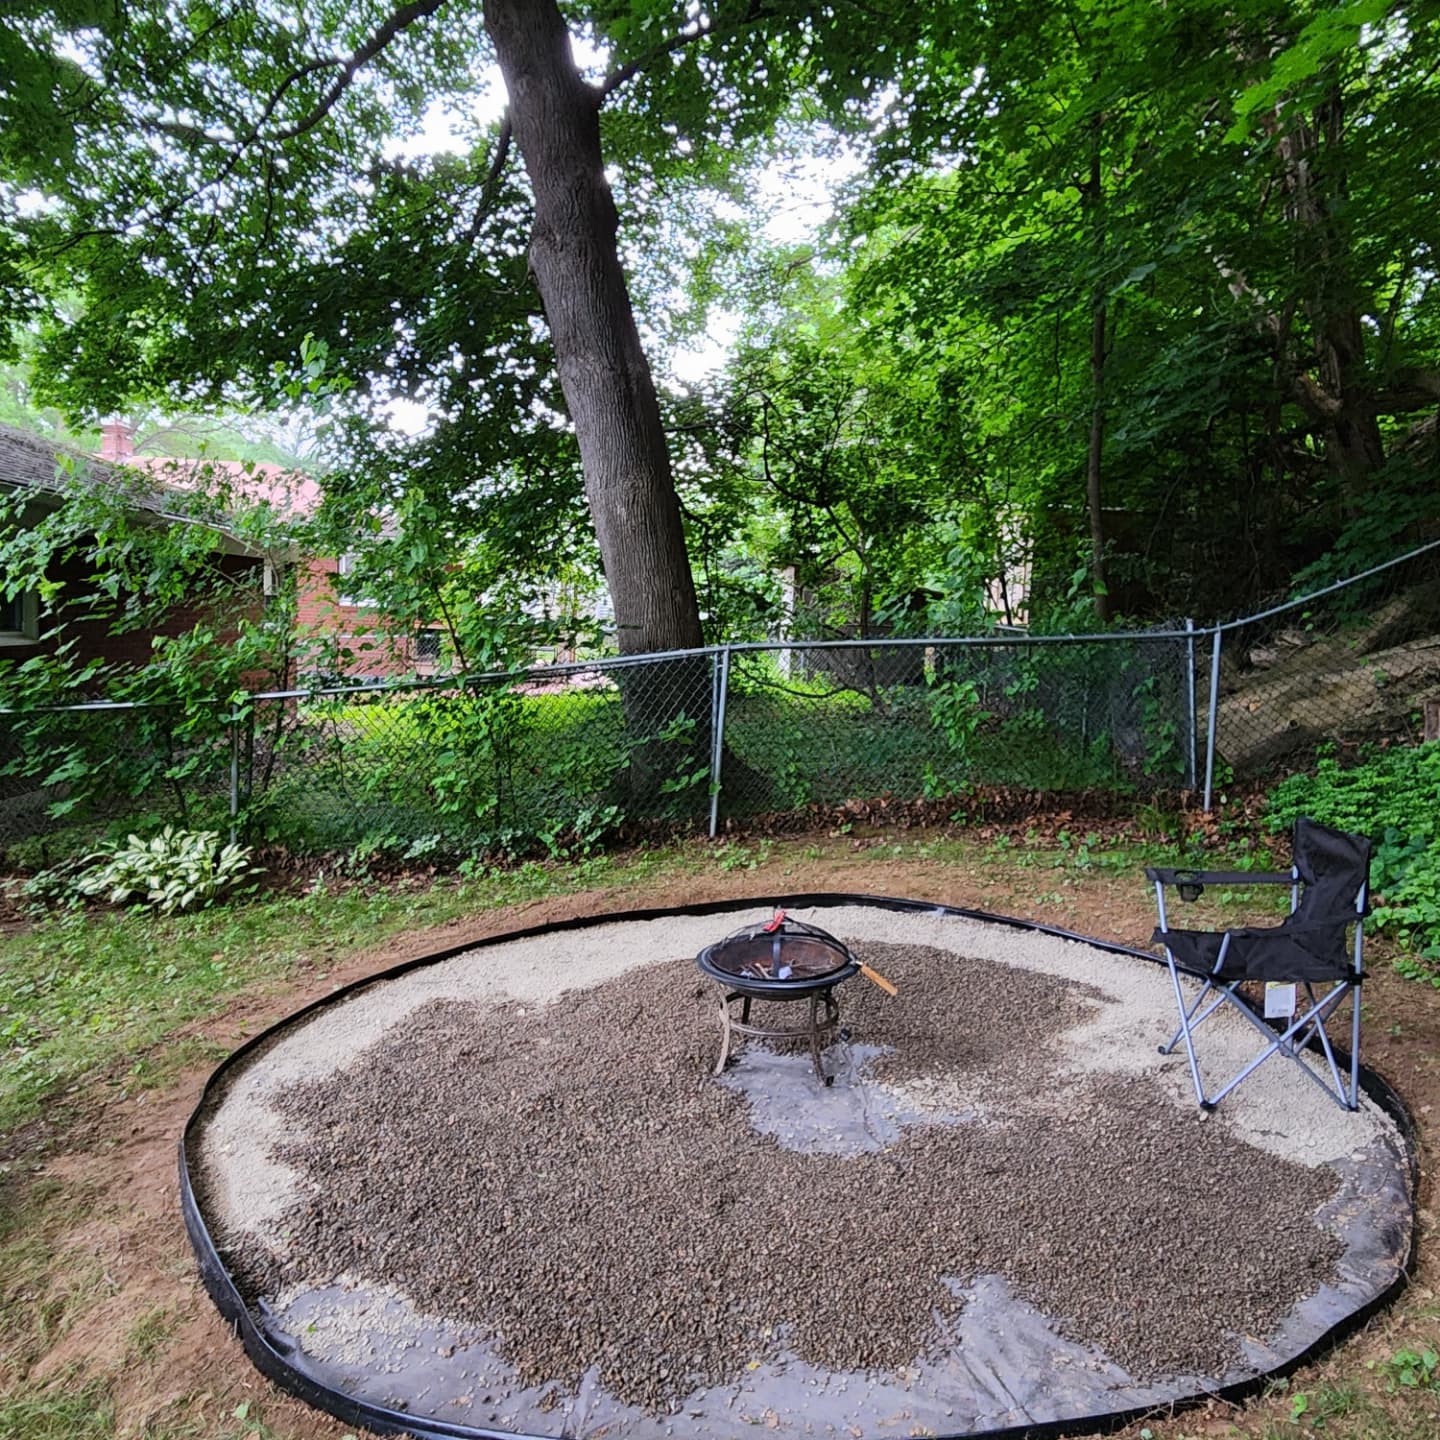
This was my first outdoor large scale landscaping and carpentry project. My yard has a decent grade hill which is not ideal for a flat fire pit. The first steps after finding a location and drawing out the circle was to try to dig and level/grade the working area.
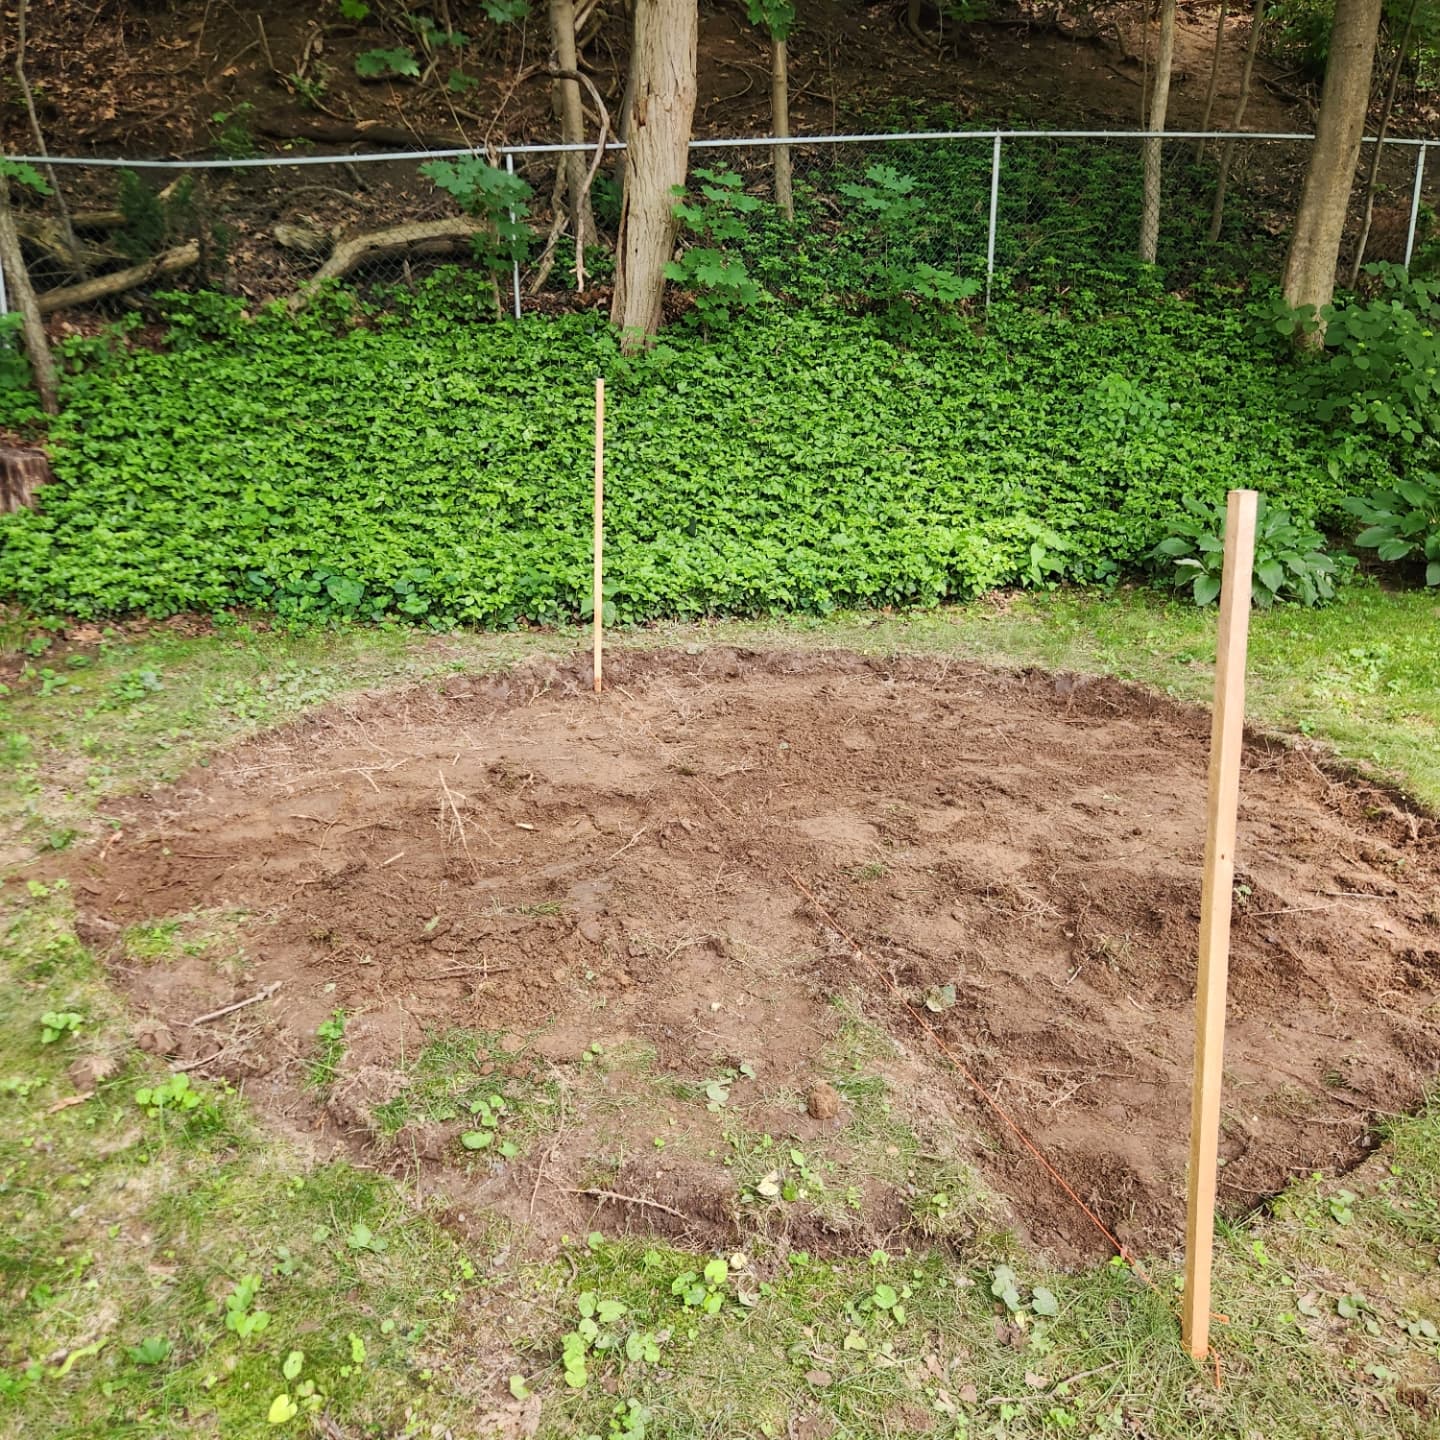
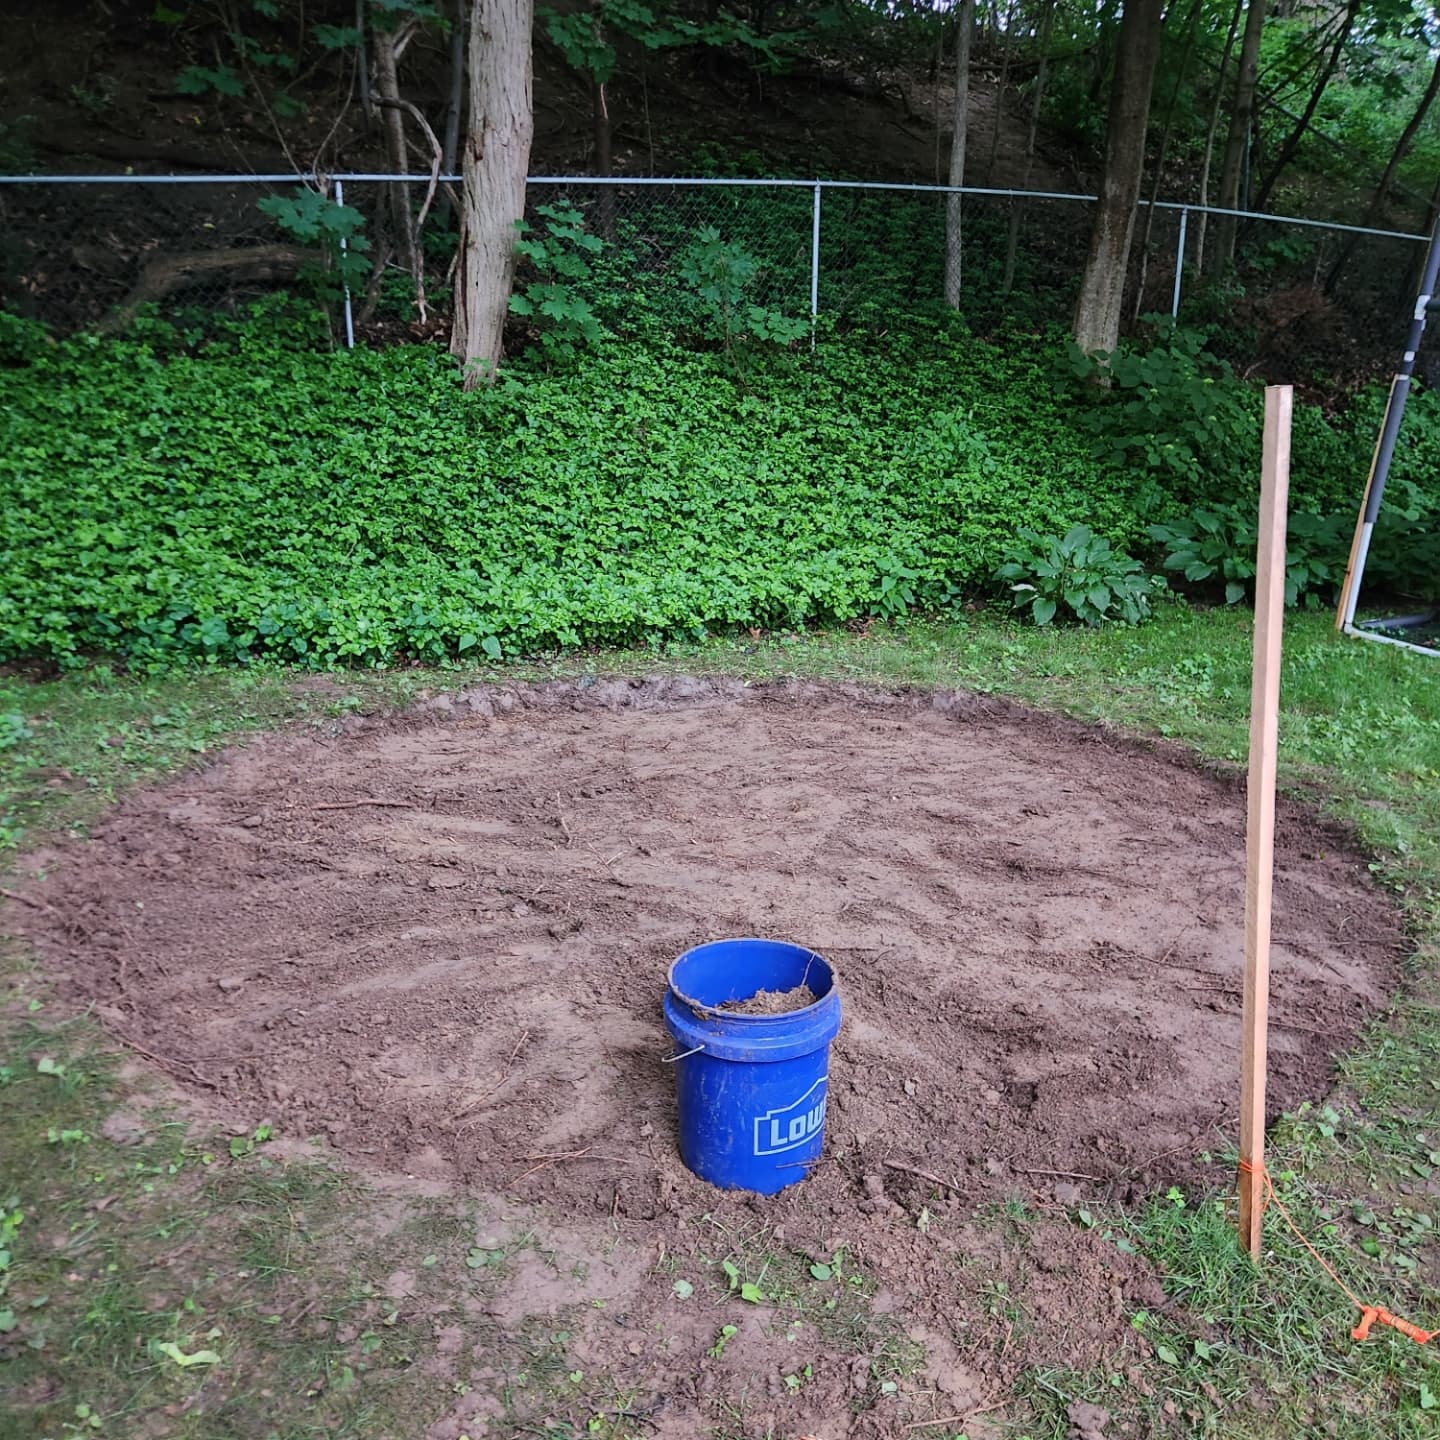
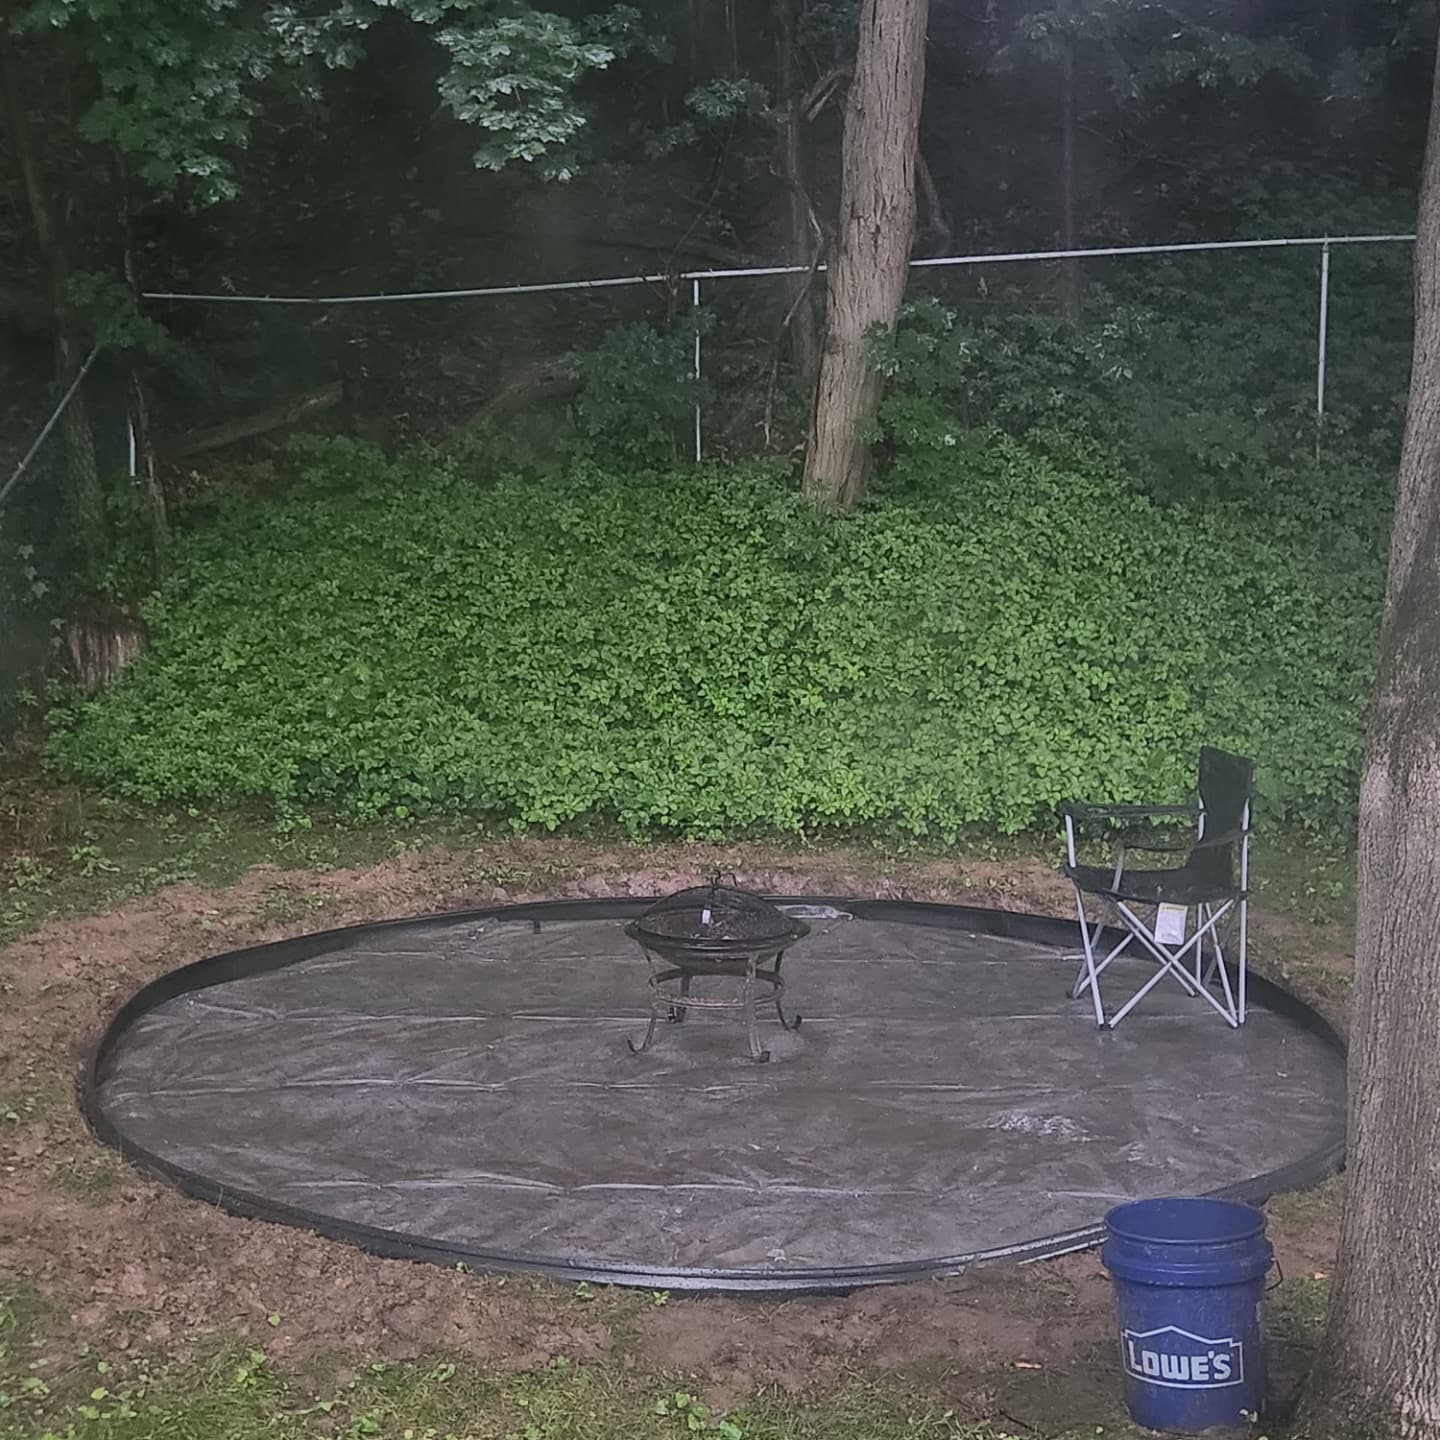
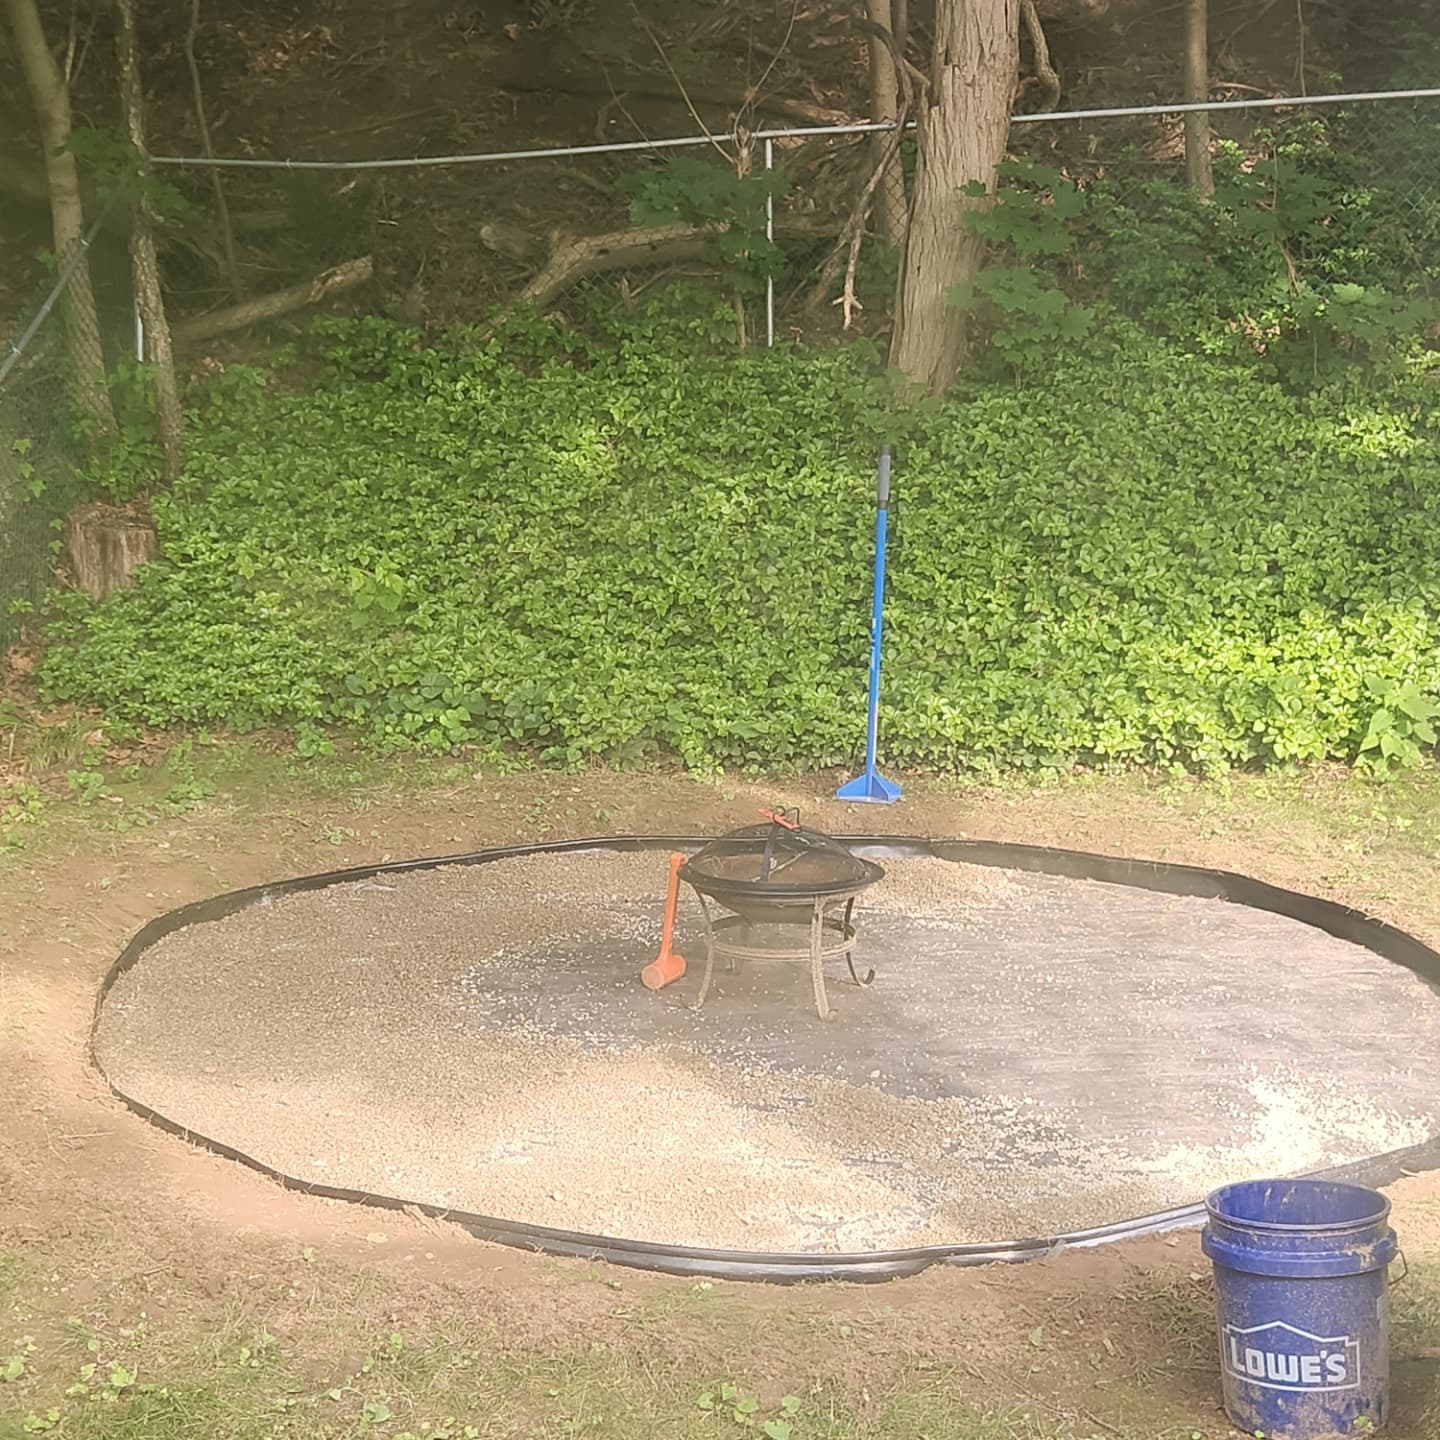
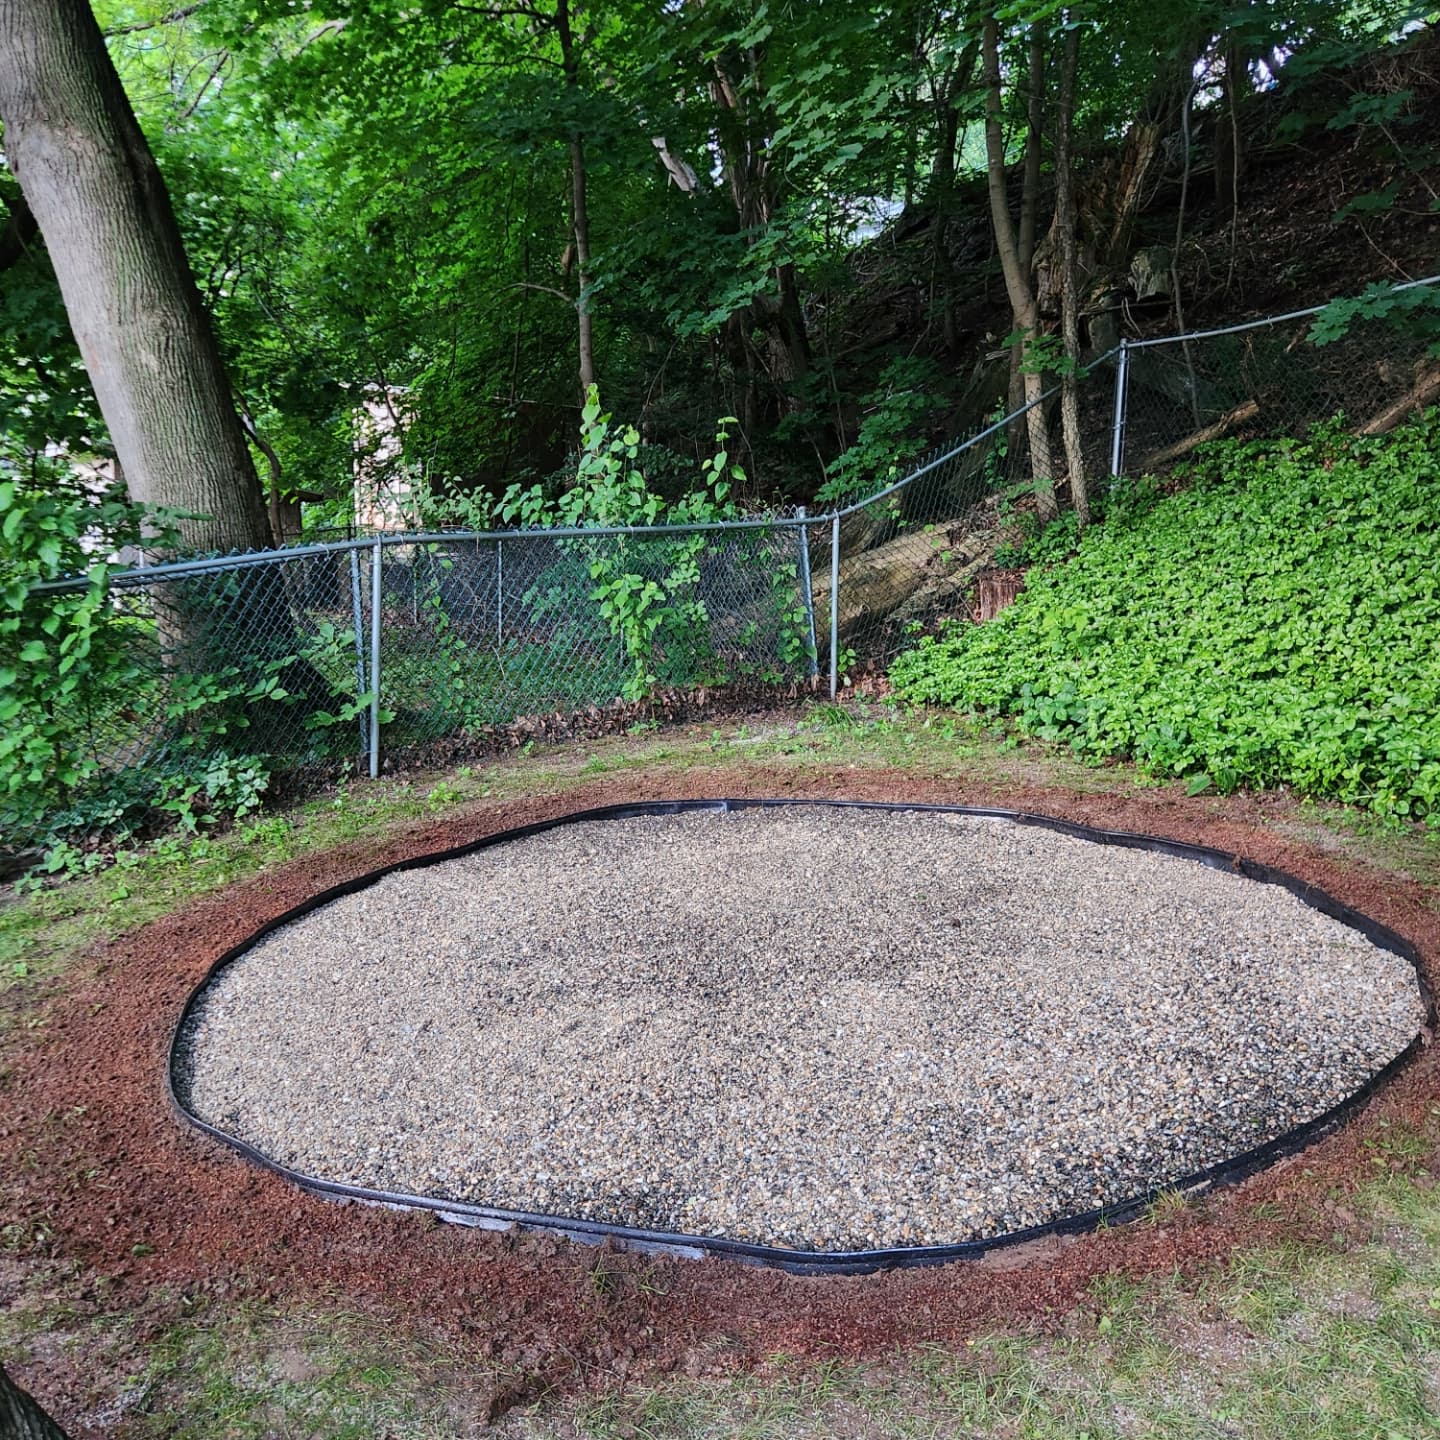
With a month till I was hosting a party, and only working on this after work / weekends it was bucket after bucket of dirt dug out rain or shine. After some compacting I had a solid base to lay a weed blocking fabric and then slowly haul 4 bags of pea gravel each day after work for a solid week.
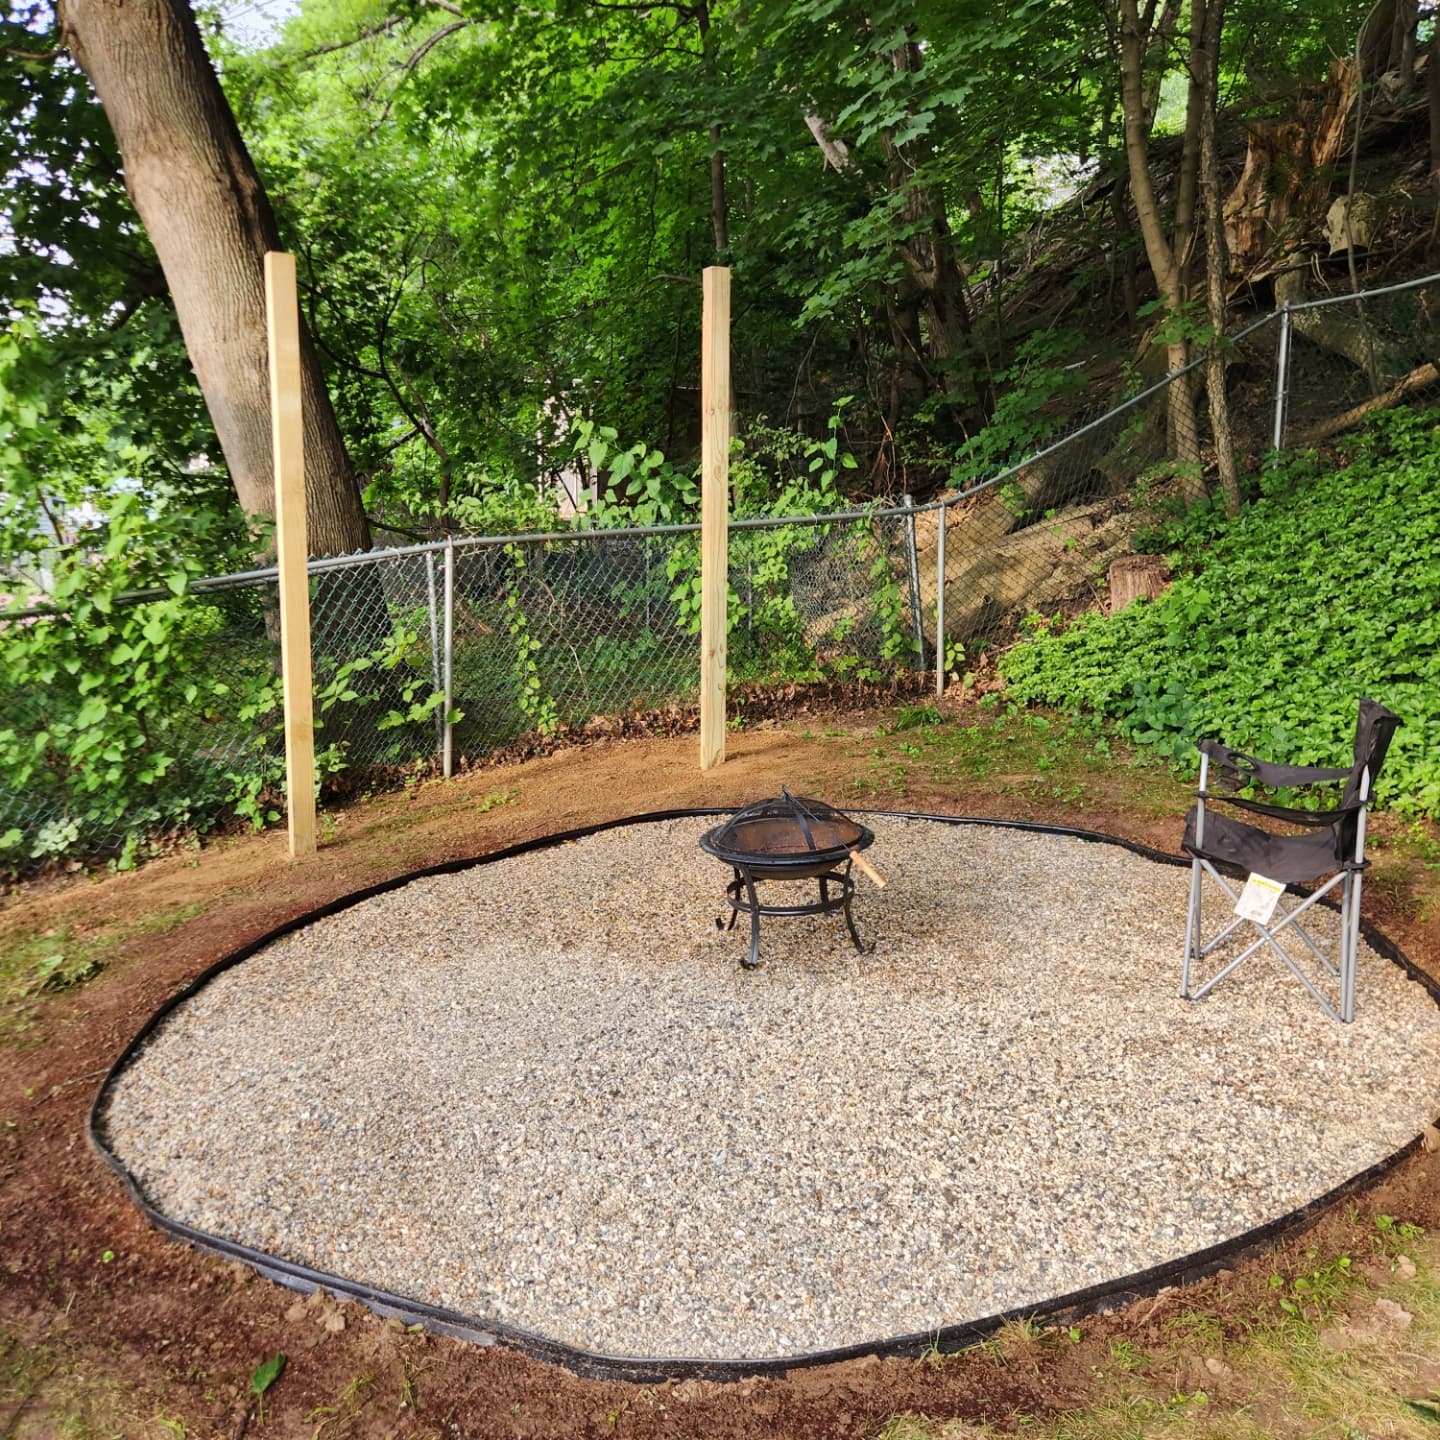
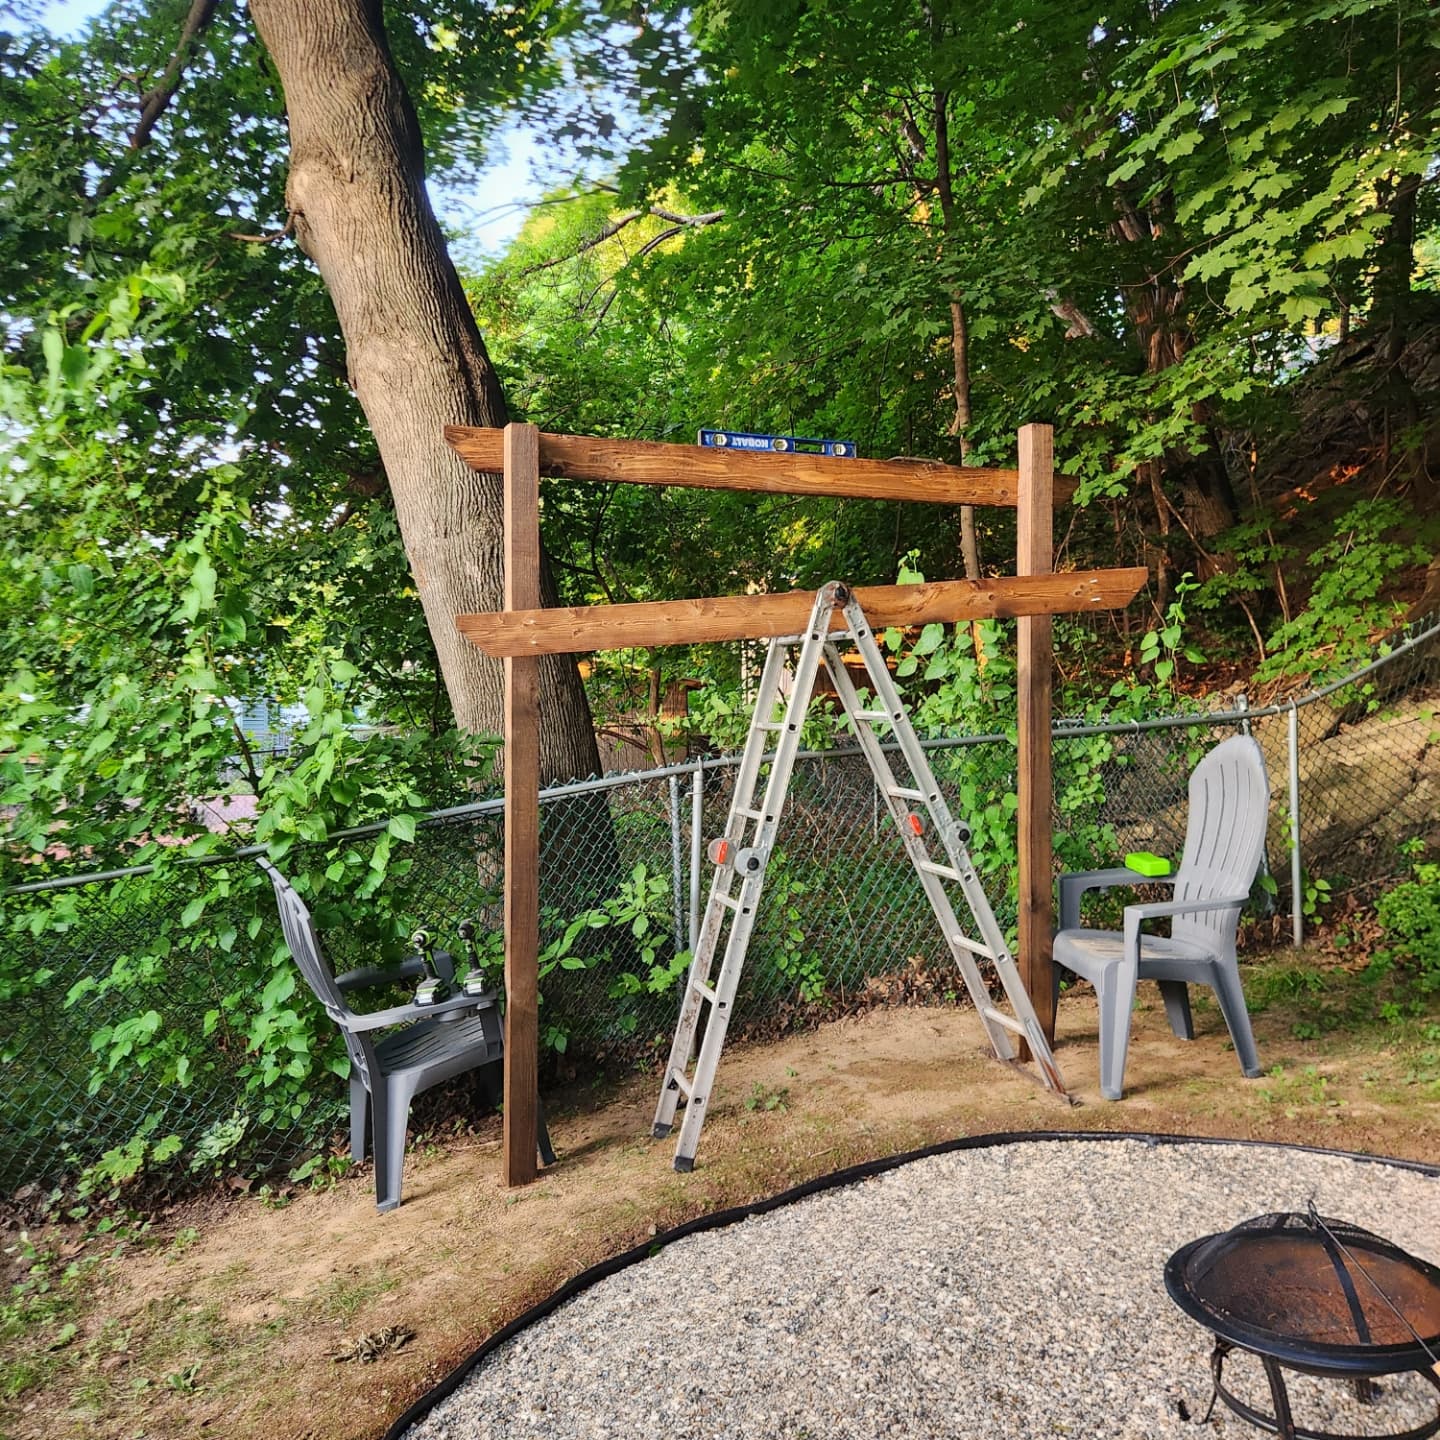
Pergola construction started right after the final bag of gravel. Ground contact PT 4x4's were set in concrete keeping it level and plumb. 2x6's were added for the header and 2x4's notched out to lay over the top for decoration.
A little bit of R&D into making the safest swing mount and it was finished just in time for the party.
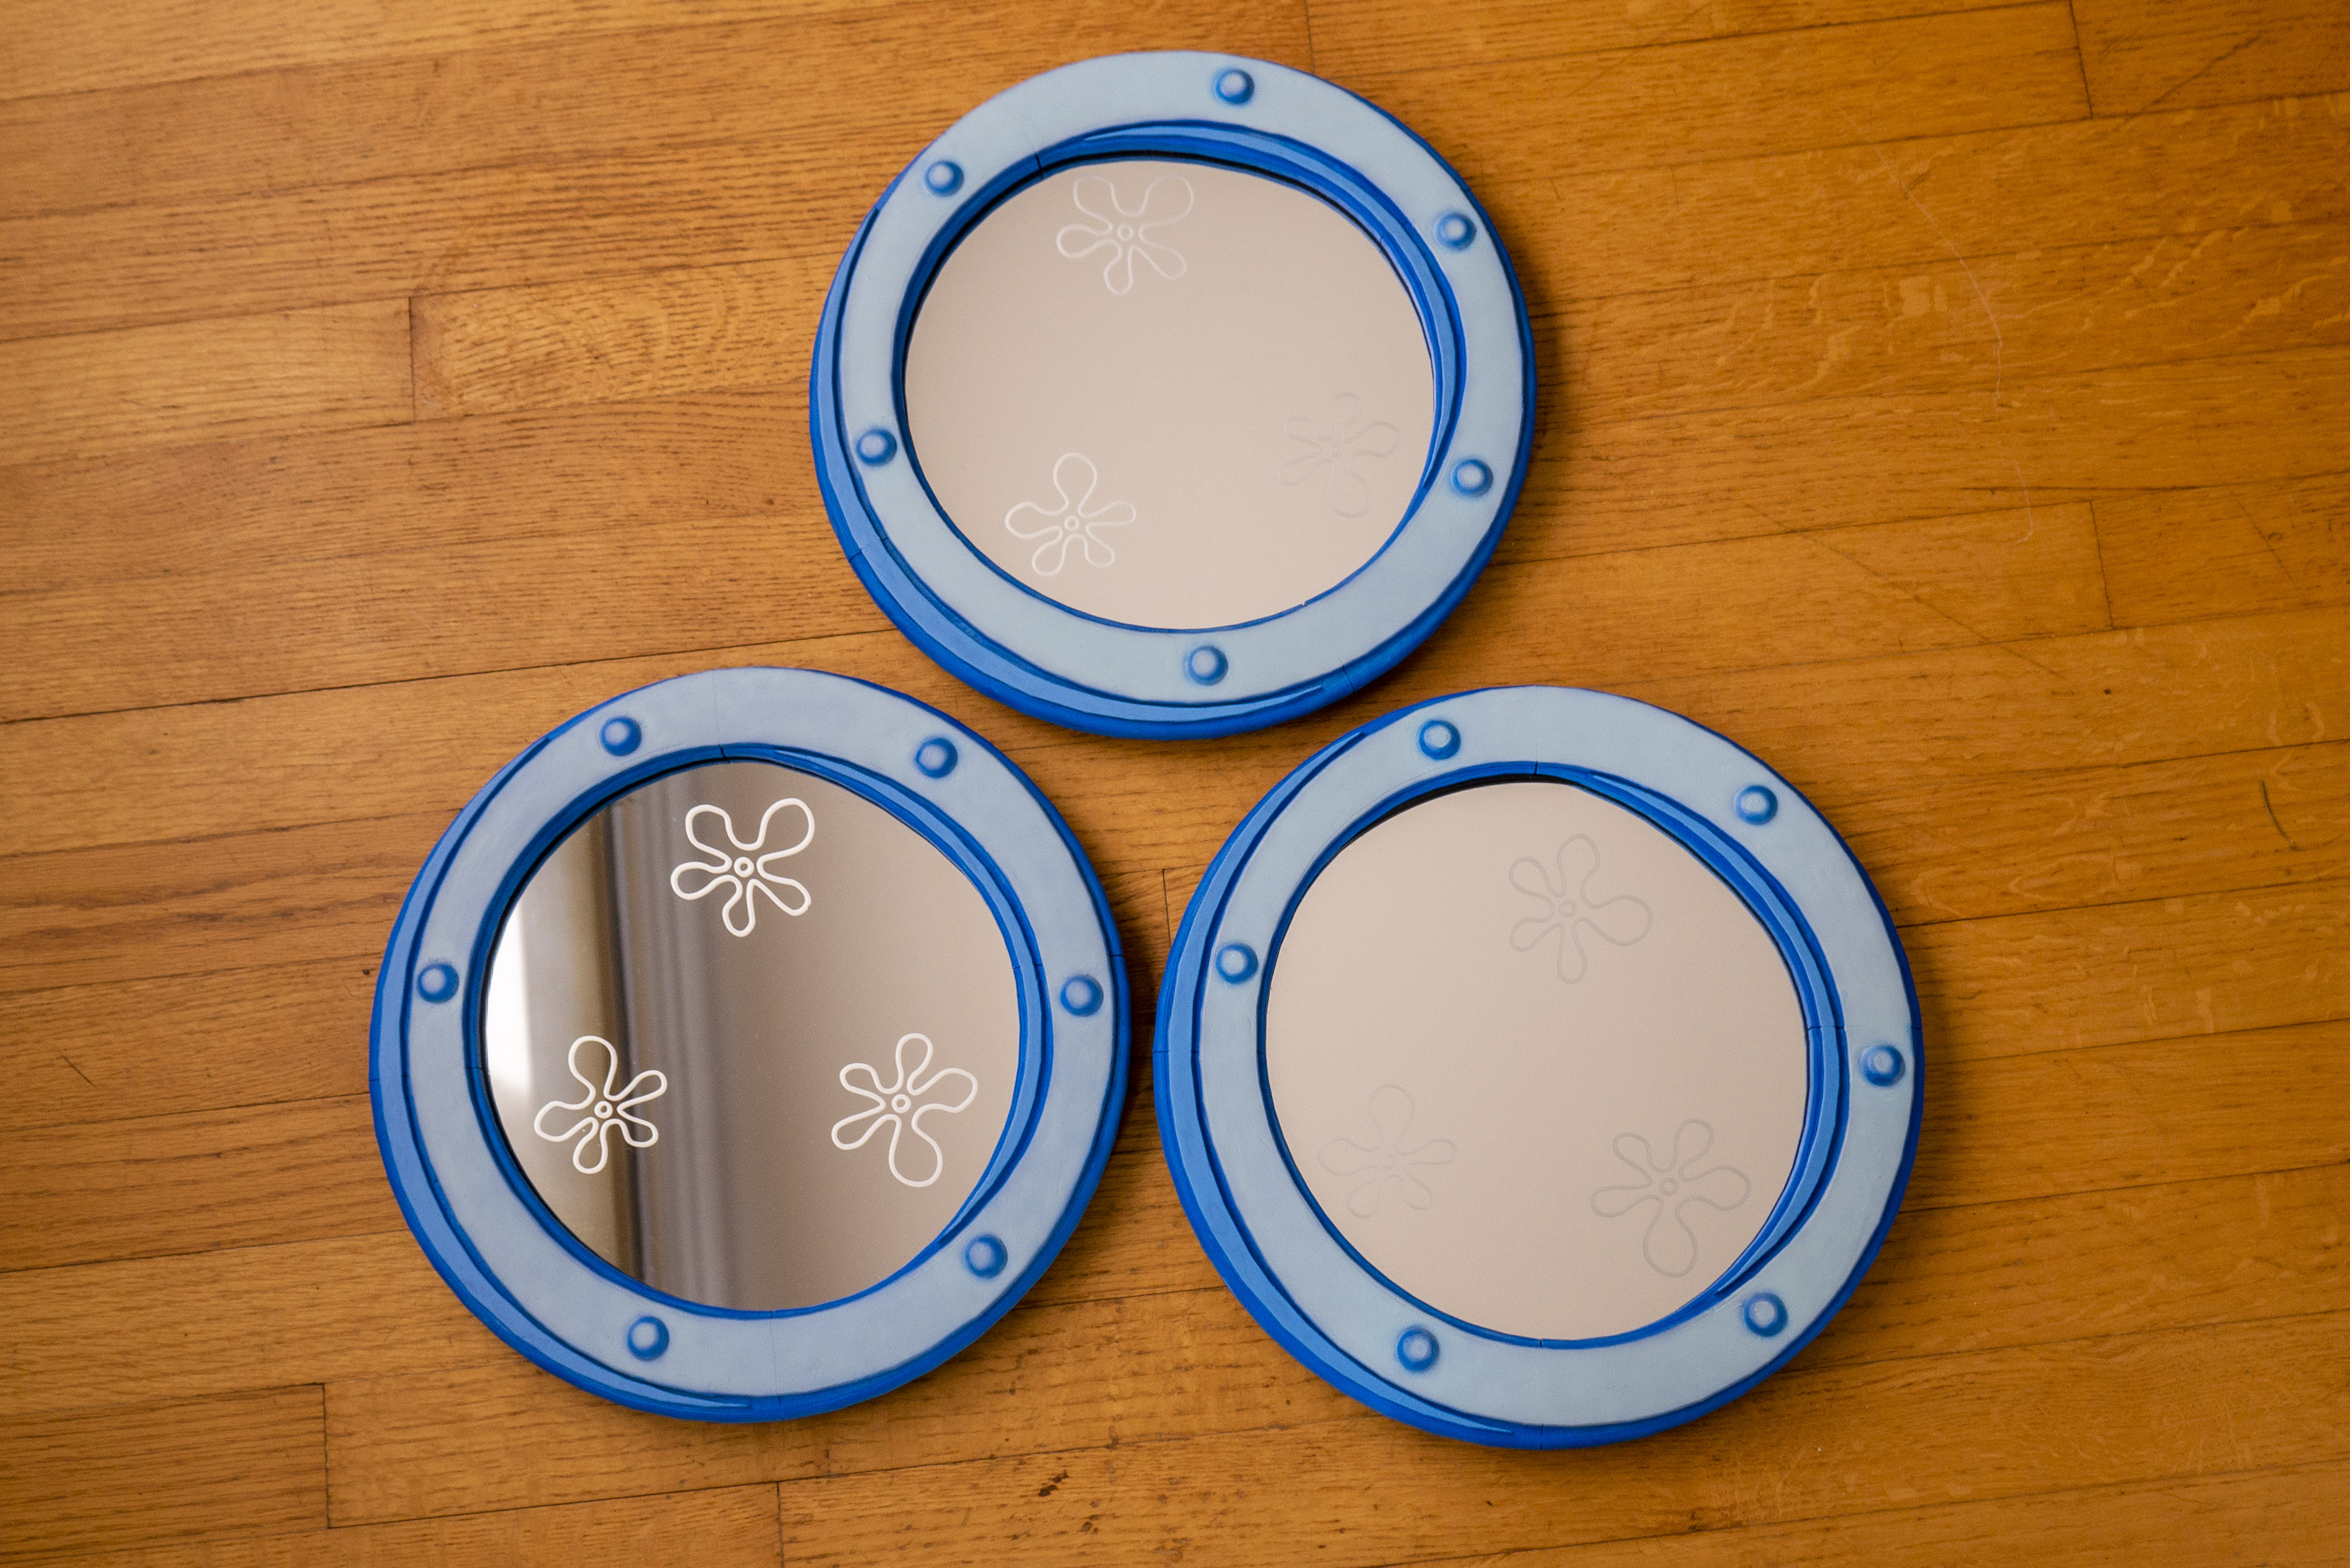
This idea came to me after starting the anchor project. I wanted to develop another product in the nautical home decor theme. The idea just popped into my head. Researching my idea nobody has done a 3D printed frame.
I've seen other people use a mirror and paint the outside to look like a porthole but nothing was like my idea. I also wanted to do a larger scale project too. I had the drawing and looked for a mirror. Once I sourced a 3 pack of mirrors from the store I was able to finalize my 3D render and print the project.
Once the set was printed and primed, I took the time to cut some stencils to then etch the glass. I had some left over etching cream so it was perfect to give this project an extra boutique edge to seek a higher sale price.
After Piecing together all 4 quadrants on all 3 pieces I moved into smoothing out layer lines with glazing putty, sanding, priming and a full afternoon of airbrushing.
Once the set was clear coated with matte clear, I glued the pieces to the mirrors for the final

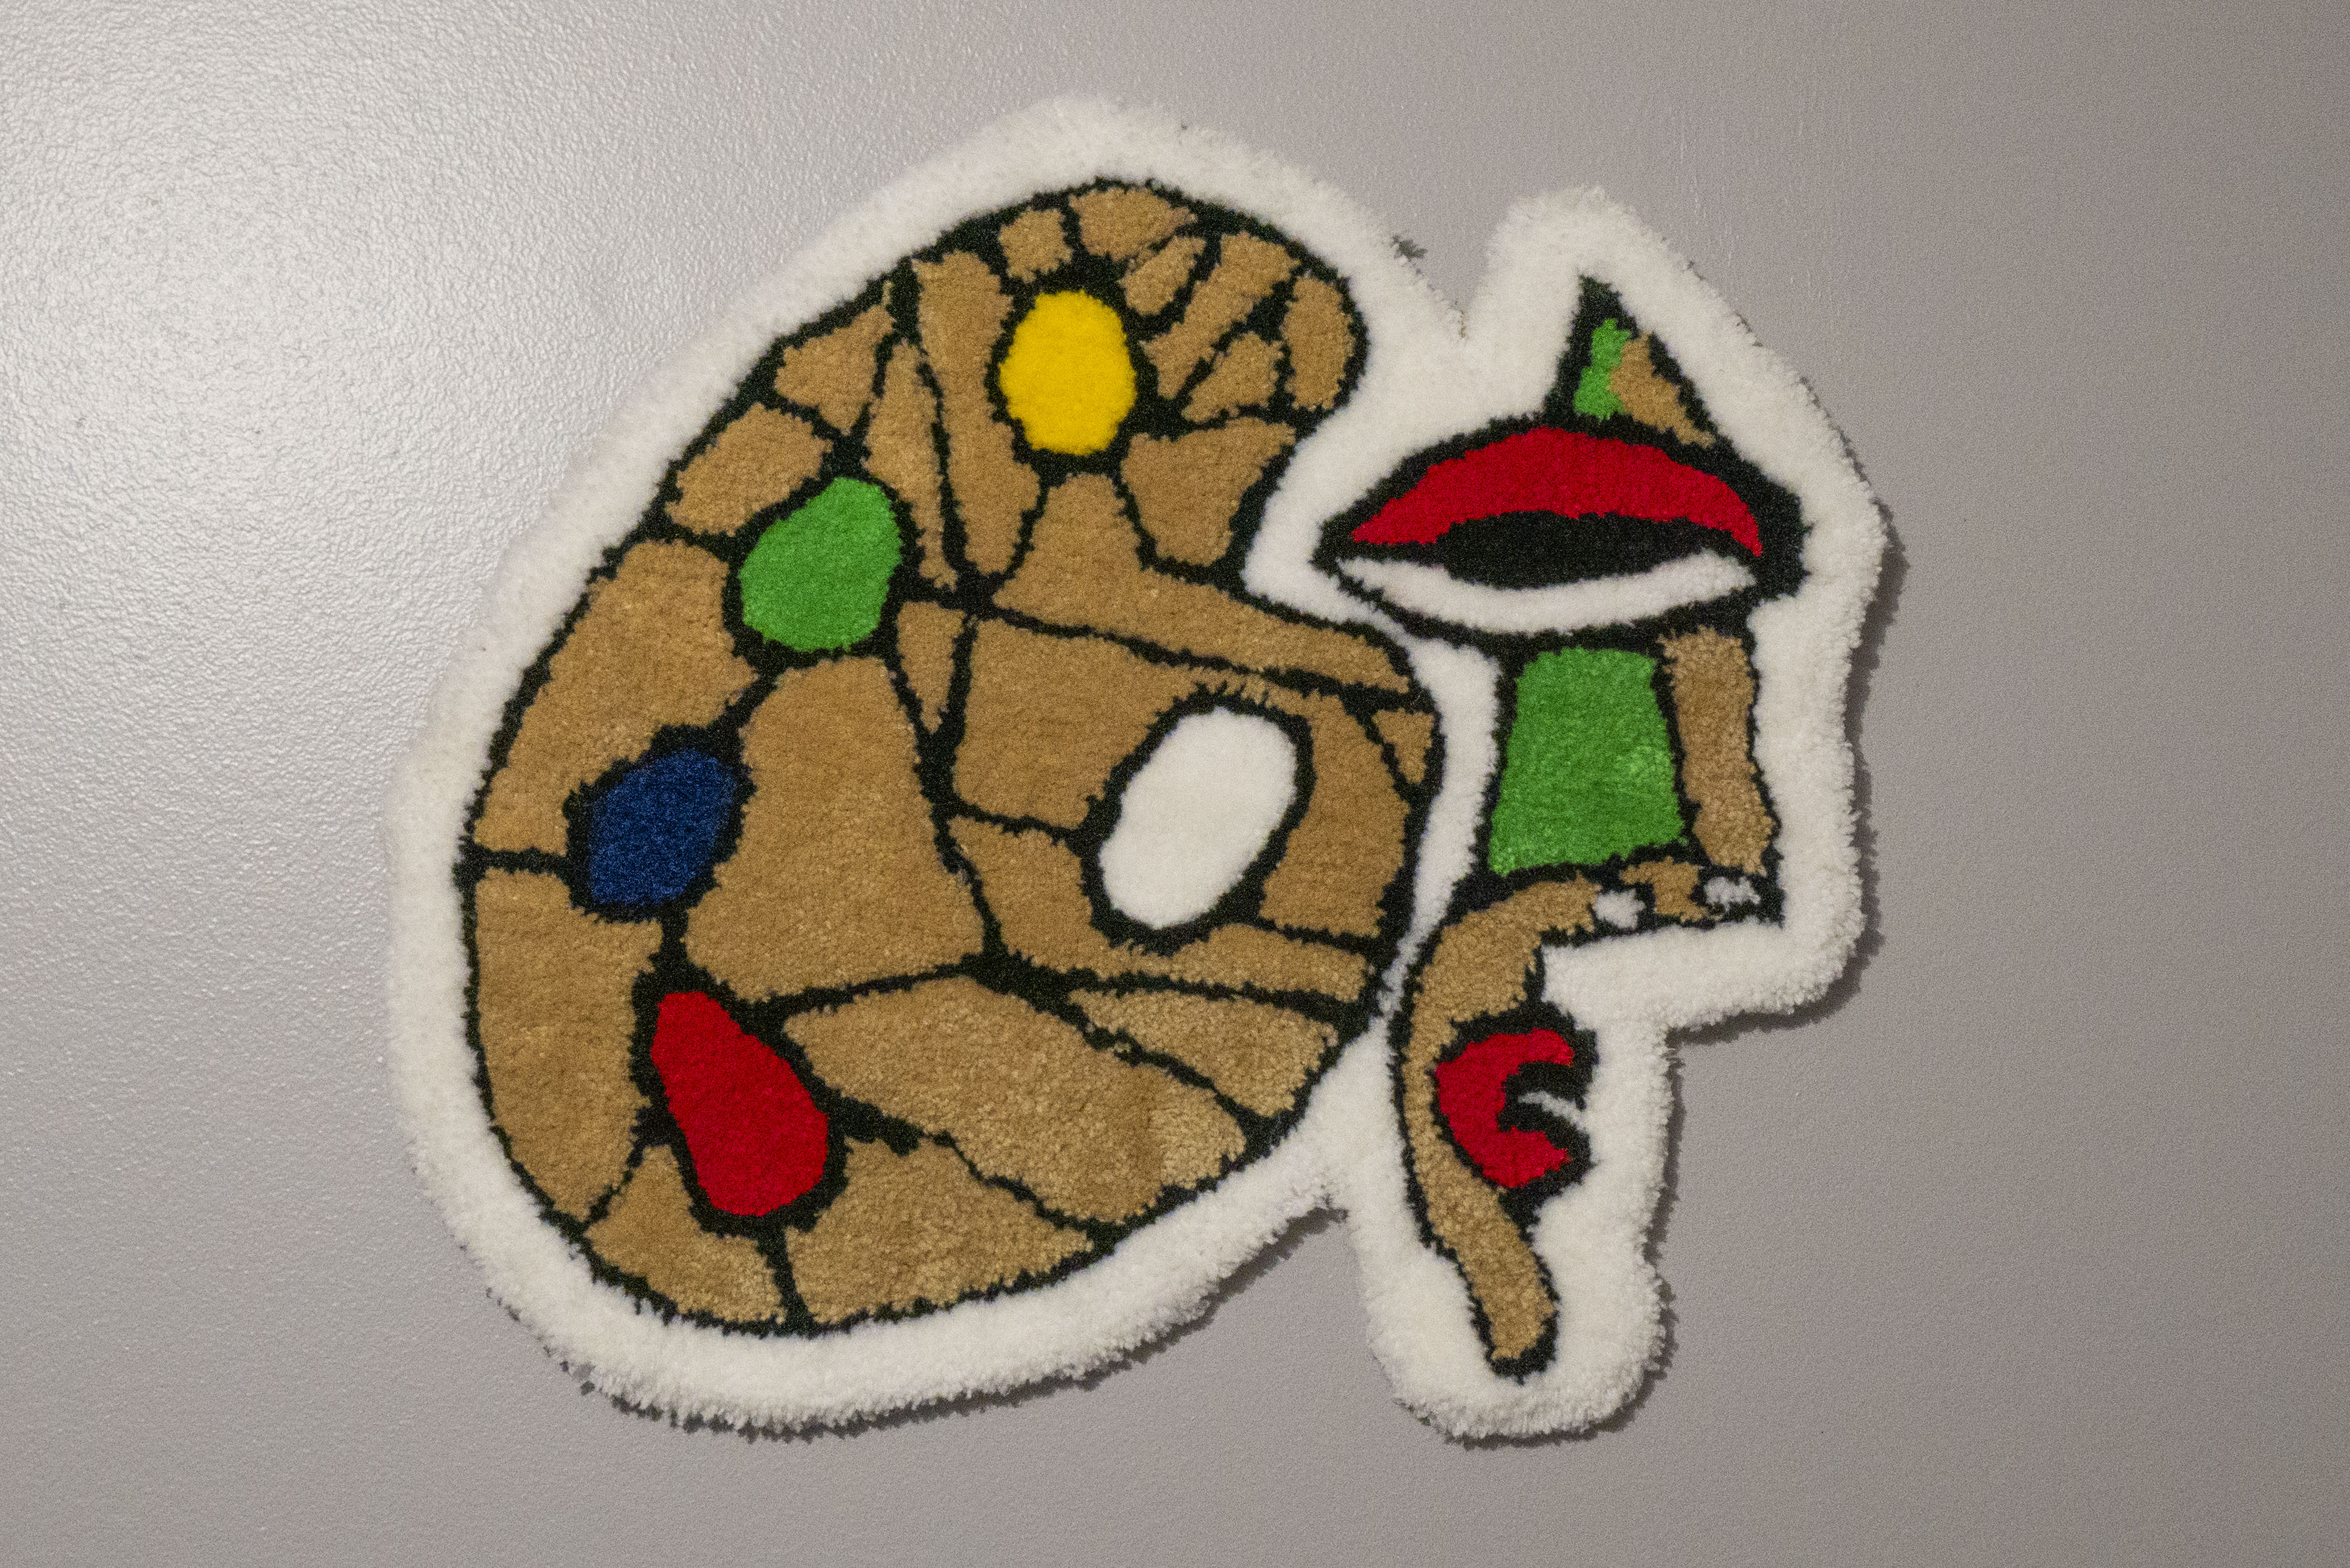
This project started out as a throw away graphic design piece. There was a company looking for a tee shirt graphic that featured their business name which was already a play on picasso's name.
naturally my design idea for this painting company who played off of picasso was to use a paint pallet for the visual identity, follow that up with some polygons in a mismatched face to highlight the play on words.
The project was scrapped and nearly 5 years later after getting into rug tufting I modified the design by dropping the text and keeping the graphic.
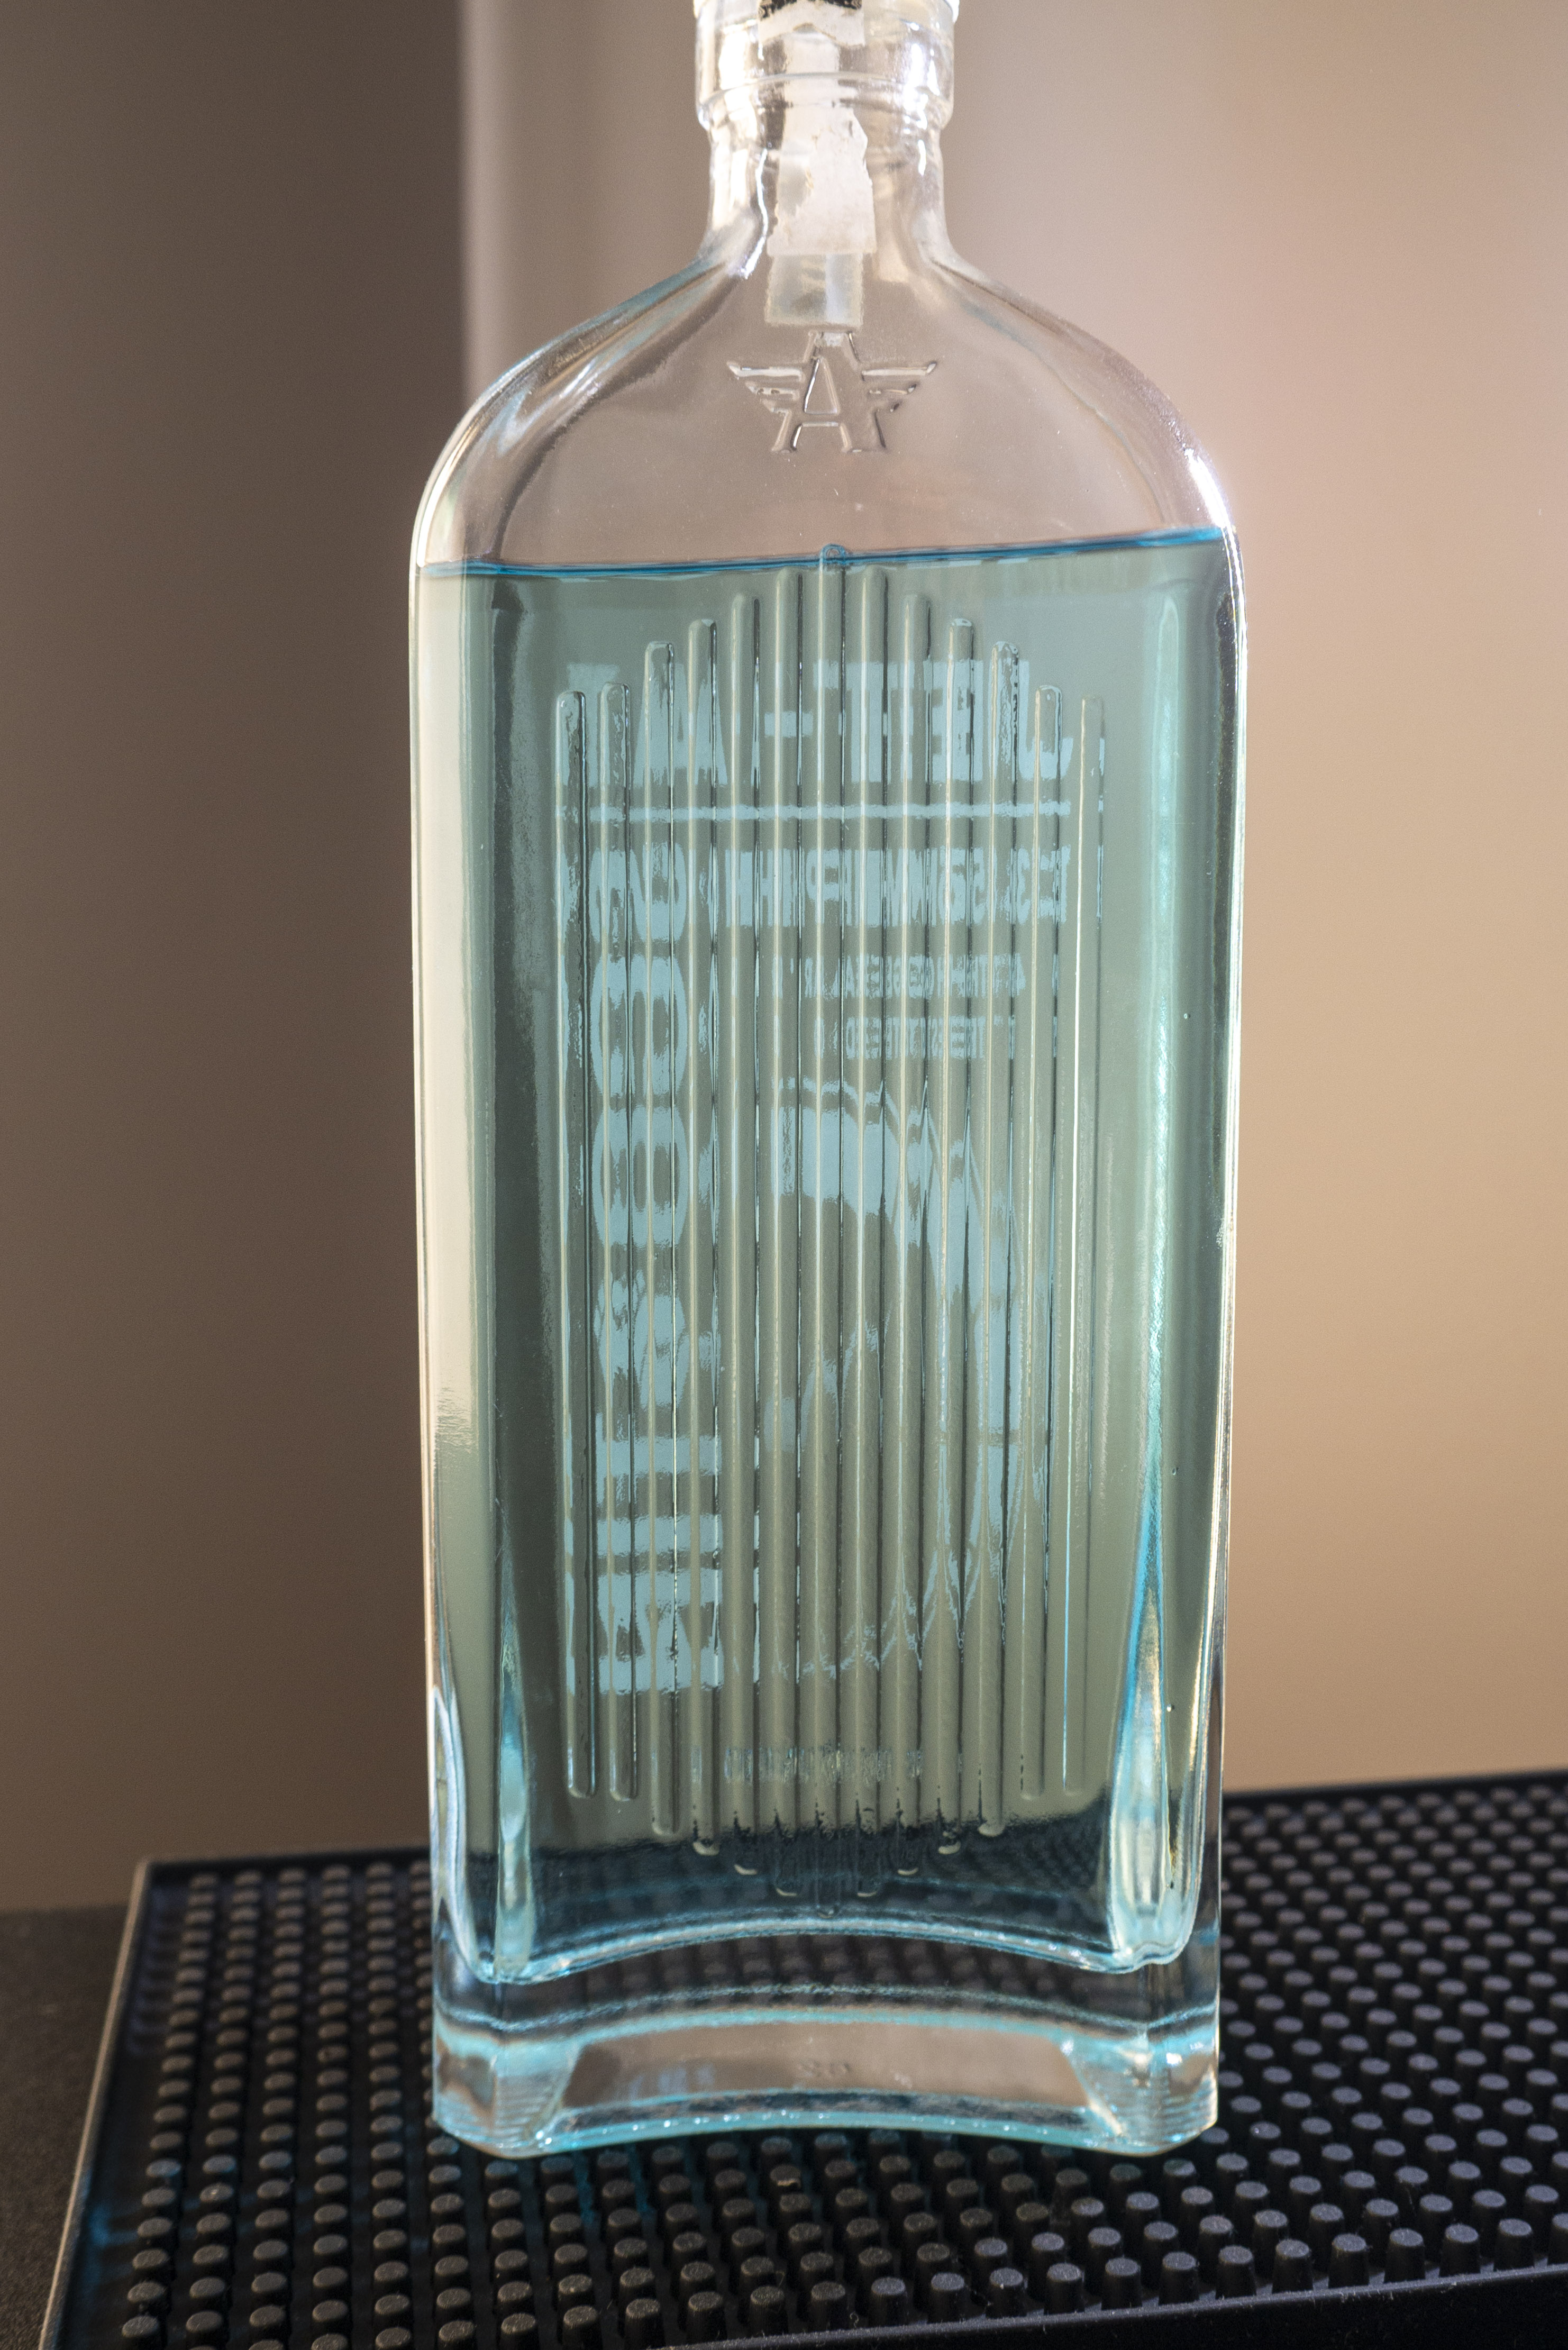
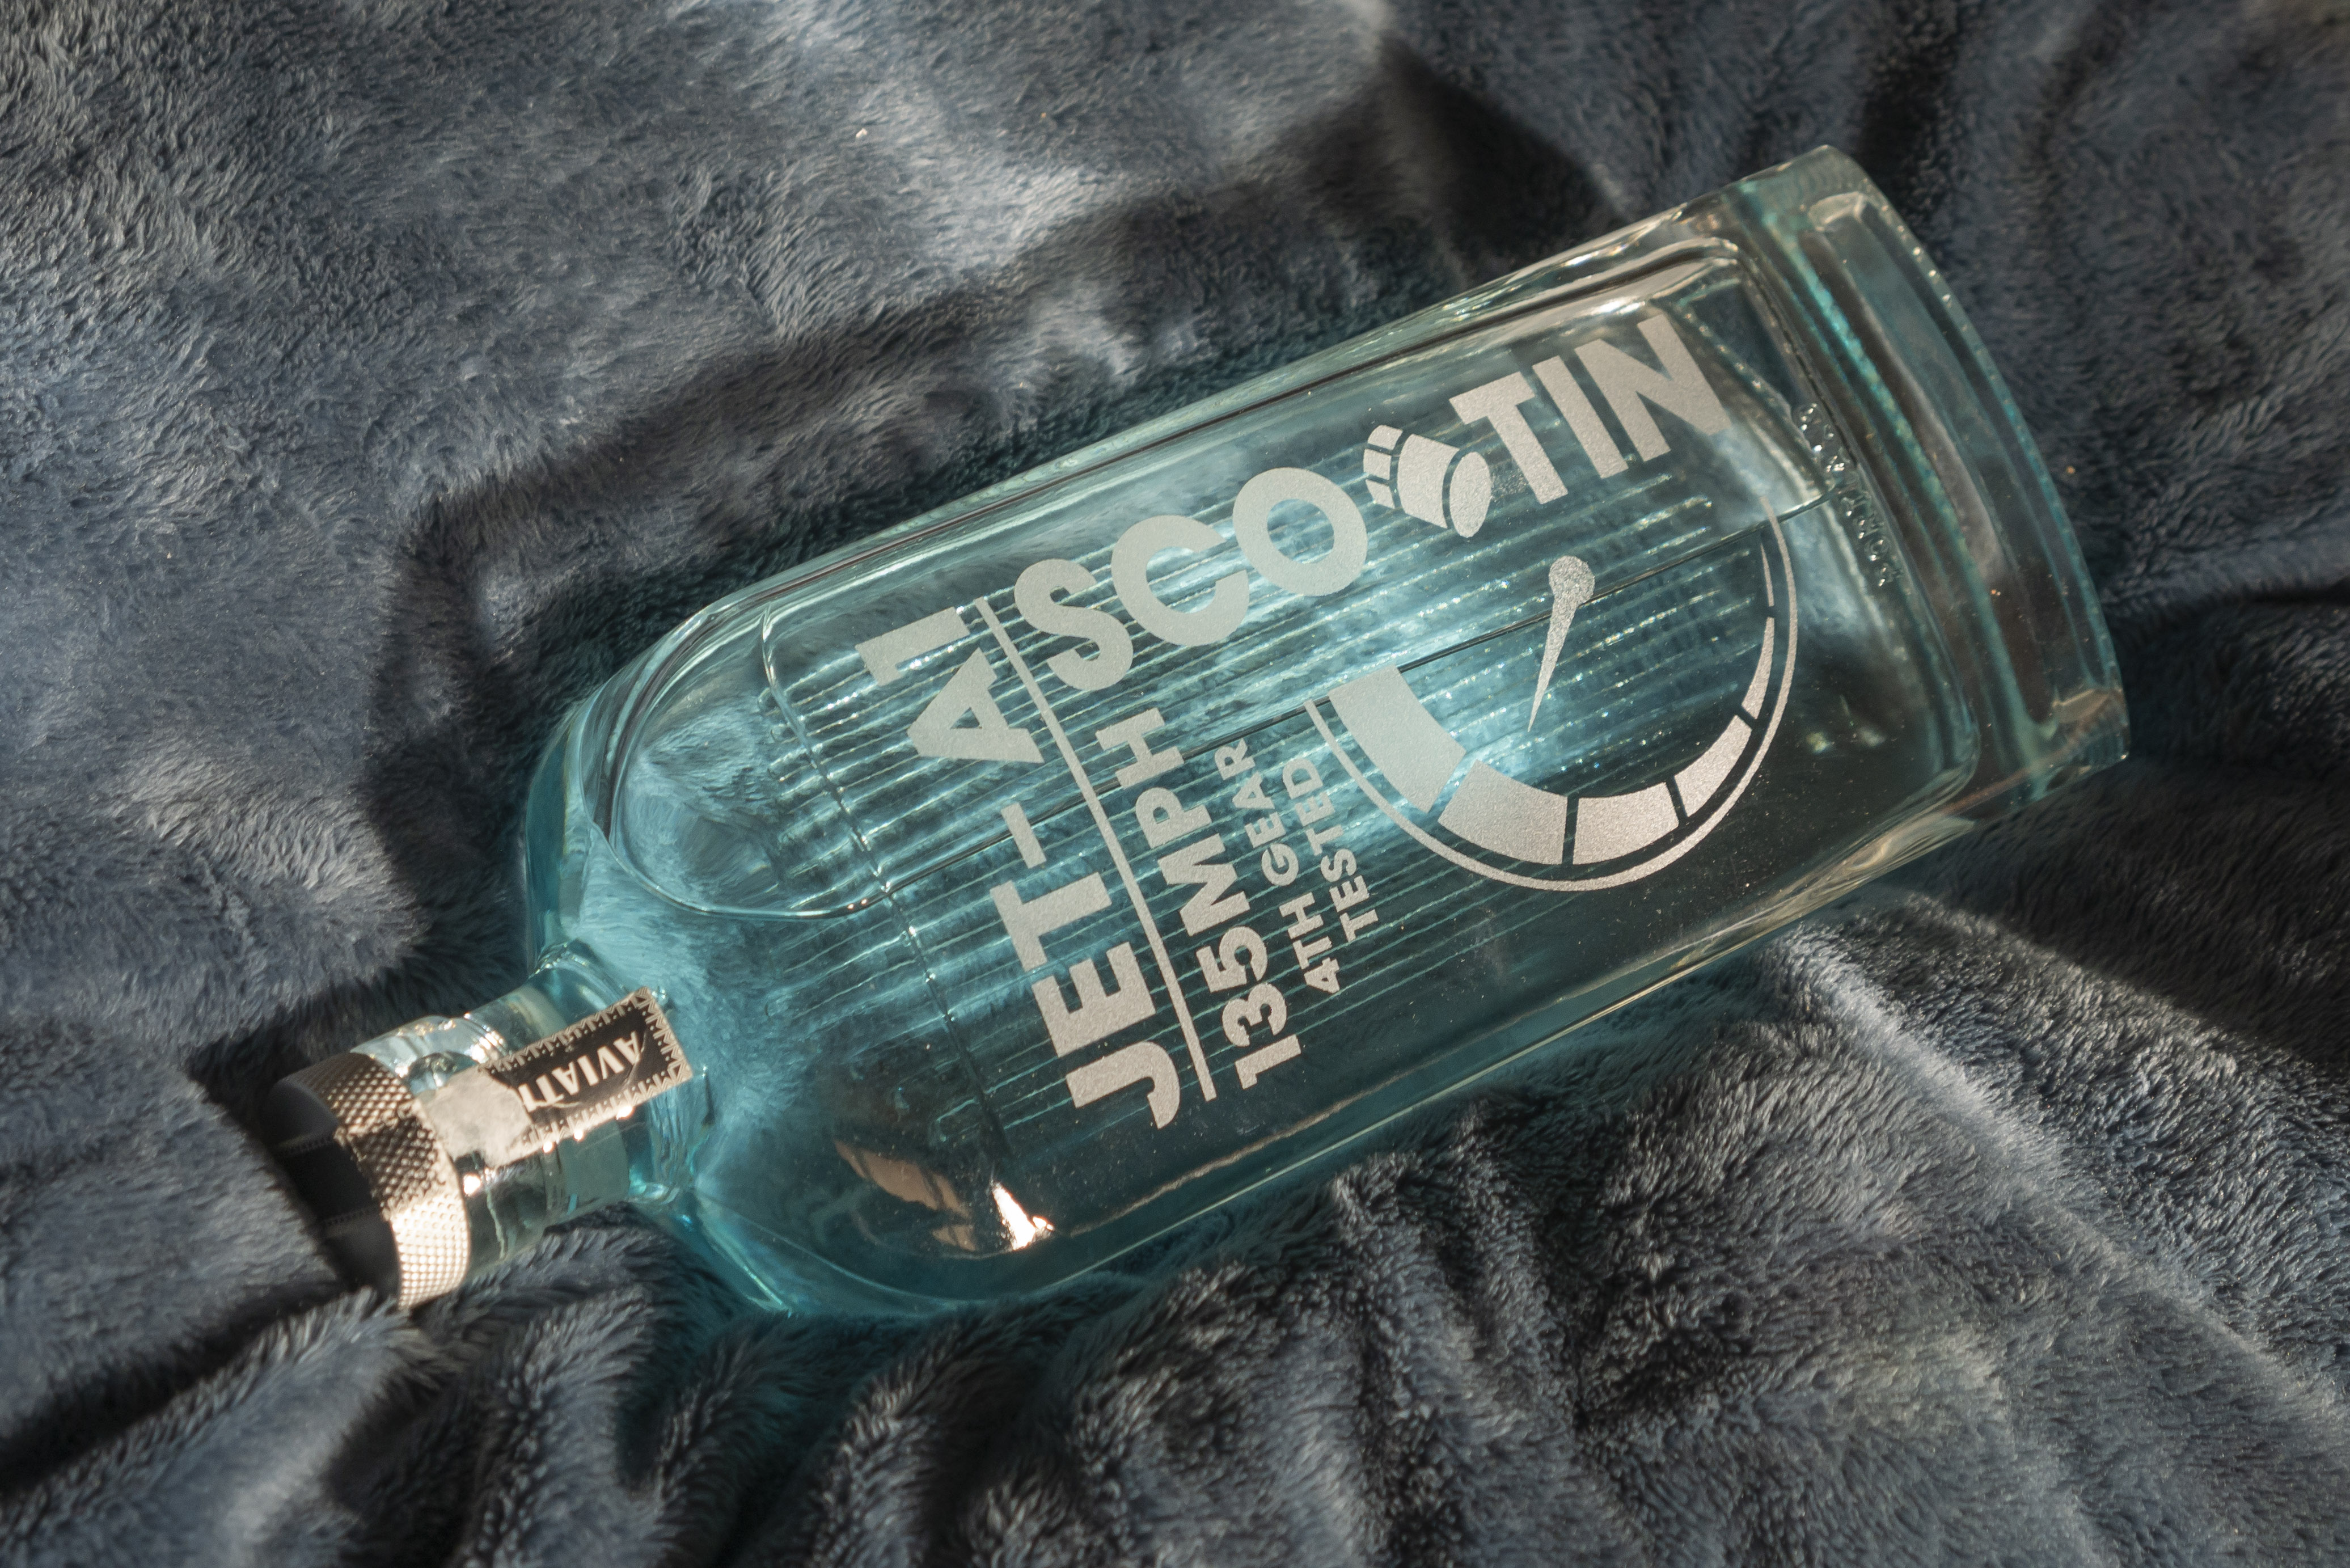
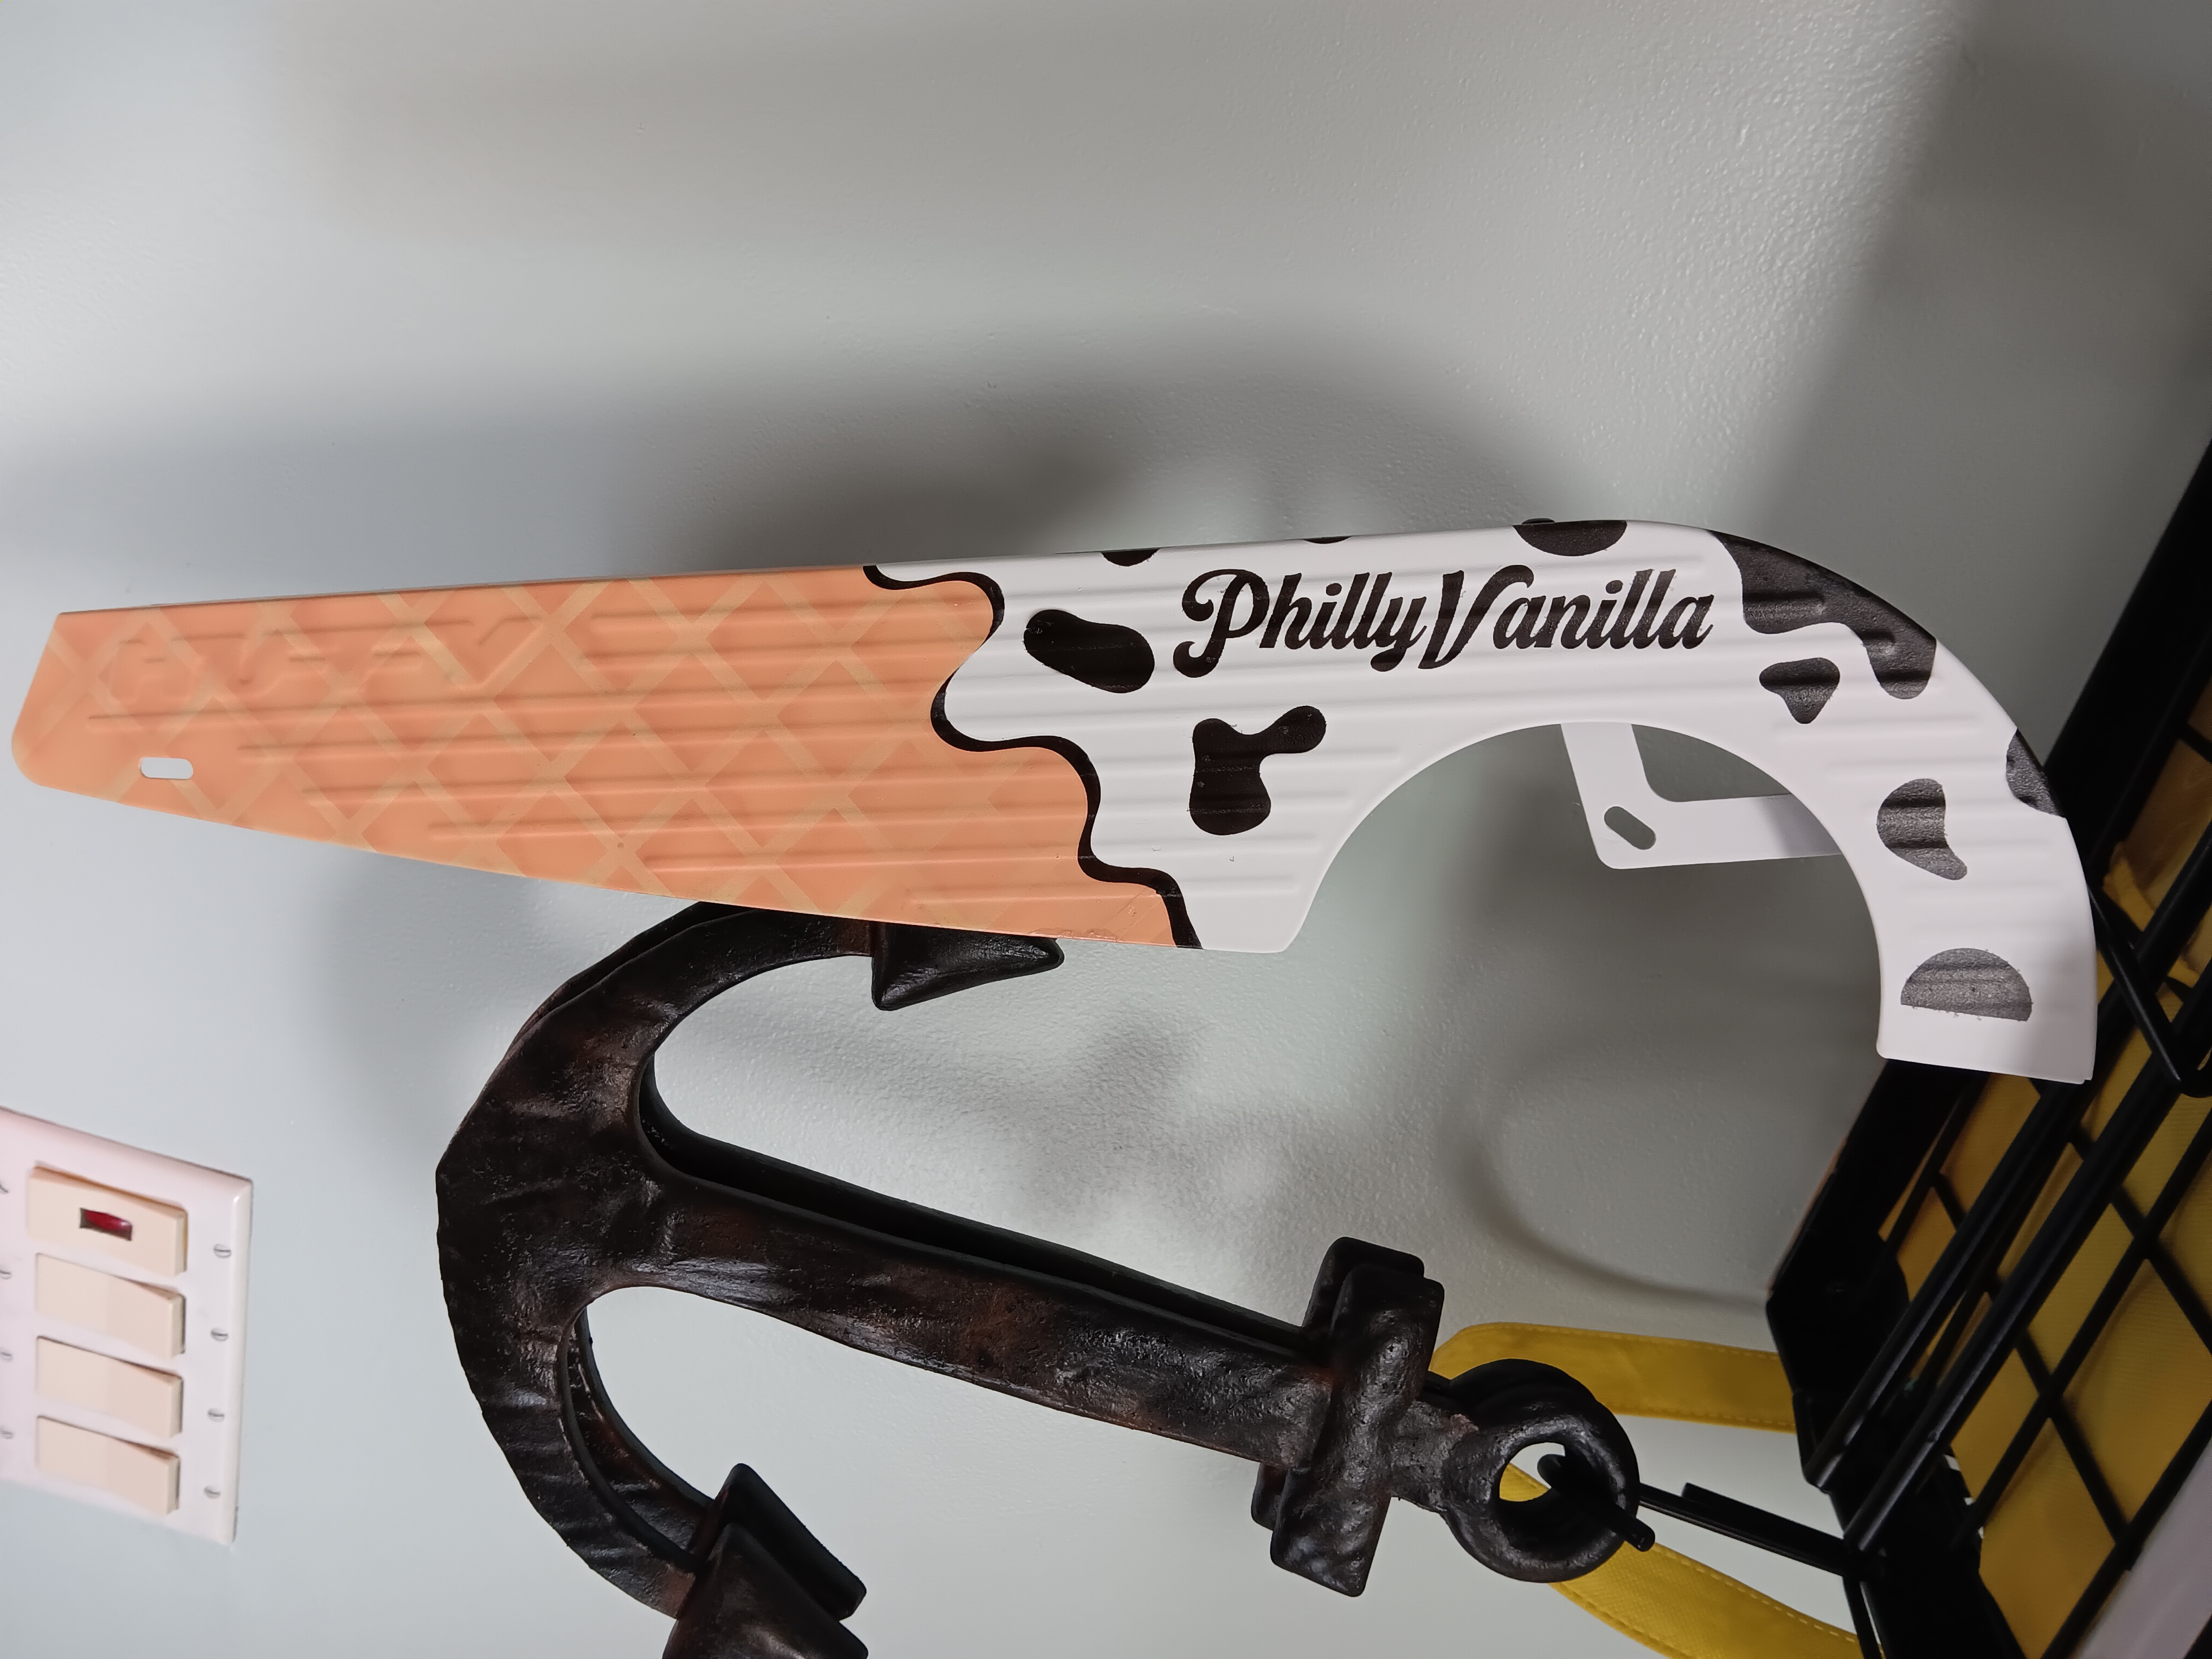
This project stemmed from a car meme I couldn't get away from. The car community has exploded after a guy on a car lot claims to have beat a ford focus in his chevy spark.
Key moments from the meme and his ridiculous claims of keeping up with a lamborghini because of an aftermarket oil filter, 1/3 of Jet fuel in the tank and 4th gear before his redline he hit 135mph. then said he was SCOOTIN'
With that kind of story it blew up with the shear absurdity and relatability of hearing that kind of story of all lies. which makes for a perfect shelf piece to remember it by.
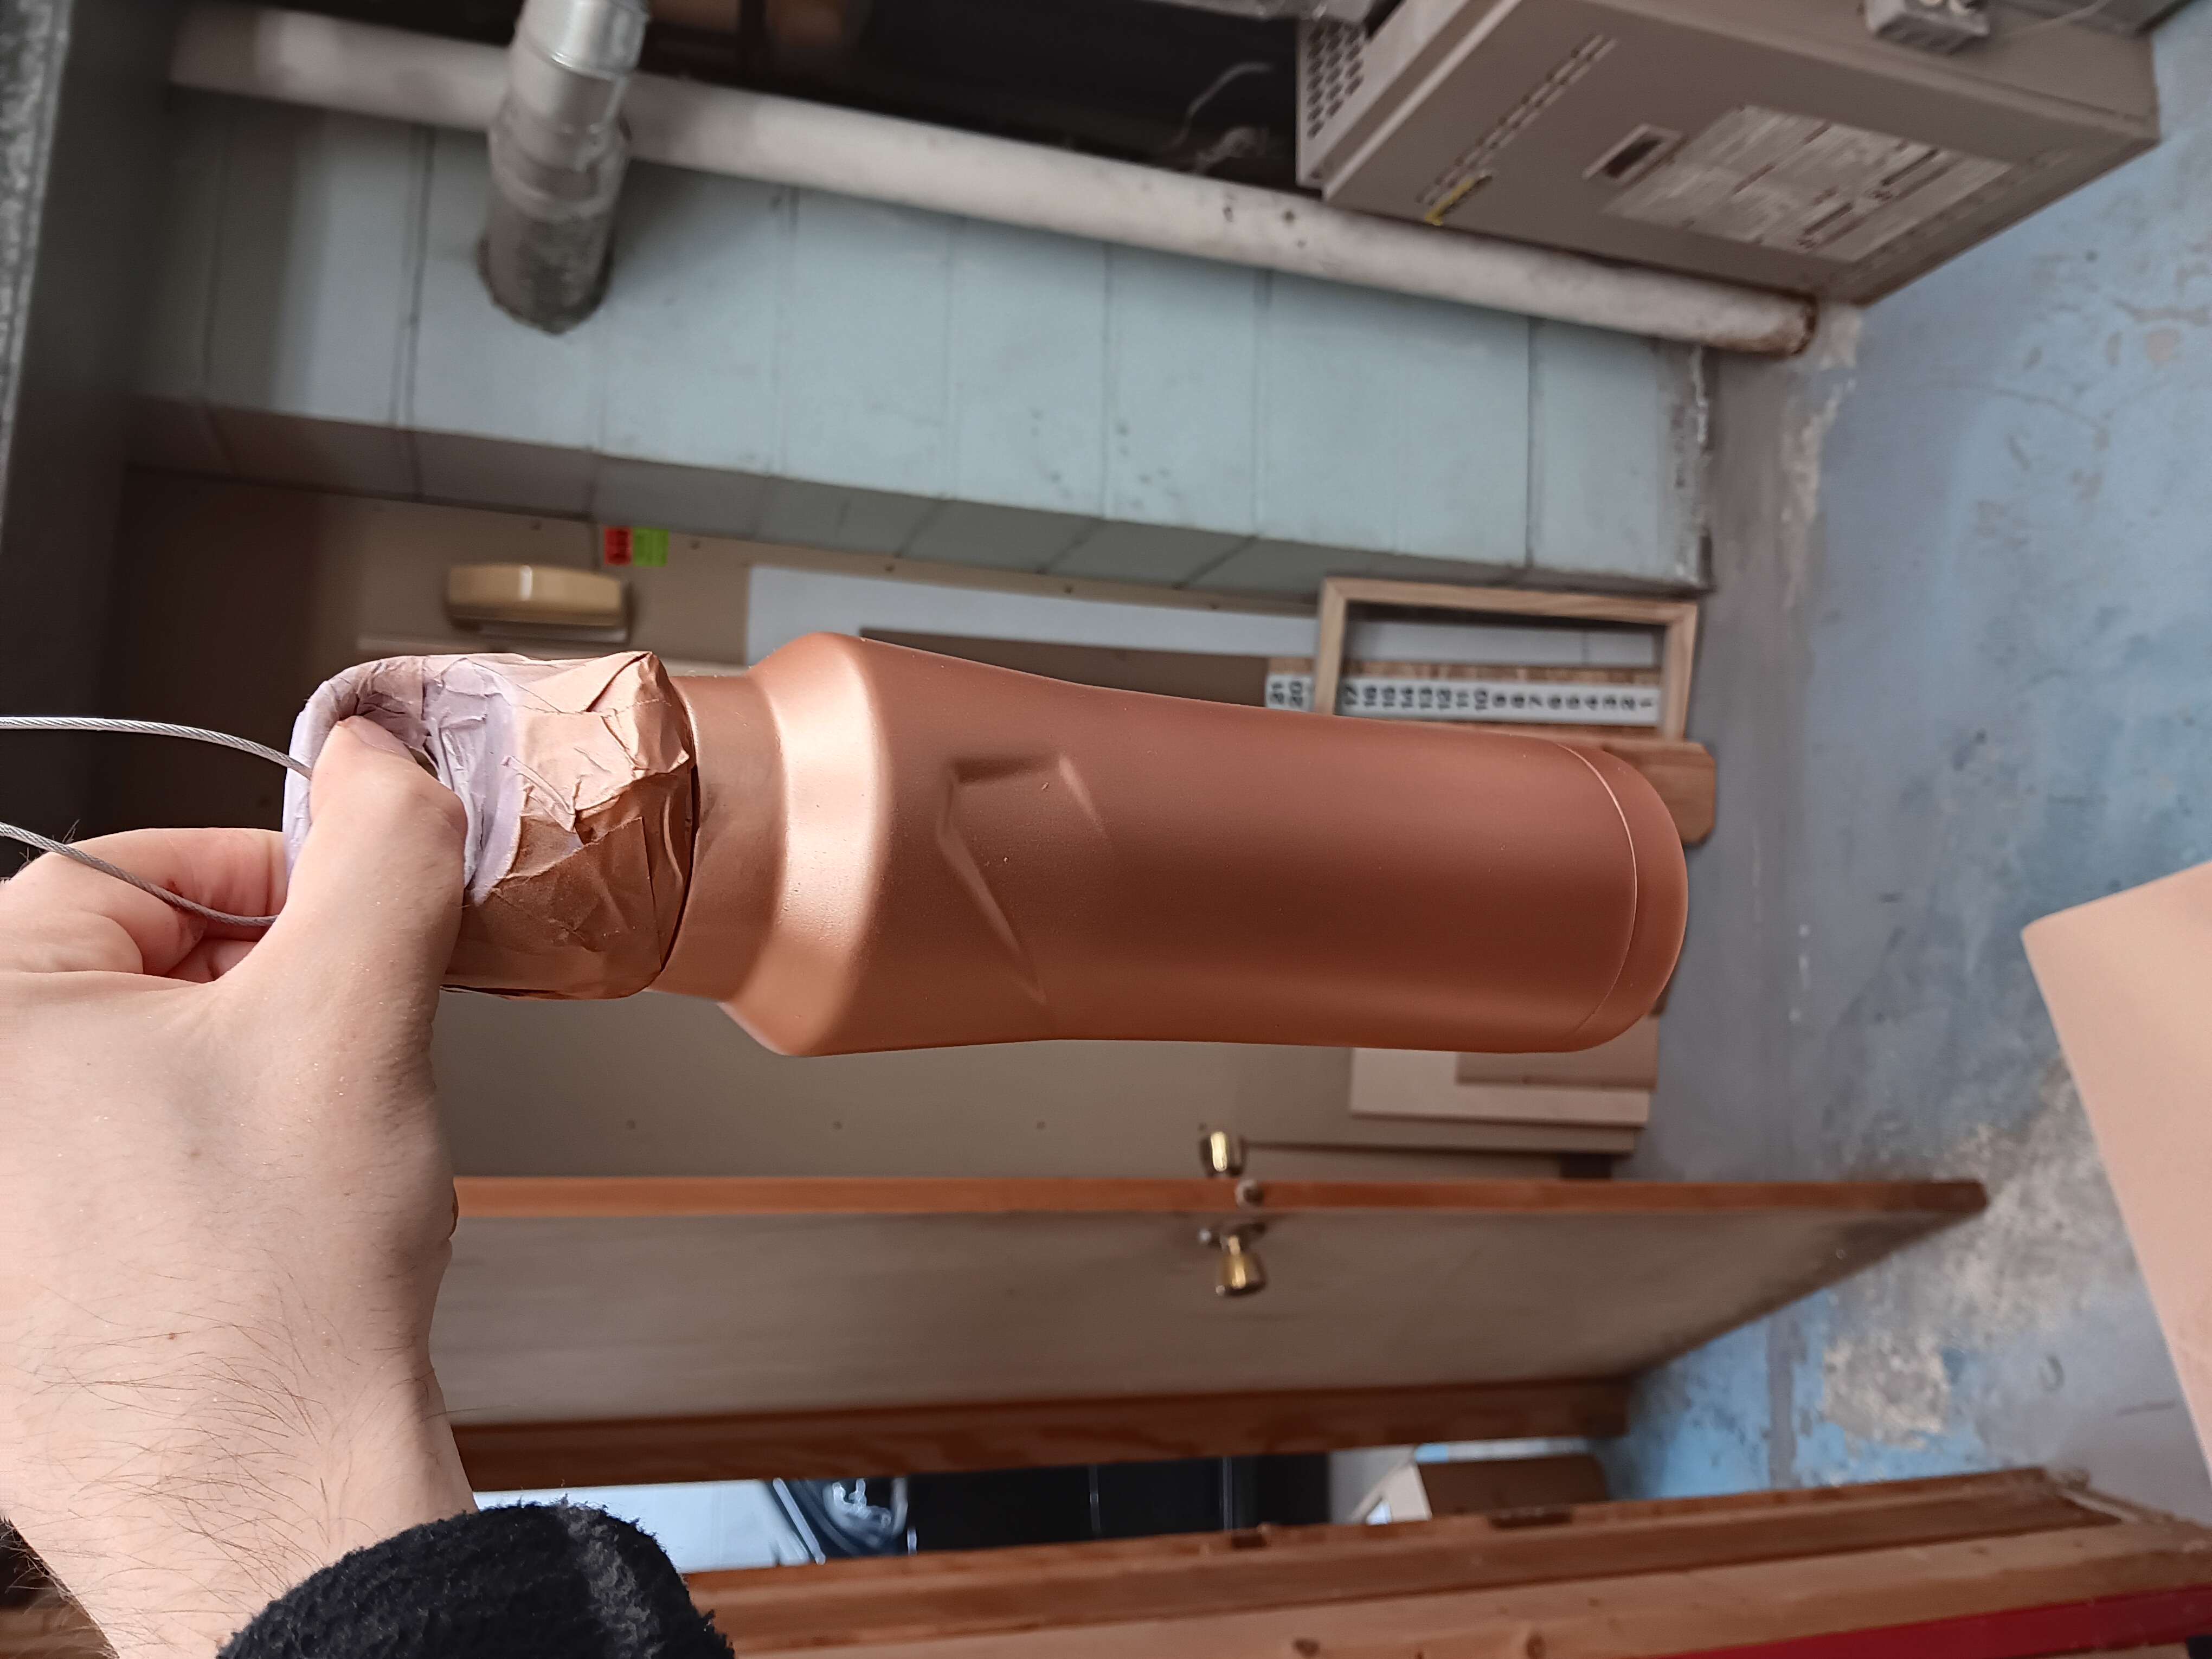
I grabbed an empty gin bottle that was collecting dust and designed a stencil for the front to then get Sandblasted for the ultimate meme item.